
Waterproof microcement in walk-in showers by applying one coat of acrylic pore-blocker primer followed by two coats of 2-part water-based aliphatic polyurethane sealer (such as Topsealer WT One Coat or Mapei Mapefloor Finish 58W). Allow 7 days of full chemical cure before running shower water.
At a Glance: Key Takeaways
- 2-Part Aliphatic Polyurethane: Isocyanate hardener cross-links with polyol resin to form a chemical-proof armor.
- Acrylic Pore-Blocker Primer: Prevents the polyurethane from absorbing unevenly and creating dark blotchy stains.
- 100% Non-Yellowing & UV Stable: Aliphatic formulation will not amber or discolor when exposed to direct sunlight.
- 7-Day Chemical Cure Protocol: Crucial curing window where polyurethane reaches maximum polymer hardness.
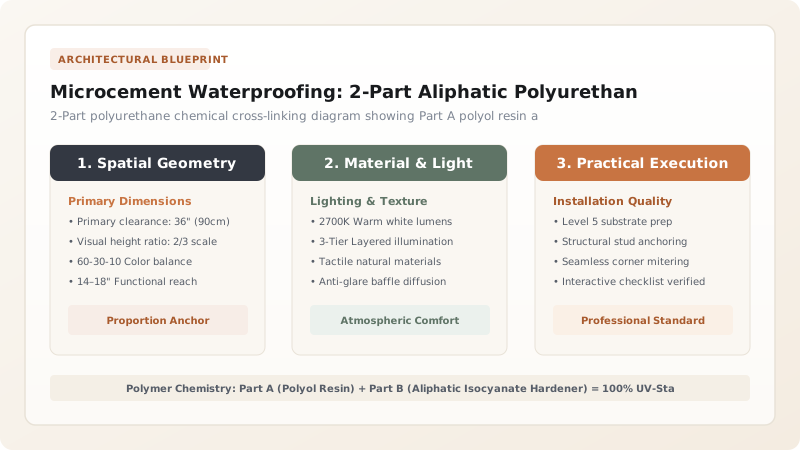
1. Polymer Chemistry: 1-Part Coatings vs 2-Part Aliphatic Cross-Linking
Single-component 1-part clear acrylic sealers dry through simple water evaporation. In a hot, steamy shower, hot water and shampoo chemicals break down 1-part acrylics in weeks, leading to blistering, white water spots, and catastrophic moisture penetration.
2-Part Aliphatic Polyurethane Sealers (Part A Resin + Part B Isocyanate) undergo a permanent chemical cross-linking polymerization. Once fully cured, the polyurethane forms an impermeable, non-porous thermoset plastic barrier that resists boiling water, bleaches, bath oils, and abrasive scrubbing.

Microcement Sealer Formulations & Wet-Room Suitability
Use this reference table to calculate exact physical dimensions, ratios, and specifications before purchasing:
| Sealer Category | Chemical Composition | Waterproof Rating | Wet-Room Suitability |
|---|---|---|---|
| 2-Part Aliphatic Polyurethane (Optimal) | Water-based Polyol + Isocyanate | 100% Waterproof (Chemical proof) | MANDATORY for walk-in showers & pools |
| Solvent-Based Polyurethane | Solvent-borne urethane | 100% Waterproof | High odor / Yellows light colors |
| 1-Part Acrylic Sealer (Budget) | Water-based acrylic emulsion | Water-resistant ONLY | FAILS in showers (Blisters & peels) |
| Natural Carnauba Wax / Oil | Organic mineral wax | Water repellent (Temporary) | Dry decorative living rooms only |
Premature Water Exposure Blistering Constraints
Every successful decoration project must account for physical and environmental constraints:
Running Shower Water on Day 3 Before Full 7-Day Polyurethane Cure
Polyurethane feels dry in 4 hours, but chemical cross-linking takes 7 full days; premature water exposure traps moisture beneath the film, turning the sealer milky white; strictly enforce a 7-day 'No Water' rule after final sealing.
How to Seal a Microcement Shower
Execute this professional sequence to achieve flawless results without backtracking:
Vacuum and Wipe Free of Dust
Use a HEPA vacuum and tack cloth to ensure 100% of sanding dust is removed from microcement.
Roll Acrylic Pore-Blocker Primer
Apply one even coat of pore-blocker using a short-nap roller; allow to dry 4 hours.
Mix 2-Part Polyurethane (5:1 Ratio)
Combine Part A and Part B with a mechanical mixer for 2 minutes; let stand 5 minutes to de-air.
Roll First Polyurethane Coat
Roll evenly in a cross-hatch pattern with a 4mm microfiber roller; let dry 12 to 24 hours.
Light 400-Grit Sand & Apply Second Coat
De-nib surface with 400-grit sandpaper, vacuum dust, and roll final protective topcoat.
Common Mistakes & Countermeasures
Avoid these costly errors that compromise aesthetics, ergonomics, and budget:
Applying Polyurethane Too Thick in a Single Coat
Project Execution Checklist
Track your physical progress. Checkboxes persist automatically on this device:
Frequently Asked Questions
How should a microcement shower be cleaned daily?
Clean microcement showers with mild pH-neutral soap and warm water using a soft microfiber cloth. Never use abrasive scouring pads, bleach, or acidic descaling sprays containing hydrochloric or sulfamic acid.


