
Apply microcement in high-traffic bathrooms and wet rooms by building a 3mm multi-layer system: 1) Epoxy primer with embedded fiberglass mesh over a rigid substrate, 2) Two coarse base coats for structural strength, 3) Two fine troweled finish coats with organic movement, and 4) Two coats of 2-part aliphatic polyurethane waterproof matte sealer.
At a Glance: Key Takeaways
- 3mm Ultra-Thin Application: Applies directly over existing tile, concrete, or drywall without raising floor thresholds.
- 100% Seamless & Grout-Free: Eliminates grout lines completely, preventing mold, mildew, and grime accumulation.
- High Compressive Strength (>40 MPa): Polymer-modified quartz formulation resists heavy furniture loads and high foot traffic.
- 2-Part Aliphatic Polyurethane Sealer: Provides 100% waterproof barrier with high chemical and UV resistance.
- Continuous Wet-Room Integration: Flows seamlessly from bathroom floor into curbless walk-in showers and bathtubs.
In-Depth Guides in this Directory
Explore specialized subtopic blueprints, technical dimensions, and execution checklists:
Microcement Troweling: 3mm Multi-Coat Layers & Burnishing
Master microcement application technique: 3mm multi-coat layering (Base vs Fine), rounded Venetian trowel arcing, mechanical burnishing, and 180-grit sanding.
Microcement Waterproofing: 2-Part Aliphatic Polyurethane
Master microcement wet-room waterproofing: 2-part aliphatic polyurethane chemical resistance, pore blocker pre-sealing, roller application math, and shower chemical care.
Microcement Substrates: Fiberglass Mesh & L/720 Deflection
Master microcement substrate preparation: L/720 subfloor deflection testing, alkali-resistant 80g/m² fiberglass mesh embedding, epoxy moisture barriers, and tile leveling.
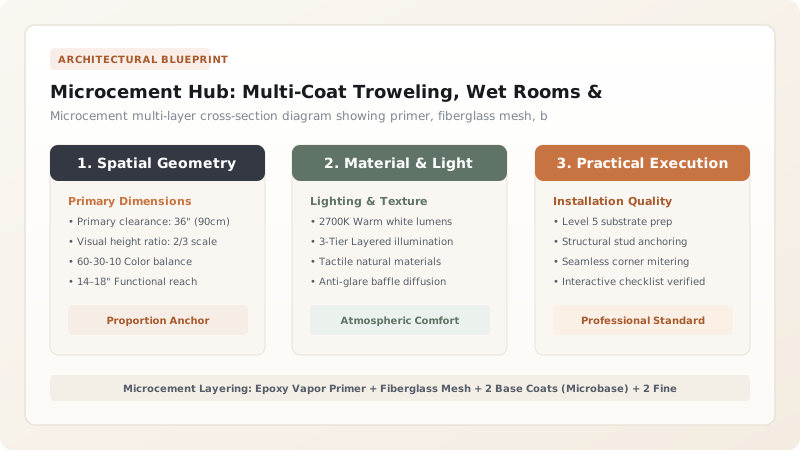
1. Material Science: Hydraulic Cement vs Liquid Polymers
Standard concrete requires a minimum thickness of 2 to 4 inches to prevent cracking and is porous and brittle under tension. Microcement (Microcemento / Mortex / Topciment) is an advanced composite made of high-grade Portland cement, micronized quartz sand, and liquid water-based synthetic polymers (resins).
This hybrid formulation delivers extreme flexural tensile strength and adhesive bonding. Applying it in ultra-thin 3mm layers creates an indestructible, flexible stone skin that bonds tenaciously to concrete, moisture-resistant drywall, and even existing ceramic tile.

Microcement System Layers & Technical Thicknesses
Use this reference table to calculate exact physical dimensions, ratios, and specifications before purchasing:
| Layer Sequence | Product Designation | Layer Thickness | Function |
|---|---|---|---|
| Step 1: Substrate Primer | Epoxy Primer + 80g/m² Fiberglass Mesh | 0.5mm | Crack isolation & substrate bonding |
| Step 2: Base Coat (2 Layers) | Microbase Coarse Quartz Formula | 1.5mm Total | High compressive strength foundation |
| Step 3: Finish Coat (2 Layers) | Microfino / Microdeck Fine Paste | 1.0mm Total | Velvety aesthetic texture & mineral burnish |
| Step 4: Pore Blocker Pre-Sealer | Water-based Acrylic Emulsion | 0.1mm | Prevents polyurethane from soaking unevenly |
| Step 5: Waterproof Topcoat (2 Coats) | 2-Part Aliphatic Polyurethane (Matte) | 0.2mm | 100% Waterproof, stain, and UV barrier |
Substrate Movement & Hairline Cracking Constraints
Every successful decoration project must account for physical and environmental constraints:
Subfloor Movement Causing Hairline Cracks in Microcement Floors
Wood subfloors with vertical deflection (bounce) will crack rigid microcement; subfloors must meet a strict L/720 deflection rating (double 3/4" plywood with 16" on-center joists) and be reinforced with an embedded fiberglass crack-isolation mesh.
How to Apply a Microcement Bathroom System
Execute this professional sequence to achieve flawless results without backtracking:
Prime Substrate & Embed Fiberglass Mesh
Roll epoxy primer over floor/walls, embedding alkali-resistant fiberglass mesh without wrinkles.
Trowel 2 Base Coats (Microbase)
Apply first base coat with stainless trowel; let dry 4 hours, sand with 40-grit, apply second base coat.
Trowel 2 Fine Finish Coats (Microdeck)
Apply two fine finish coats using arced burnishing strokes; sand with 180-grit to desired texture.
Apply Acrylic Pore Sealer
Roll water-based pore blocker across the surface; allow to dry 4 hours.
Roll 2 Coats 2-Part Polyurethane Sealer
Apply two coats of 2-part aliphatic polyurethane matte sealer, allowing 12 hours between coats.
Common Mistakes & Countermeasures
Avoid these costly errors that compromise aesthetics, ergonomics, and budget:
Skipping the 2-Part Polyurethane Waterproof Sealer in Showers
Project Execution Checklist
Track your physical progress. Checkboxes persist automatically on this device:
Frequently Asked Questions
Can microcement be applied directly over existing old bathroom tiles?
Yes! Microcement bonds exceptionally well to existing ceramic and porcelain tile. Simply clean the tiles with an alkaline degreaser, fill the deep grout lines with base mortar, and apply epoxy primer with fiberglass mesh.


