
Apply microcement using a flexible, rounded-corner stainless steel Venetian trowel. Spread two coarse base coats (1mm each) to build structural thickness, sand with 40-grit, then apply two fine finish coats (0.5mm each) using rhythmic arced strokes. Burnish lightly with the clean trowel blade to bring out subtle mineral movement.
At a Glance: Key Takeaways
- Rounded-Corner Bi-Flex Trowels: Rounded blade edges prevent sharp gouge lines and trowel ridges in wet plaster.
- 1mm Layer Discipline: Applying microcement too thick (>2mm per coat) causes shrinkage micro-cracking.
- Mechanical Burnishing: Passing the clean steel blade over setting plaster compresses quartz grains, creating a silky stone luster.
- Inter-Coat Sanding: 40-grit sanding on base coats creates mechanical tooth; 180-grit on finish coats refines texture.
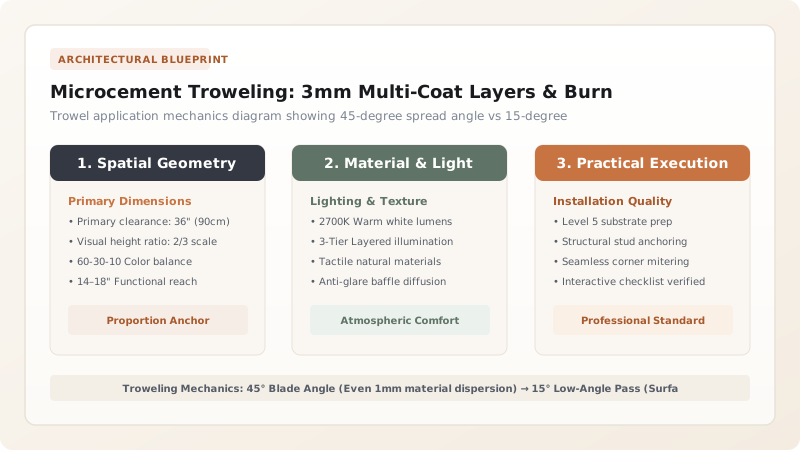
1. Hand Craftsmanship: The Bi-Flex Trowel & Arced Geometry
Unlike standard square masonry trowels that leave sharp gouges in wet plaster, professional microcement artisans use Bi-Flex Stainless Steel Trowels with Radiused Beveled Corners.
The artisan maintains a rhythmic semi-circular arced stroke, keeping the leading blade edge elevated at 30 degrees. As the paste begins to lose its initial moisture sheen (approx 20 minutes), the blade is flattened to 15 degrees to 'burnish' the surface, aligning the microscopic quartz platelets into a smooth, marble-like finish.

Microcement Troweling Stages & Sanding Grits
Use this reference table to calculate exact physical dimensions, ratios, and specifications before purchasing:
| Application Stage | Trowel Blade Angle | Drying Time Before Sanding | Sanding Disc Grit |
|---|---|---|---|
| Base Coat 1 (Leveling) | 45° Spread Angle | 4 Hours | 40-Grit Silicon Carbide (Aggressive) |
| Base Coat 2 (Structural) | 35° Smooth Pass | 4 Hours | 80-Grit Sanding Disc |
| Finish Coat 1 (Color Body) | 30° Arced Sweep | 3 Hours | 180-Grit Fine Disc |
| Finish Coat 2 (Burnish) | 15° Flat Burnish | 6 Hours | 240-Grit / 400-Grit Velvet Polish |
Cold Room High-Humidity Flash-Setting Constraints
Every successful decoration project must account for physical and environmental constraints:
Applying Microcement in Cold Damp Bathrooms Below 50°F (10°C)
Cold high-humidity conditions prevent synthetic polymers from cross-linking, causing white efflorescence and weak, crumbly plaster; maintain room temperature between 60°F and 75°F (15°C–24°C) with a space heater during application and curing.
How to Trowel Microcement Finish Coats
Execute this professional sequence to achieve flawless results without backtracking:
Mix Resin and Pigment First
Pour liquid resin and liquid pigment into a clean bucket; mix thoroughly before adding microcement powder.
Load Trowel with Small Ribbon
Scoop a 2-inch wide ribbon of paste onto the edge of a clean bi-flex stainless trowel.
Spread in Overlapping Half-Moon Arcs
Apply paste in thin 0.5mm sweeping arcs, maintaining constant firm blade pressure.
Burnish Setting Paste at 15° Angle
When paste loses wet sheen, sweep clean trowel across surface to compress quartz grains.
Sand Smooth with 240-Grit Disc
After 6 hours, sand lightly with a random orbital sander connected to a HEPA vacuum.
Common Mistakes & Countermeasures
Avoid these costly errors that compromise aesthetics, ergonomics, and budget:
Using a Dirty Trowel with Dried Plaster Crust on the Blade Edge
Project Execution Checklist
Track your physical progress. Checkboxes persist automatically on this device:
Frequently Asked Questions
How do you achieve a continuous seamless look between walls and floors?
Apply a flexible polyurethane joint sealant (like Sikaflex 11FC) in the 90-degree wall-to-floor corner, embed a pre-formed fiberglass corner tape, and trowel the microcement continuously from the wall down across the corner onto the floor.


