
Construct a ceiling cove by dropping the tray 4 to 6 inches below the main ceiling and building a 2 to 3-inch upright lip. Mount 24V COB LED strips inside angled 45-degree aluminum channels 1 to 2 inches behind the lip to bounce smooth light across the ceiling.
At a Glance: Key Takeaways
- Vertical Drop: 4 to 6 inches of vertical clearance between cove lip and ceiling.
- Cove Lip Height: 2 to 3 inches tall to shield direct view of the LED channel from below.
- Mounting Angle: 45-degree angled channel aims light inward across the ceiling center.
- Ceiling Finish: Paint ceiling in flat matte white (LRV 85+) to maximize light reflection.
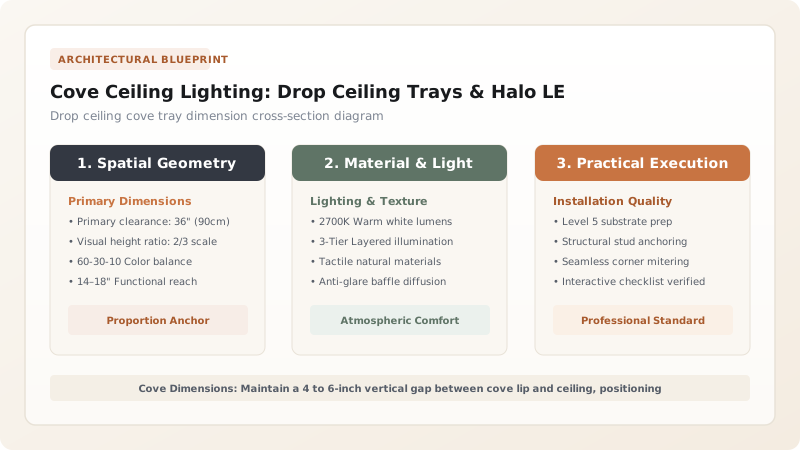
1. Architectural Cross-Section Dimensions
Indirect cove lighting creates the optical illusion that the central ceiling is floating weightlessly above the room. Sizing the cove cross-section incorrectly results in either harsh cutoff lines on the ceiling or visible diodes from standing positions.

Cove Dimension & Light Spread Matrix
Use this reference table to calculate exact physical dimensions, ratios, and specifications before purchasing:
| Ceiling Drop Gap | Cove Lip Height | Channel Orientation | Visual Light Spread |
|---|---|---|---|
| 3" - 4" Tight Drop | 1.5" - 2.0" Lip | 45° angled inward | Concentrated perimeter halo band |
| 5" - 6" Standard Drop | 2.5" - 3.0" Lip | 45° angled inward | Broad, soft gradient covering 70% of ceiling |
| 7" - 10" Grand Tray | 3.0" - 4.0" Lip | Flat horizontal upward | Expansive, seamless full ceiling illumination |
| Floating Drop Ceiling Box | No lip (Reverse cove) | Recessed into perimeter shadowline | Modern knife-edge shadow reveal |
Drywall Dust & Maintenance Constraints
Every successful decoration project must account for physical and environmental constraints:
Dust Accumulation Inside Cove
Open ceiling coves accumulate dust over time, reducing light bounce; always install frosted acrylic covers over extrusion channels so the LED strip can be wiped clean.
How to Setup an LED Cove System
Execute this professional sequence to achieve flawless results without backtracking:
Paint Cove Interior Flat White
Paint the inside of the cove tray and ceiling with high-reflectance flat white paint.
Fasten 45-Degree Channels
Screw aluminum corner extrusions along the inside base of the lip.
Run 24V COB LED Tape
Lay continuous 24V COB tape light with zero gaps at corners.
Test Dimming Threshold
Ensure driver dims smoothly down to 1% without buzzing.
Common Mistakes & Countermeasures
Avoid these costly errors that compromise aesthetics, ergonomics, and budget:
Using Semi-Gloss Paint on the Ceiling Inside a Cove
Project Execution Checklist
Track your physical progress. Checkboxes persist automatically on this device:
Frequently Asked Questions
How far from the ceiling should a cove light tray be?
A cove tray should have 4 to 6 inches of open vertical clearance between the top of the cove lip and the ceiling to allow light to spread broadly without harsh cutoff shadows.


