
Install a freestanding bathtub with a minimum 4 to 6-inch clear gap between the tub rim and surrounding walls (8 inches is optimal for effortless cleaning). Position a floor-mounted tub filler so the spout overhangs the tub rim by 2 to 4 inches, and reinforce subflooring to support 1,000 lbs.
At a Glance: Key Takeaways
- The 4-6" Cleaning Clearance: Prevents inaccessible 2-inch dust traps where mops and hands cannot reach.
- 1,000-lb Filled Water Load: A 60-gal tub + water + bather weighs approx. 950 lbs; requires joist blocking.
- Tub Filler Spout Overhang: Spout MUST extend 2 to 4 inches past the inner tub rim to prevent splashing.
- Island Tub Drop-In Drain: Freestanding drop-in drain rough-in (OS&B Island Drain) simplifies final plumbing.
In-Depth Guides in this Directory
Explore specialized subtopic blueprints, technical dimensions, and execution checklists:
Tub Wall Clearance Math: 4-6" Cleaning Gaps & Walkway Ratios
Master freestanding bathtub spatial clearance mathematics: the 4 to 6-inch wall perimeter rule, 30-inch bathroom walkway clearances, and back-to-wall hybrid tubs.
Floor-Mounted Tub Fillers: 2-4" Spout Overhang & Anti-Wobble
Master floor-mounted freestanding tub filler installation: 2 to 4-inch spout overhang geometry, in-floor solid wood blocking to eliminate wobble, and drop-in rough-in plates.
Subfloor Reinforcement for Heavy Tubs: 1,200-lb Joist Physics
Master subfloor structural reinforcement for heavy cast iron and stone resin bathtubs: calculating 1,200-lb water loads, sistering 2x10 joists, solid blocking bridging, and L/720 deflection.
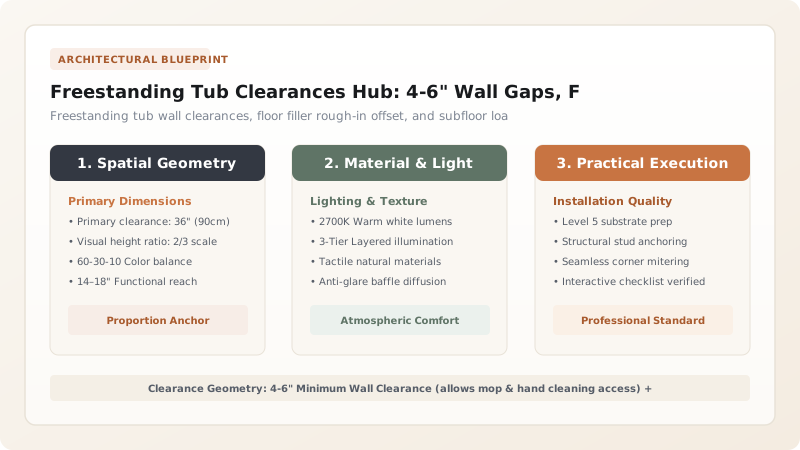
1. Spatial Ergonomics: The 'Inaccessible Dust Trap' Problem
The most widespread design failure with freestanding tubs is squeezing a 66-inch oval tub into a 68-inch alcove. Leaving a tiny 1-inch gap between the acrylic tub shell and the drywall creates an uncleanable dust and moisture cavern. Shampoo bottles fall behind the tub, and cleaning hair and dust becomes physically impossible without moving the entire tub.
Professional bathroom architects maintain a strict minimum 4 to 6-inch clearance (ideally 8 to 12 inches) around the entire perimeter of the tub, allowing vacuum wands, mops, and hands to glide freely around the base.

Freestanding Tub Materials & Weight Specifications
Use this reference table to calculate exact physical dimensions, ratios, and specifications before purchasing:
| Tub Shell Material | Empty Tub Weight | Total Weight (Filled + Bather) | Subfloor Reinforcement |
|---|---|---|---|
| Reinforced Acrylic (Standard) | 75 - 110 lbs | 650 - 750 lbs | Standard double 3/4" subfloor |
| Cast Solid Stone Resin | 250 - 350 lbs | 850 - 1,000 lbs | Double joists under tub feet |
| Enameled Cast Iron | 400 - 550 lbs | 1,100 - 1,300 lbs | Engineered sistered joists + blocking |
| Hammered Copper / Brass | 120 - 180 lbs | 750 - 850 lbs | Standard double subfloor |
Floor-Mounted Tub Filler Wobble Constraints
Every successful decoration project must account for physical and environmental constraints:
Floor-Mounted Tub Filler Wobbling When Turning Handles
Tall 36-inch tub fillers act as long levers; screwing filler brackets only into tile causes severe wobble and leaks; strictly bolt the heavy brass rough-in mounting plate directly into solid 2x8 in-floor wood blocking beneath the subfloor.
How to Layout and Install a Freestanding Tub
Execute this professional sequence to achieve flawless results without backtracking:
Check Floor Clearances on Floorplan
Verify at least 4 to 6 inches of clear perimeter space around all sides of tub.
Reinforce Subfloor Joists
Add solid 2x8 bridging between joists directly below tub footprint to support 1,000 lbs.
Install Drop-In Island Tub Drain
Plumb an OS&B Island Tub Drain rough-in box flush with subfloor elevation.
Rough-In Floor Filler at 4" Offset
Bolt heavy brass filler base plate into in-floor blocking 4 inches from tub edge.
Drop Tub Tailpiece into Drain
Tile bathroom, attach brass tailpiece to tub, and lower tub straight into the pre-lubricated island drain.
Common Mistakes & Countermeasures
Avoid these costly errors that compromise aesthetics, ergonomics, and budget:
Squeezing a Freestanding Tub into a Tight 3-Sided Alcove
Project Execution Checklist
Track your physical progress. Checkboxes persist automatically on this device:
Frequently Asked Questions
What is an Island Tub Drain and why is it recommended?
An Island Tub Drain (by OS&B) is a specialized drop-in drain socket installed beneath the floor tile. It allows plumbers to hook up a freestanding tub simply by pushing the brass tailpiece straight down into the socket, eliminating the need for awkward access panels below.


