
Plumb freestanding tub waste lines using a certified Island Tub Drain (ITD) rough-in kit (such as OS&B ITD35 or Watts IDB). Solvent-weld the 2-inch PVC drain body directly to the subfloor P-trap, tile around the protective teardrop cover plate, thread the lubricated brass tailpiece onto the tub waste, and lower the tub directly into the ITD receiver hub.
At a Glance: Key Takeaways
- 100% Topside Installation: Completely eliminates the need to cut access holes in finished ceilings or crawlspaces below.
- Dual EPDM O-Ring Compression Seal: Creates a permanent, watertight, gas-tight mechanical seal when the brass tailpiece inserts.
- Pre-Installed Test Plug (100 PSI Rated): Allows plumbers to perform municipal drain DWV flood tests before the tub arrives.
- Asymmetric Teardrop Floor Flange: Fits easily inside standard 16-inch on-center joist bays with zero joist notching.
- Brass vs PVC Tailpiece Compatibility: Includes threaded brass tailpiece for solid metal waste kits and schedule 40 adapters.
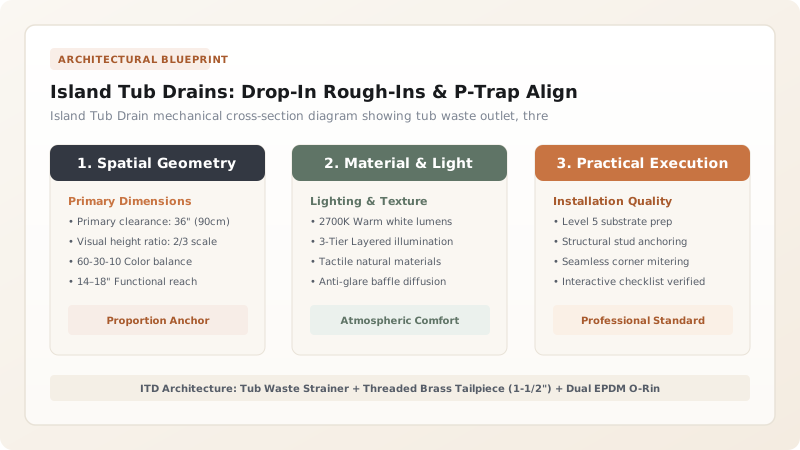
1. Plumbing Engineering: Drop-In Hub Mechanics & O-Ring Sealing
Traditionally, connecting a freestanding tub required a plumber in the room below to guide a slip-joint tailpiece into a trap while two people lowered the tub above—impossible over slab foundations or finished downstairs living rooms.
The Island Tub Drain (ITD) solves this. The receiver hub mounts flush with the subfloor. A 1-1/2" Threaded Brass Tailpiece is attached to the tub before setting; lowering the tub pushes the tailpiece into Dual Factory-Lubricated EPDM O-Rings, creating an immediate, leak-proof seal. Explore spacing in tub perimeter clearances.

2. Subfloor P-Trap Alignment & DWV Pressure Flood Testing
The 2-inch subfloor P-trap must be plumbed dead-center under the tub manufacturer's rough-in template.
The ITD includes a Threaded 1/4-Turn Test Plug that holds water for the 24-Hour Municipal DWV Air/Flood Inspection. Review anti-wobble mounting in anti-wobble floor filler plates and explore freestanding tub plumbing.
Freestanding Tub Drain Systems Comparison
Use this reference table to calculate exact physical dimensions, ratios, and specifications before purchasing:
| Drain Method | Ceiling Cutout Required | UPC Plumbing Code Status | Ease of Tub Removal / Service |
|---|---|---|---|
| Island Tub Drain (ITD - Optimal) | NO (100% Topside install) | 100% Approved (ASME A112.18.2 / CSA B125.2) | Excellent (Lift tub straight out) |
| Traditional Slip-Joint Nut | YES (Cut 12" drywall below) | Approved with accessible panel | Poor (Requires ceiling repair) |
| Solvent Weld Hard PVC Joint | YES (Cut drywall below) | Approved | Impossible without cutting pipe |
| Flexible Accordion Pipe (Avoid) | NO | ILLEGAL under UPC/IPC Codes | FAILS: Traps hair / Leaks |
Tailpiece Misalignment O-Ring Pinching Constraints
Every successful decoration project must account for physical and environmental constraints:
Lowering Heavy 300-lb Tub at an Angle Pinching and Tearing ITD Internal O-Rings
Dropping a stone resin tub crooked can shear the rubber O-rings inside the ITD hub, causing a hidden drain leak; coat the brass tailpiece with pure silicone plumber's grease, and use two suction-cup glass lifters to lower the tub 100% vertically into the hub.
How to Rough In and Connect an Island Tub Drain
Execute this professional sequence to achieve flawless results without backtracking:
Cut 4-1/2" Hole in Subfloor at Drain Centerline
Use hole saw to cut clearance opening through subfloor plywood centered on tub drain template.
Solvent-Weld ITD Hub to 2" PVC P-Trap Below
Glue 2" PVC adapter from trap to ITD body; secure teardrop flange to subfloor with wood screws.
Install Factory Test Plug and Perform DWV Test
Screw blue test plug into ITD receiver; fill drain stack with water to conduct plumbing code inspection.
Tile and Grout Floor Around ITD Protective Guard
Set tile up to yellow protective plaster guard; grout floor and allow to cure 24 hours.
Thread Brass Tailpiece onto Bathtub Waste Assembly
Apply Teflon tape and thread fine-pitch brass tailpiece into bottom of tub waste strainer; tighten with wrench.
Lubricate Tailpiece with Plumber's Grease and Drop Tub
Apply silicone grease to brass pipe; lower tub vertically until tailpiece fully seats into ITD O-ring hub.
Common Mistakes & Countermeasures
Avoid these costly errors that compromise aesthetics, ergonomics, and budget:
Using Petroleum Jelly (Vaseline) to Lubricate ITD O-Rings
Project Execution Checklist
Track your physical progress. Checkboxes persist automatically on this device:
Frequently Asked Questions
Can an Island Tub Drain be installed on a concrete slab foundation?
Yes! Plumb a 4-inch boxed cutout or core hole in the slab around the 2-inch P-trap during the rough pour. The ITD body is solvent welded into the trap and grouted flush with the slab surface.


