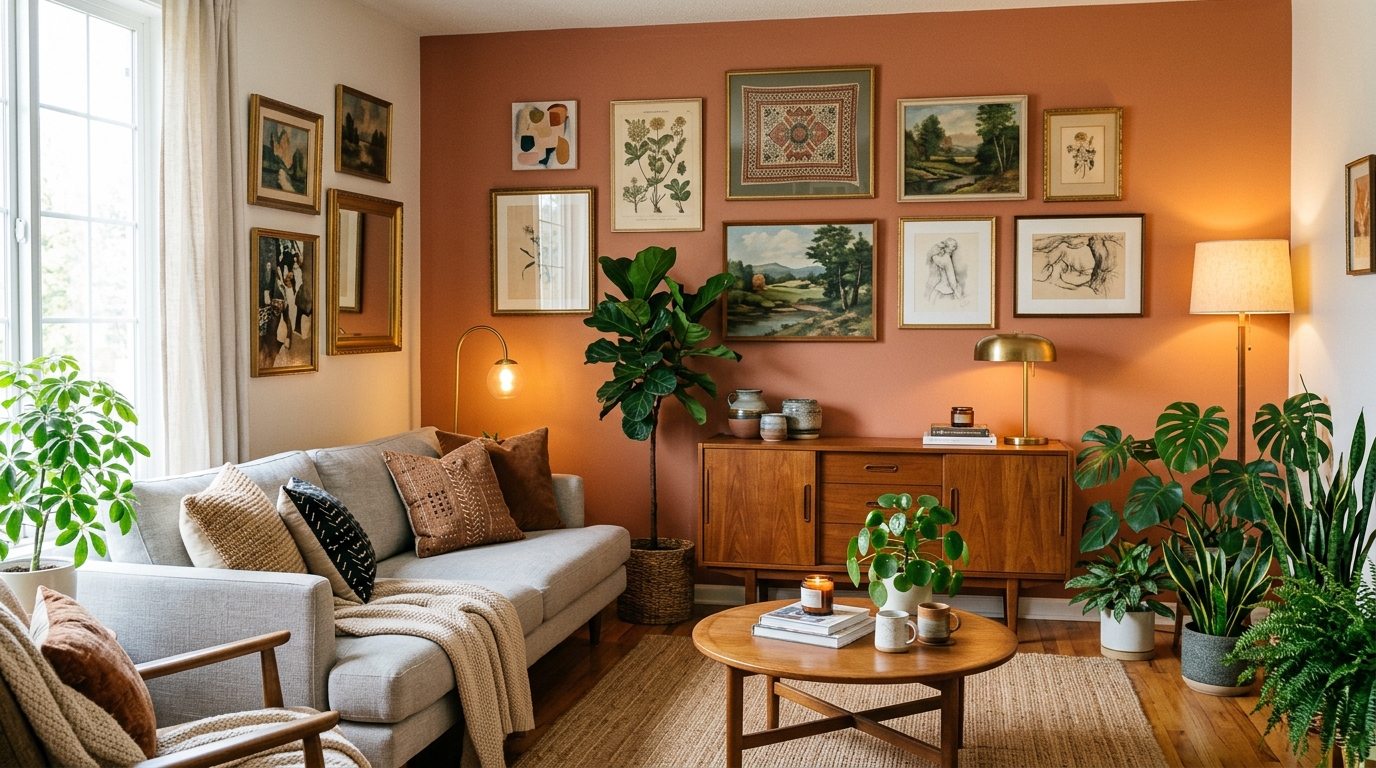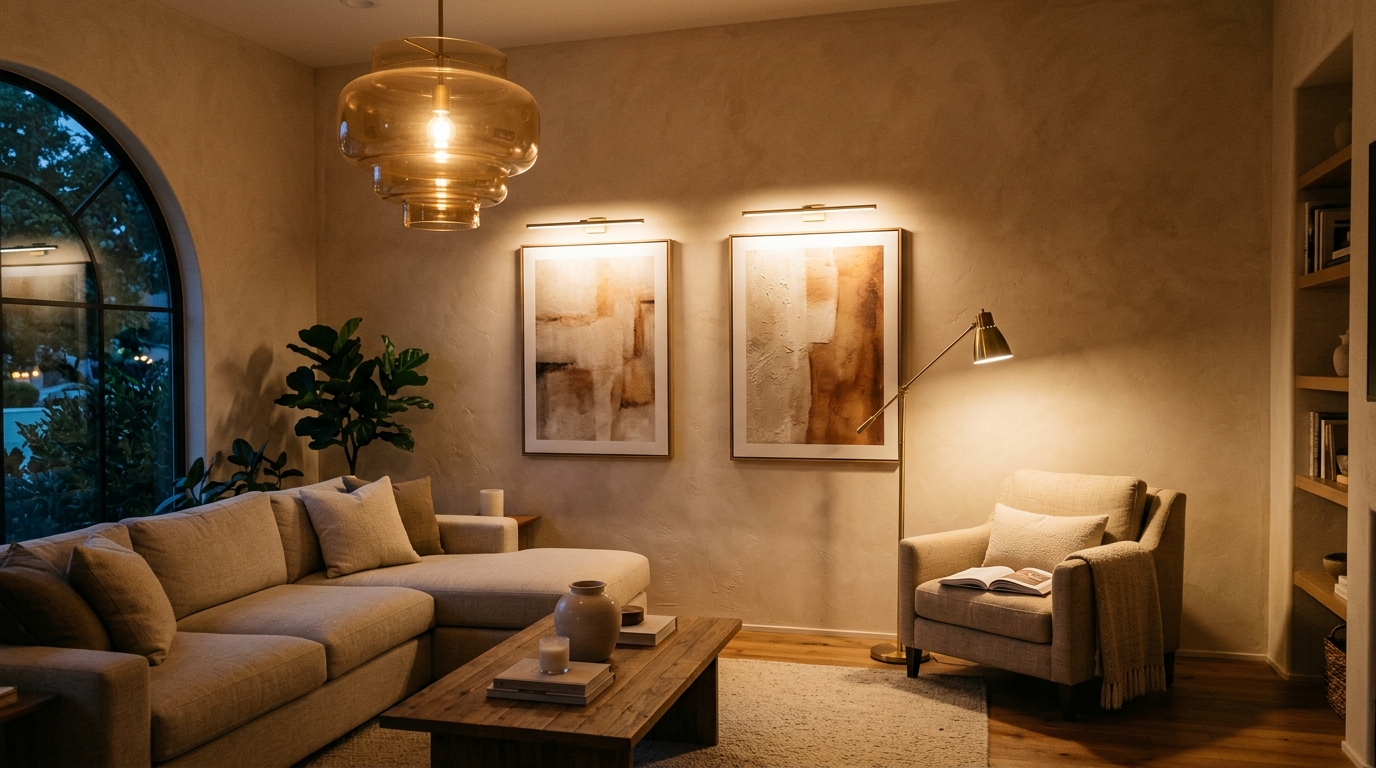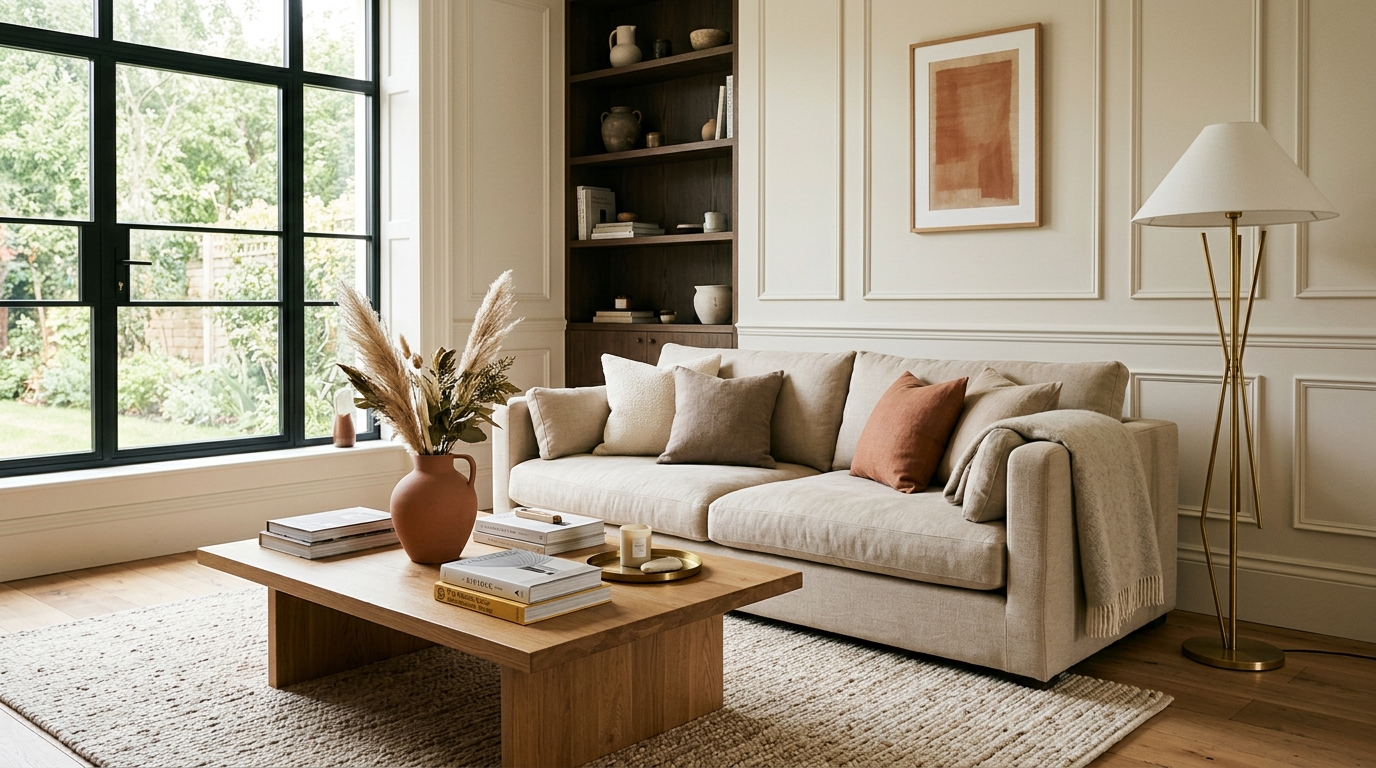
The master decoration planning process follows 6 sequential phases: 1) Phase 1: Spatial Audit & Measurement, 2) Phase 2: Budget & 50/30/20 Allocation, 3) Phase 3: Color Palette & Architectural Envelope (Paint & Trim), 4) Phase 4: Foundational Core Furniture & Rugs, 5) Phase 5: 3-Layer 2700K Dimmable Lighting, and 6) Phase 6: Layered Textiles, Art & Organic Styling.
At a Glance: Key Takeaways
- Never shop for furniture before measuring all wall lengths, window sills, door swings, and outlet locations.
- Apply the 50/30/20 budget formula: 50% core touchpoints, 30% sensory lighting/textiles, 20% accents & buffer.
- Paint walls and trim before moving furniture into the room to prevent overspray and paint splatter.
- Hang wall art at 57–60 inches centerline and maintain 14–18" clearance between sofa and coffee table.

1. Phase 1 & 2: Spatial Audit, Architectural Measurements & Budget Cap
Decorating failure occurs when homeowners buy furniture based on emotional visual attraction without knowing their exact physical constraints. Always complete Phases 1 and 2 before spending a single dollar:
- Phase 1: The Comprehensive Spatial Audit:
- Measure all wall lengths to the nearest quarter-inch with a laser or steel tape measure.
- Record ceiling height at three different points to detect uneven floors.
- Measure window sill heights, radiator depth, electrical outlet coordinates, and door swing clearance arcs.
- Measure stairwell widths, elevator doors, and hallway turn radii to ensure delivery passage.
- Phase 2: Budgeting & The 10% Emergency Buffer:
- Set a hard budget cap and deduct 10% immediately into a contingency reserve for freight, taxes, and hardware.
- Allocate 50% to foundational daily furniture, 30% to atmospheric finishes (paint/lighting/rugs), and 10% to accents.
2. Phase 3 & 4: Architectural Envelope & Core Foundational Anchors
Establish the background shell before bringing in physical furnishings:
- Phase 3: The Architectural Envelope (Paint & Trim):
- Select your 60-30-10 master color palette based on permanent flooring undertones and window solar orientation.
- Patch drywall, caulk baseboards, and apply 2 coats of quality eggshell paint to walls and satin to trim.
- Install architectural molding, picture rails, or peel-and-stick wallpaper before furniture delivery.
- Phase 4: Foundational Core Furniture & Area Rugs:
- Lay large scale area rugs (8x10 or 9x12 ft) with 1/2-inch dense felt pads to define seating groups.
- Position primary sofa floating 12 to 18 inches off walls, facing the designated focal axis.
- Maintain strictly 14 to 18 inches between sofa and coffee table, and 30 to 36 inches for main walkways.
3. Phase 5 & 6: 3-Layer Lighting, Wall Art & Final Organic Styling
Complete the space with atmospheric illumination and curated sensory details:
- Phase 5: 3-Layer 2700K Dimmable Lighting:
- Standardize all residential bulbs to 2700K Warm White with CRI >90.
- Position table and floor lamps at seated eye level (38–42" from floor) to form a lighting triangle.
- Install trailing-edge LED dimmers on all ambient and task circuits.
- Phase 6: Layered Textiles, Artwork & Organic Life:
- Mount drapery rods 2 to 4 inches below the ceiling line and hang floor-length drapes with pinch pleats.
- Hang standalone wall art with its vertical center strictly at 57 to 60 inches eye level.
- Layer down-filled accent pillows, textured throws, ceramic bowls, and fresh architectural tree branches.
Master 6-Phase Decoration Execution Schedule
Use this reference table to calculate exact physical dimensions, ratios, and specifications before purchasing:
| Phase | Project Stage | Core Tasks | Critical Clearance / Formula | Estimated Timeline |
|---|---|---|---|---|
| Phase 1 | Spatial Audit | Measure walls, ceiling, door swings, delivery paths | Verify 36" primary walking arteries | Days 1–2 |
| Phase 2 | Budget Planning | Establish 50/30/20 allocation & 10% buffer | 10% cash contingency reserve | Days 3–4 |
| Phase 3 | Architectural Envelope | Drywall repair, paint (60-30-10), trim, wallpaper | Paint walls & trim before furniture | Days 5–8 |
| Phase 4 | Core Furniture & Rugs | Lay 8x10 rug with felt pad; float main sofa | 14–18" coffee table; 36" main walkways | Days 9–14 |
| Phase 5 | 3-Layer Lighting | Install chandelier, lamps, sconces on dimmers | 2700K Warm White (CRI >90) on all bulbs | Days 15–18 |
| Phase 6 | Textiles, Art & Styling | Hang drapes, 57" eye-level art, pillows, greenery | 57–60" art centerline; Rule of Three | Days 19–21 |
Master Planning Practical Constraints
Every successful decoration project must account for physical and environmental constraints:
Furniture Delivery Lead Times
Custom upholstered sofas often require 8 to 12 weeks for manufacturing and freight; place core furniture orders immediately after completing Phase 1 measurements to align with project schedules.
Tool and Fastener Readiness
Keep a fully charged cordless drill, laser level, stud finder, and appropriate hollow-wall toggle bolts on site to prevent stopping work for hardware store runs.
Dust Protection Sequence
Never sand drywall or cut wood molding in a room where rugs and sofas have already been unboxed; always complete all dusty envelope construction in Phase 3 before unboxing textiles.
The Ultimate 10-Step Master Decoration Workflow
Execute this professional sequence to achieve flawless results without backtracking:
Measure Room Perimeter, Ceiling Height & Door Arcs
Record exact dimensions on graph paper before purchasing any items.
Establish 50/30/20 Budget with 10% Reserve Buffer
Allocate 50% to core furniture, 30% to envelope/lighting, and 10% to accents.
Select 60-30-10 Whole-Home Color Palette
Match neutral paint undertones to permanent flooring and window orientation.
Patch Drywall and Apply 2 Coats of Paint
Color-drench walls and baseboards while the room is completely empty.
Lay Area Rugs (8x10/9x12) with Dense Felt Pads
Anchor the seating conversation zone before placing heavy furniture.
Position Primary Seating Floating 12–18" Off Walls
Maintain 14–18" reach to coffee table and 30–36" main walkways.
Install 3-Layer 2700K Dimmable Lighting System
Place table/floor lamps at eye level (38–42") and replace switches with dimmers.
Mount Floor-to-Ceiling Drapery Near Ceiling Line
Hang extra-long 96" panels with pinch pleats 4–6" above window frames.
Hang Wall Art at 57–60" Museum Eye-Level Centerline
Ensure art spans two-thirds of furniture width with a 6–8" gap above sofa back.
Style Surfaces with Organic Ceramics and Greenery
Apply the Rule of Three and 30% negative space across tables and shelving.
Common Mistakes & Countermeasures
Avoid these costly errors that compromise aesthetics, ergonomics, and budget:
Buying Accessories Before Foundational Furniture
Painting After Furniture is Delivered
Skipping Physical Measurements Before Ordering
Project Execution Checklist
Track your physical progress. Checkboxes persist automatically on this device:
Frequently Asked Questions
How long does it take to decorate an entire room from start to finish?
Following the 6-phase blueprint, an average room takes 2 to 3 weeks of active work (excluding furniture manufacturing lead times): 2 days for audit and ordering, 4 days for painting and lighting, and 2 days for assembly and styling.
What should I buy first when decorating an empty room?
Buy your area rug and primary seating (sofa or bed) first. The area rug establishes the color palette and spatial footprint for every other piece in the room.
Can I complete this checklist on a DIY basis?
Yes! All 6 phases are engineered for DIY execution using basic tools (tape measure, drill, level, paint roller). Specialized electrical work (adding new hardwired junction boxes) can be subcontracted to a licensed electrician.