
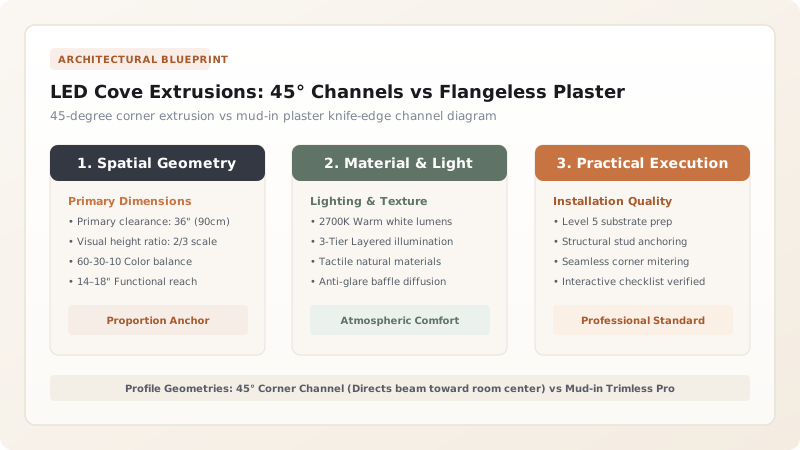
Choose 45-degree corner aluminum channels for traditional recessed cove troughs to throw light toward the center of the ceiling. Choose plaster-in (mud-in) flangeless profiles when creating ultra-modern knife-edge architectural ceiling drops where zero metal trim is visible.
At a Glance: Key Takeaways
- Thermal Heat Sinking: Aluminum channels pull heat away from LED diodes, extending lifespan from 15,000 to 50,000+ hours.
- Frosted Opal Diffusers: Reduce light output by only 15% while eliminating 100% of visible diode hot spots.
- 45-Degree Corner Geometry: Throws light at an upward diagonal, eliminating harsh upper-wall cutoff lines.
- Mud-In Flangeless Profiles: Perforated wings allow joint compound to be taped and feathered flush with drywall.
1. Thermal Dissipation Physics & Optical Lens Selection
High-output LED strips (producing 400+ lumens/ft) generate concentrated thermal energy at the semiconductor diode junctions. Adhering LED tape directly to wood or drywall traps heat, causing diodes to turn yellow, shift color temperature, and burn out within 18 months.
Anodized 6063-T5 aluminum channels act as high-efficiency thermal heat sinks, conducting heat away from the copper PCB board. When paired with a milky frosted (opal) polycarbonate diffuser, individual point-source LEDs blend into a single, continuous neon-like ribbon of light.

Aluminum LED Channel Profiles Comparison
Use this reference table to calculate exact physical dimensions, ratios, and specifications before purchasing:
| Extrusion Profile | Mounting Method | Beam Throw Angle | Best Interior Application |
|---|---|---|---|
| 45° Corner Channel | Surface screw / clips in corner | 45° Diagonal upward throw | Standard drywall cove troughs, crown moulding coves |
| Flat Shallow Surface Channel | Surface screw / double-sided tape | 120° Straight upward throw | Behind floating headboards, under-cabinet lighting |
| Mud-In / Trimless Knife-Edge | Drywall mud over perforated wings | Lateral ceiling wash | Ultra-modern luxury architecture, floating ceilings |
| Deep Architectural Recessed | Rout into 3/4" plywood / millwork | 90° Deep well diffusion | Custom wood slat walls, architectural millwork |
Clear vs Frosted Diffuser Lens Constraints
Every successful decoration project must account for physical and environmental constraints:
Reflected Diode Dots Visible in Semi-Gloss Ceilings
Using clear diffuser lenses shows individual pixelated dots reflected on smooth ceilings; strictly use 'Milky Opal / Frosted' polycarbonate diffusers with deep channels (minimum 15mm depth) for 100% dotless diffusion.
How to Install Mud-In Trimless Cove Channels
Execute this professional sequence to achieve flawless results without backtracking:
Hang Drywall with 1/2" Gap
Leave a 1/2" gap between drywall edge and ceiling framing.
Screw Perforated Channel Wings
Fasten the perforated aluminum channel wings directly into studs with drywall screws.
Tape & Feather Joint Compound
Apply mesh tape over wings and trowel setting-type joint compound flush to channel edge.
Sand & Paint Ceiling
Sand smooth to Level 5 finish and paint with high-hiding flat white ceiling paint.
Install LED Strip & Snap Lens
Adhere 24V LED strip inside and press frosted diffuser lens flush into place.
Common Mistakes & Countermeasures
Avoid these costly errors that compromise aesthetics, ergonomics, and budget:
Cutting Aluminum Profiles with Dull Hand Hacksaws
Project Execution Checklist
Track your physical progress. Checkboxes persist automatically on this device:
Frequently Asked Questions
Can you bend aluminum LED channels around curved walls?
Standard rigid aluminum extrusions cannot bend, but you can purchase 'Flexible Bendable Aluminum Profiles' that curve smoothly around curved walls and arched cove ceilings.


