
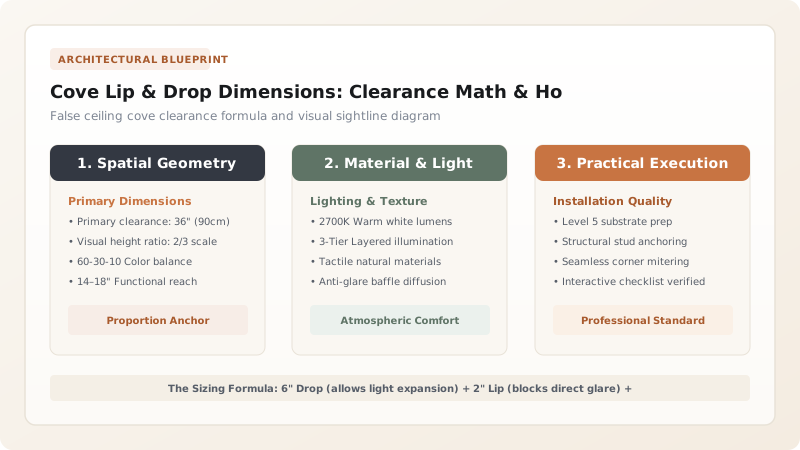
Size a residential ceiling cove using the 6-2-4 rule: 6 inches of vertical drop from ceiling to cove base, a 2-inch vertical concealing upstand lip, and a 4-inch wide interior trough width. This conceals the LED channel while letting light expand gracefully across the ceiling.
At a Glance: Key Takeaways
- The 6-2-4 Dimension Rule: 6" Drop + 2" Lip + 4" Trough Width = Flawless residential cove lighting.
- Sightline Protection: A 2-inch lip ensures that standing adults (6-ft eye level) cannot see bare LED diodes.
- Hotspot Prevention: Maintaining at least 5 inches between LED and ceiling prevents an ugly bright streak.
- Hand Clearance: A 4-inch wide trough allows electricians to reach inside to clean or service drivers.
1. Why Shallow 2-Inch Coves Fail (The Hotspot Problem)
The most common mistake contractors make when building drywall coves is making the vertical drop too shallow (e.g., dropping only 2 to 3 inches from the ceiling). When an LED strip is placed only 2 inches below drywall, the light cannot disperse into a wide fan; instead, it creates an intense, narrow bright white hotspot streak directly above the cove, leaving the center of the ceiling in complete shadow.
To allow the 120-degree beam angle of the LED to expand into a gradual, soft wash, you must maintain a minimum vertical drop of 5 to 6 inches from the ceiling plane.

Ceiling Height vs Recommended Cove Dimensions
Use this reference table to calculate exact physical dimensions, ratios, and specifications before purchasing:
| Existing Ceiling Height | Vertical Drop Height | Upstand Lip Height | Interior Trough Width |
|---|---|---|---|
| 8-Foot Ceiling (Standard) | 5" - 6" Drop | 1.75" - 2.0" Lip | 4.0" Trough Width |
| 9-Foot Ceiling (Modern) | 6" - 8" Drop | 2.0" - 2.5" Lip | 5.0" Trough Width |
| 10-Foot to 12-Foot (High) | 8" - 12" Drop | 2.5" - 3.5" Lip | 6.0" Trough Width |
| Double-Height / Vaulted | 12" - 16" Drop | 4.0" - 5.0" Lip | 8.0" Deep Trough |
LED Strip Position Inside Trough Constraints
Every successful decoration project must account for physical and environmental constraints:
Placing LED Strip on the Back Wall Creating a Hard Shadow Line
Mounting the LED strip flat against the back wall creates a sharp, ugly horizontal cutoff line on the wall; mount the strip on the back of the front upstand lip pointing toward the wall, or on the bottom corner angled at 45 degrees.
How to Calculate and Lay Out Cove Framing
Execute this professional sequence to achieve flawless results without backtracking:
Measure Ceiling Height
Confirm total floor-to-ceiling height (e.g. 108 inches for 9-ft ceiling).
Snap Laser Line at -6"
Snap a 360-degree laser level line exactly 6 inches down from the finished ceiling.
Build 4" Trough Framing
Frame horizontal drywall soffit extending out from wall, leaving a 4-inch deep channel.
Attach 2" Upstand Lip
Fasten 1/2" drywall lip standing 2 inches above the trough floor.
Check Sightlines from Seating
Sit in room sofa to verify the lip completely hides the bottom corner channel.
Common Mistakes & Countermeasures
Avoid these costly errors that compromise aesthetics, ergonomics, and budget:
Making the Trough Width Less Than 3 Inches
Project Execution Checklist
Track your physical progress. Checkboxes persist automatically on this device:
Frequently Asked Questions
Should the inside of the cove trough be painted glossy or flat?
Always paint the inside of the cove trough in dead-flat ceiling white (LRV 85+). Semi-gloss or satin paint reflects shiny, distorted diode rings and texture flaws onto the ceiling.


