
Frame a diagonal checkerboard floor by installing a solid 4 to 6-inch wide perimeter border of solid black Nero Marquina or white Carrara marble around the room boundary. This creates an elegant 'architectural stone rug' effect while providing a straight, clean frame to terminate diagonal half-tile cuts.
At a Glance: Key Takeaways
- The 6-Inch Border Standard: 6-inch border width balances standard 12x12 or 16x16 center diamond tiles perfectly.
- Eliminates Jagged Wall Cuts: Diagonal tiles terminate cleanly into the straight inner edge of the solid border.
- 45-Degree Corner Miters: Precision 45° miter cuts at room corners frame the room with classical architectural symmetry.
- Optional 1/2" Brass Inset Liner: Running a 1/2-inch brushed brass pencil liner between field and border elevates luxury.
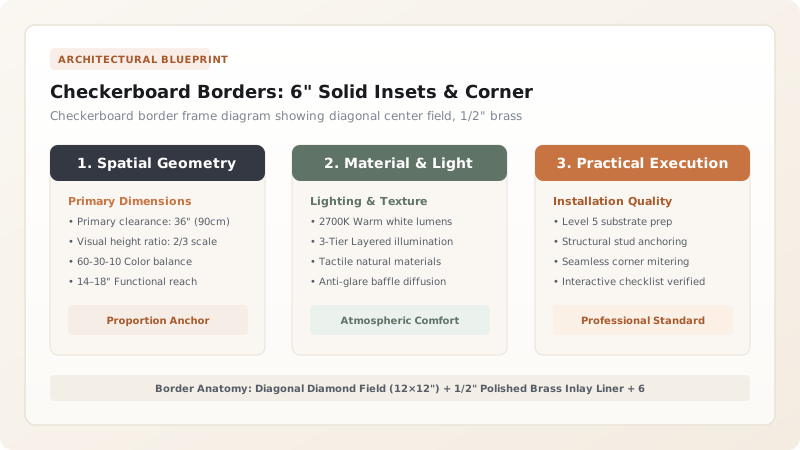
1. Classical Composition: The Stone Rug Framing Rule
When a diagonal checkerboard runs directly into room baseboards without a border, the triangular cut tiles meet the baseboard at varying random angles, making the perimeter look chaotic and unfinished.
Master architects frame the floor like a fine painting: the Diagonal Diamond Field acts as the canvas, surrounded by a solid 4 to 6-inch stone border (the mat board), which meets the wood baseboard (the picture frame). This tripartite composition creates a grounded, tailored grandeur.

Checkerboard Border Profiles & Sizing Ratios
Use this reference table to calculate exact physical dimensions, ratios, and specifications before purchasing:
| Room Size Category | Center Diamond Tile Size | Optimal Border Width | Corner Detail |
|---|---|---|---|
| Powder Room / Small Entry (< 50 sq ft) | 8" × 8" Diamonds | 3.0" - 4.0" Solid Border | 45° Miter or 4" Corner block |
| Standard Foyer / Kitchen (100 - 200 sq ft) | 12" × 12" Diamonds | 5.0" - 6.0" Solid Border | 45° Continuous Corner Miter |
| Grand Estate Gallery (> 300 sq ft) | 16" × 16" or 18" × 18" | 8.0" - 10.0" Double Border | 45° Miter with brass inlay |
| Long Narrow Hallway | 12" × 12" Diamonds | 4.0" Border (Maximizes center) | Straight butt or corner miter |
Door Jamb Casing Notch Constraints
Every successful decoration project must account for physical and environmental constraints:
Solid Stone Border Colliding with Door Jambs at Room Thresholds
Where the border reaches a doorway, the stone must terminate cleanly; undercut wood door jambs with an oscillating multi-tool so the 6-inch solid border slides 1/4" under the casing without ugly notches.
How to Install a Bordered Checkerboard Floor
Execute this professional sequence to achieve flawless results without backtracking:
Mark 6" Offset Lines from Baseboards
Snap chalk lines 6 inches away from all 4 perimeter walls to define the border zone.
Layout Diagonal Center Field First
Set the diagonal checkerboard field inside the chalk lines, ensuring outer tiles extend slightly past the line.
Snap Chalk Cut Line Across Field
Snap a razor-sharp chalk line across the dry-set diagonal tiles exactly on the 6-inch boundary line.
Cut Field Tiles Cleanly with Track Saw
Use a plunge track saw with diamond blade to cut the entire diamond field boundary dead-straight.
Install 6" Border with 45° Corner Miters
Set solid 6" border planks into the perimeter channel, cutting tight 45° miters at the 4 room corners.
Common Mistakes & Countermeasures
Avoid these costly errors that compromise aesthetics, ergonomics, and budget:
Installing the Border First and Trying to Cut Diagonal Tiles to Fit Inward
Project Execution Checklist
Track your physical progress. Checkboxes persist automatically on this device:
Frequently Asked Questions
Should the border color match the black or white tile?
Using the darker stone (such as black Nero Marquina) for the perimeter border provides strong architectural grounding and hides dust along baseboard edges. Using white Carrara for the border creates a softer, more subtle transition.


