
Layout a classic checkerboard stone floor by installing 12x12-inch or 16x16-inch honed marble tiles (such as White Carrara paired with Black Nero Marquina or Belgian Bluestone) on a 45-degree diagonal. Start from the exact geometric room center and enclose the perimeter with a 6-inch solid stone border to cleanly terminate diagonal half-tile cuts.
At a Glance: Key Takeaways
- 45° Diagonal Orientation: Visually widens rooms and disguises out-of-square walls far better than square grids.
- Honed Carrara & Nero Marquina Pairing: The gold standard classical European high-contrast stone palette.
- 6-Inch Solid Inset Border Frame: Eliminates ugly triangular sliver cuts along walls and creates a tailored rug effect.
- Honed (Matte) Finish Standard: Honed stone provides essential wet slip resistance (DCOF > 0.42) and hides foot scuffs.
- Penetrating Fluorochemical Sealer: Essential to protect porous white marble against black tile dye migration.
In-Depth Guides in this Directory
Explore specialized subtopic blueprints, technical dimensions, and execution checklists:
Diagonal vs Square Checkerboard: Optical Expansion Math
Master checkerboard tile orientation geometry: 45-degree diagonal vs 90-degree square layouts, optical room-widening vector math, 15% cutting waste factors, and centerline alignment.
Carrara & Nero Marquina: Calcite Densities & Sealing Science
Master Carrara and Nero Marquina marble pairing: calcite mineral densities, differential stone wear rates, honed 400-grit matte finishes, and stain-proof impregnator sealing.
Checkerboard Borders: 6" Solid Insets & Corner Miters
Master checkerboard floor border framing: 6-inch solid marble insets, 45-degree corner border miters, terminating diagonal half-tiles, and architectural rug effects.
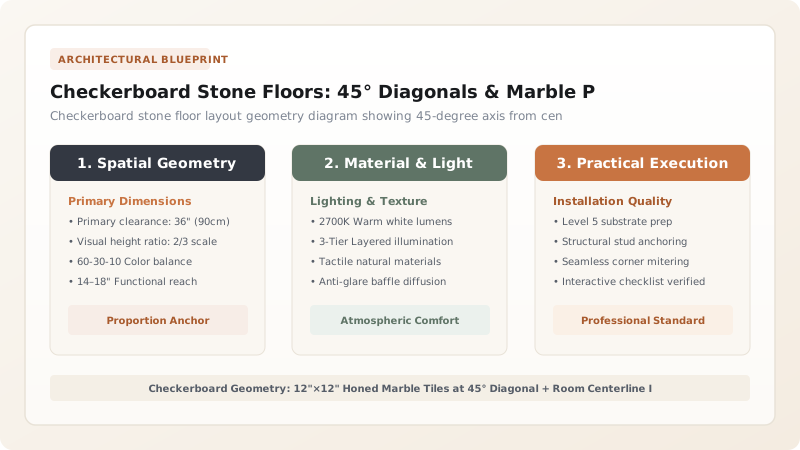
1. Classical History: Versailles & The 45-Degree Optical Expansion
From the Hall of Mirrors in the Palace of Versailles to grand Georgian English country estates, the black-and-white checkerboard floor (*Damiers*) has represented architectural luxury for over 400 years.
While square grid layouts emphasize wall boundaries, laying tiles on a 45-degree diagonal angle creates continuous dynamic diamond vectors. The eyes follow diagonal lines outward toward the room corners, creating an optical expansion that makes narrow foyers and kitchens feel 30% wider.

Checkerboard Stone Material Pairings & Slip Ratings
Use this reference table to calculate exact physical dimensions, ratios, and specifications before purchasing:
| Stone Material Pairing | Surface Finish | DCOF Slip Rating | Visual Formality |
|---|---|---|---|
| Honed White Carrara + Nero Marquina (Optimal) | Honed Matte (400-grit) | DCOF 0.48 (Slip resistant) | High Classical Formal Luxury |
| Honed Calacatta Gold + Belgian Bluestone | Honed Velvet | DCOF 0.52 | Warm Transitional European |
| Botticino Cream Marble + French Terracotta | Tumbled Antiqued | DCOF 0.60 | Rustic French Provençal / Tuscan |
| Polished Pure Black + Polished White (FORBIDDEN) | High-Gloss Polished | DCOF 0.28 (SLIPPERY HAZARD) | Extreme slip hazard when wet |
Black Marble Dye Migration & Scratching Constraints
Every successful decoration project must account for physical and environmental constraints:
Black Marble Dust Staining Porous White Carrara Marble During Grouting
Dark grout or wet black stone slurry will bleed into the open pores of white Carrara marble, staining it permanently gray; apply a high-grade penetrating sealer (like Dry-Treat Stain-Proof) to ALL marble tiles PRIOR to grouting.
How to Layout a 45° Diagonal Checkerboard Floor
Execute this professional sequence to achieve flawless results without backtracking:
Establish Room Centerlines with Laser
Snap chalk lines connecting midpoints of opposing walls to locate exact room center.
Project 45-Degree Diagonal Grid
Align a 45-degree laser square over centerpoint to project diagonal installation axes.
Dry-Lay Center Diamonds
Dry-lay 4 center tiles (2 white, 2 black) with 1/16" tile spacers to verify symmetry.
Frame 6" Solid Perimeter Border
Install 6-inch solid black or white border tiles around the perimeter walls.
Set Tiles with 1/16" Joints & Grout
Set tiles with white thin-set, allow to cure 24 hours, pre-seal, and grout with light neutral gray grout.
Common Mistakes & Countermeasures
Avoid these costly errors that compromise aesthetics, ergonomics, and budget:
Starting a Diagonal Checkerboard from One Wall Corner Instead of Room Center
Project Execution Checklist
Track your physical progress. Checkboxes persist automatically on this device:
Frequently Asked Questions
What tile size is best for checkerboard floors?
For standard residential foyers, powder rooms, and kitchens, 12×12-inch or 16×16-inch tiles offer the ideal scale. Tiles smaller than 8×8 inches create busy visual vibration, while 24×24-inch tiles can overwhelm small rooms.


