
Finish custom lampshades by applying a 1/2-inch self-trim binding made from matching silk cut on a true 45-degree bias. Fold the edges inward using a 1/2-inch bias tape maker tool, wrap over the top and bottom wire rings to completely encapsulate raw pleat stitches, and bond with water-based textile glue or delicate blind-stitches.
At a Glance: Key Takeaways
- True 45° Bias Cutting: Essential for trim to bend smoothly around circular wire rings without puckering.
- 1/2-Inch Finished Trim Width: Balances delicate pleated lampshades without looking bulky or overpowering.
- Self-Trim Aesthetic: Using the exact same silk fabric as the shade creates a sophisticated, continuous couture finish.
- Non-Staining Textile Glue (Bostik / Gütermann): Dries 100% clear and flexible without leaving dark wet spots on silk.
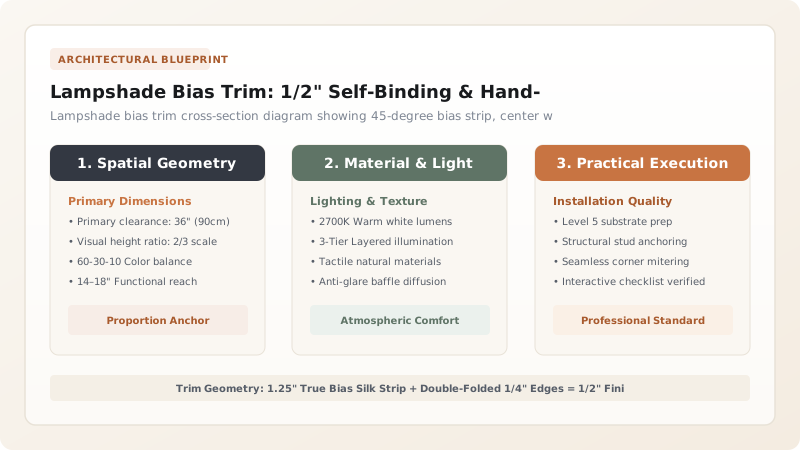
1. Adhesive Chemistry: Non-Staining PVA vs Darkening Hot Glues
Using hot melt glue or standard craft glue on delicate Habotai silk is an immediate failure: hot glue dries thick and lumpy, while cheap white glues contain water solvents that leach through thin silk, leaving permanent dark water rings.
Master lampshade makers use Water-Free Non-Staining Textile Adhesives (Gütermann HT2 / Bostik All Purpose). The adhesive is applied with a fine artist's paintbrush along the inside edge of the pre-folded 1/2-inch bias strip, forming a crystal-clear, permanent bond that never darkens silk.

Lampshade Trim Styles & Finishing Methods
Use this reference table to calculate exact physical dimensions, ratios, and specifications before purchasing:
| Trim Finishing Style | Trim Strip Width (Bias) | Application Method | Visual Aesthetic |
|---|---|---|---|
| Folded Bias Self-Trim (Optimal) | 1.25" Strip (Folds to 1/2") | Textile glue / Blind stitch | Tailored modern classic / Monolithic |
| Contrast Grosgrain Ribbon | 1/2" Pre-Woven Grosgrain | Fabric glue along wire ring | Crisp graphic accent band |
| French Gimp Braid / Soutache | 3/8" Woven Braid | Glued directly over raw seam | Traditional European vintage |
| Hand-Rolled Silk Edge | 1.0" Hand-rolled hem | Hand-rolled needle stitch | Ultra-luxury couture bespoke |
Glue Bleed Staining Constraints
Every successful decoration project must account for physical and environmental constraints:
Liquid Glue Soaking Through Silk Fabric Leaving Dark Translucent Spots
Applying wet glue directly to silk darkens fabric fibers permanently; apply adhesive exclusively to the cotton-bound wire ring, allow glue to become tacky (dry to touch for 60 seconds), then press the dry bias silk trim into place.
How to Make and Apply Silk Bias Trim
Execute this professional sequence to achieve flawless results without backtracking:
Cut 1.25" Strips on 45° Bias
Use a rotary cutter on a cutting mat to slice matching silk on a true 45-degree diagonal.
Press Through 12mm Bias Tape Maker
Feed strip through a 12mm metal bias tape maker while pressing with a dry iron to create folded edges.
Trim Excess Pleat Fabric on Wire
Use embroidery snips to trim raw pleating fabric within 1/8" of the top and bottom wire rings.
Apply Non-Staining Adhesive to Bound Wire
Brush a thin film of Gütermann HT2 glue onto the cotton twill tape over the stitch line.
Fold Bias Trim Over Wire and Clamp
Wrap the folded bias strip evenly over the wire ring, holding in place with mini wooden clothes pins for 15 minutes.
Common Mistakes & Countermeasures
Avoid these costly errors that compromise aesthetics, ergonomics, and budget:
Using Straight-Grain Ribbon on Curved Scalloped Lampshade Rims
Project Execution Checklist
Track your physical progress. Checkboxes persist automatically on this device:
Frequently Asked Questions
How do you hide the final seam where the bias trim ends overlap?
Overlap the trim ends by 1/2 inch at one of the vertical wire struts (preferably at the back of the lampshade). Fold the raw top end under by 1/4 inch to form a crisp folded edge, and glue down flush.


