
Layout a beveled mirror grid wall by sizing panels into uniform rectangular modules (typically 18"×24" to 24"×36") with 1/2-inch (12mm) perimeter bevels. Pre-drill 10mm corner holes in the glass before tempering, maintain 1mm rubber-spaced joints, and anchor intersections with rubber-cushioned solid brass rosette screws.
At a Glance: Key Takeaways
- 1/2-Inch (12mm) Beveled Edge: Hand-polished 10° bevels refract light along panel seams, accentuating the geometric grid.
- 1mm Expansion Joint Spacing: Prevents glass-to-glass edge contact and chipping during thermal room expansion.
- Corner Rosette Fasteners: Threaded brass decorative caps conceal mechanical wall anchor screws at 4-corner intersections.
- Dark Substrate Painting: Painting drywall matte charcoal-black behind the grid hides tiny seam gaps invisibly.
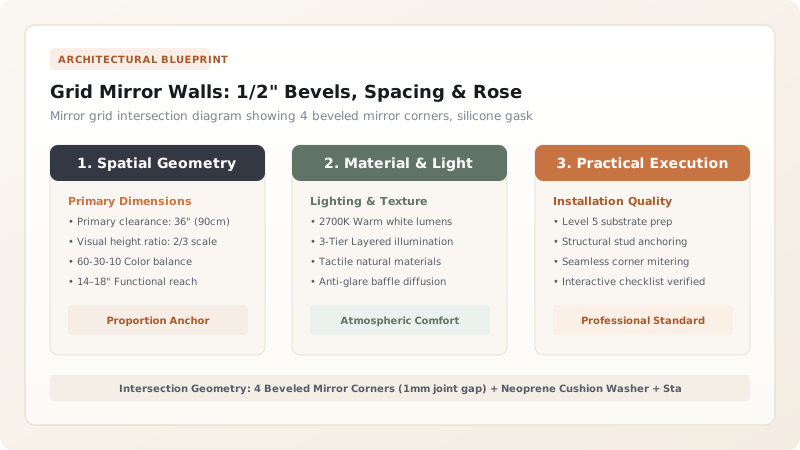
1. Wall Grid Mathematics: Dividing Symmetrical Rectangular Bays
An antique mirror grid wall looks amateurish if perimeter edge panels are cut into awkward 2-inch slivers while center panels are large. The grid must be engineered mathematically so that all panels share identical proportions across the entire wall.
The Grid Division Formula:
$$\text{Panel Width} = \frac{\text{Total Wall Width} - (\text{Columns} - 1) \cdot \text{Joint Width}}{\text{Number of Columns}}$$
For a 3,600mm wide wall divided into 4 columns with 1mm joints: \((3600 - 3) / 4 = 899.25\text{ mm}\) per panel. Pair with chemically distressed foxing and coordinate with layered sconce lighting.

2. Pre-Drilling Corner Holes & Rubber Cushioning
To fasten mirror panels with rosette screws, 10mm corner holes must be waterjet-cut or diamond core-drilled in the glass corners before acid distressing and silver sealing.
Direct metal screw contact will crack glass immediately upon tightening. Every fastener must incorporate a transparent rubber sleeve and a 2mm neoprene cushion washer that isolates the steel screw shank from the glass hole edges. Combine this hardware with safety mirror mastic backing.
Mirror Grid Fastening Systems Comparison
Use this reference table to calculate exact physical dimensions, ratios, and specifications before purchasing:
| Fastening System | Mechanical Safety Rating | Visual Aesthetic Impact | Ease of Replacement |
|---|---|---|---|
| Rosette Screws + Mastic (Optimal) | Maximum (Dual mechanical & chemical) | Classic French bistro / Luxury bespoke | Easy (Unscrew rosette to replace single panel) |
| Mastic Adhesive Only (No Screws) | High (If installed correctly) | Modern flush seamless grid | Difficult (Must break glass to remove) |
| Wood Glazing Bead Grid Frame | Maximum | Architectural library style | Moderate (Remove wood trim beads) |
| Double-Sided Foam Tape (FORBIDDEN) | DANGEROUS: Fails over time | Flat | FAILS: Mirror falls off wall |
Wall Bowing Convex Lippage Constraints
Every successful decoration project must account for physical and environmental constraints:
Bowed Drywall Studs Causing Beveled Mirror Corners to Stick Out (Lippage)
Drywall bowing causes 4-corner intersections to meet at uneven depths, preventing rosette screws from sitting flat; check wall flatness with a 6-foot level; skim-coat depressions with drywall compound or shim mastic thickness behind recessed corners.
How to Install Beveled Mirror Grid Panels with Rosettes
Execute this professional sequence to achieve flawless results without backtracking:
Laser Map Full Grid on Charcoal Wall
Paint wall matte charcoal; project laser grid marking every horizontal and vertical seam.
Install Bottom Aluminum J-Track
Screw continuous aluminum J-channel to bottom wall plate to carry dead load of the bottom row.
Apply Neutral Mirror Mastic
Apply golf-ball-sized mounds of non-staining mastic to rear of each 6mm beveled panel.
Set First 4 Panels with 1mm Spacers
Position lower 4 panels, inserting 1mm rubber cross spacers at the central 4-corner intersection.
Insert Rubber Sleeved Rosette Screw
Drive rubber-sleeved screw through the 4-corner hole into wall anchor, tightening gently until snug.
Thread Decorative Brass Rosette Dome
Screw polished brass rosette cap onto the exposed screw stud to complete the faceted joint.
Common Mistakes & Countermeasures
Avoid these costly errors that compromise aesthetics, ergonomics, and budget:
Overtightening Mechanical Rosette Screws Against Glass
Project Execution Checklist
Track your physical progress. Checkboxes persist automatically on this device:
Frequently Asked Questions
Can you install an antique mirror grid wall over an existing masonry brick wall?
Yes! Fasten a 1/2-inch plywood or cement board sub-panel to the brick masonry using Tapcon concrete screws first. This provides a dead-flat, secure backing to receive mirror mastic and rosette drywall anchors.


