
Install a wood slat accent wall by mounting pre-fabricated acoustic panels (featuring 27mm oak slats on 9mm black acoustic felt) directly to wall studs using black drywall screws driven between the slats. Achieve clean vertical lines and NRC 0.85 sound absorption.
At a Glance: Key Takeaways
- Acoustic Rating: Reduces room echo with a 0.85 Noise Reduction Coefficient (NRC).
- Standard Sizing: Panels measure 24 inches wide by 94.5 inches tall (8-foot full ceiling height).
- Hidden Fasteners: Black drywall screws driven through the black felt are completely invisible.
- LED Integration: Recess black aluminum profile LED channels between slats for modern vertical lighting.
1. Soundproofing Physics & Acoustic Felt Backing
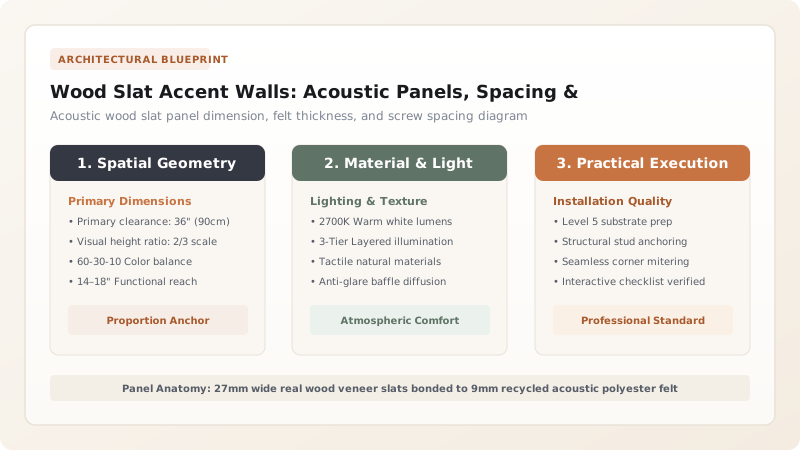
Modern homes with hard floors, drywall, and glass suffer from severe acoustic reverberation. Wood slat accent walls solve this by pairing real wood veneer slats with a 9mm sound-absorbing recycled PET felt backing that traps sound waves and eliminates room echo.

Wood Slat Finishes & Room Compatibility
Use this reference table to calculate exact physical dimensions, ratios, and specifications before purchasing:
| Timber Species | Color Tone | Felt Backing Color | Best Aesthetic Style |
|---|---|---|---|
| Natural White Oak | Warm Golden Blonde | Charcoal Black Felt | Japandi & Scandinavian Modern |
| American Walnut | Deep Rich Chocolate | Black Acoustic Felt | Mid-Century Modern & Luxury Living |
| Smoked / Black Ash | Charcoal Ebony | Matte Black Felt | Minimalist Industrial & Media Rooms |
| Bleached Ash Wood | Pale Cream / Light Sand | Grey Felt | Coastal Minimalist & Bright Spaces |
Wall Outlet & Switch Cutout Constraints
Every successful decoration project must account for physical and environmental constraints:
Cutting Around Electrical Outlets
Cutting individual wooden slats around square outlet boxes requires precision; use an oscillating multi-tool with a fine wood blade and install box extender rings.
How to Install Acoustic Wood Slat Panels
Execute this professional sequence to achieve flawless results without backtracking:
Paint Wall Black Behind Joints
Paint a 2-inch black stripe where panel seams meet to hide drywall gaps.
Cut Height with Circular Saw
Tape cutline with painter's tape and cut panels to height with a fine-finish blade.
Screw Through Black Felt
Drive 1.5-inch black drywall screws every 24 inches directly into wall studs.
Snap Interlocking Tongue
Slide the next panel's felt tongue under the preceding slat for a seamless seam.
Common Mistakes & Countermeasures
Avoid these costly errors that compromise aesthetics, ergonomics, and budget:
Gluing Panels with Liquid Nails in Rental Homes
Project Execution Checklist
Track your physical progress. Checkboxes persist automatically on this device:
Frequently Asked Questions
Can acoustic wood slat panels be cut with a hand saw?
Yes. You can cut the acoustic felt backing with a sharp utility knife and cut the wooden slats with a fine-tooth Japanese pull saw or circular saw with painter's tape over the veneer.


