
Restoring an antique Swedish Kakelugn is a fully reversible conservation procedure known as 'omkakling' (re-stoving). Every tile is documented, unpinned, and soaked to remove old clay mortar without damaging historic glazes. The internal brick channels and firebox are completely rebuilt with fresh fireclay and new refractory firebricks, followed by re-setting the tiles and calibrating the critical brass shutoff damper (spjäll) for safe operation.
At a Glance: Key Takeaways
- Rebuilding Lifecycle: Historical kakelugnar traditionally undergo omkakling (re-stoving) every 30 to 50 years.
- Documentation Protocol: Precise numbered grid photography and 1:1 architectural elevation drawings.
- Tile Cleaning Method: Gentle warm-water submersion dissolving ancient clay mortar without abrasive scraping.
- Firebox Reconstruction: Modern chamotte firebrick refractory cores replacing burnt, crumbling historic firebox bricks.
- Damper Safety Protocol: Shutting damper only when all glowing wood embers have turned completely to black ash.
- Regulatory Compliance: Pressure testing to ensure maximum 3 Pa leakage at 20 Pa test pressure under European EN standards.
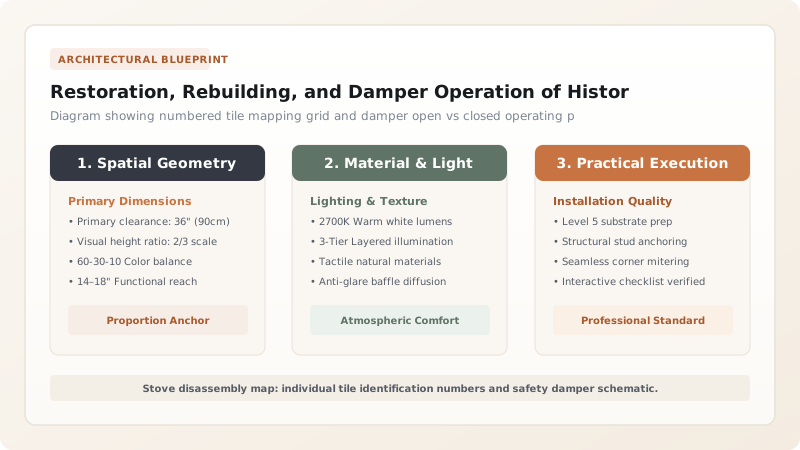
The Omkakling Tradition: Complete Disassembly Protocol
Unlike masonry structures built with irreversible Portland cement, a Swedish kakelugn was deliberately designed by Cronstedt to be dismantled and rebuilt every several decades—a process called omkakling. Over 30 to 50 years of intense seasonal firing, internal brick channel baffles slowly crack and accumulate soot deposits that restrict draft.
Restoration begins with meticulous documentation: every tile is assigned a unique alphanumeric coordinate (e.g., Ring 4, Tile 7) marked on masking tape. The stove mason starts at the crown cornice, cutting the brass wire clamps with snips and lifting each tile off its clay bed. Because the original mortar is pure clay and sand, the tiles release cleanly without fracture.
Clay Dissolution and Ceramic Glaze Conservation
Extracted tiles are placed in tubs of warm water. Within 20 to 30 minutes, ancient clay mortar softens into silt and washes away effortlessly. Artisans strictly avoid metal wire brushes or scraping knives that could scratch the delicate tin glaze (faience).
Cracked tiles or broken flanges are degreased with acetone and repaired using reversible paraloid resin or heat-resistant inorganic silicate adhesives. Hairline glaze crazing (krackelyr)—a natural hallmark of 18th-century earthenware—is gently cleaned with non-ionic detergents and preserved as an authentic historic patina.
The Brass Damper (Spjäll): Combustion Dynamics and Safety
The shutoff damper (spjället)—a heavy sheet-brass plate sliding in a cast-iron throat frame—is the thermodynamic control center of the stove. Operating it correctly is a matter of life and death.
While firewood is actively burning, the damper MUST remain 100% open to maintain strong updraft. Once the logs have collapsed into glowing red embers, the air intake is slightly reduced. However, the damper must NEVER be pushed shut while blue flames flicker over the coals. Blue flames indicate the production of lethal carbon monoxide (CO). The damper is closed only when the coals are entirely dark and covered in gray ash, locking the captured heat inside the masonry battery for the next 24 hours.
Operating States and Damper Settings for Swedish Kakelugn
Use this reference table to calculate exact physical dimensions, ratios, and specifications before purchasing:
| Combustion Phase | Wood Flame State | Air Intake Vents | Damper (Spjäll) Position | Safety Action |
|---|---|---|---|---|
| Ignition & Light-off | Cold kindling flare-up | 100% Fully Open | 100% Pulled Out (Open) | Pre-warm flue with paper torch if cold |
| Active Vigorous Burn | Roaring golden yellow flames | 75% Open (controlled) | 100% Fully Open | Never choke firebox air during flaming |
| Coals / Charcoal Stage | Blue flickering gas flames | 25% Low air draft | 100% Fully Open | CRITICAL: Blue flames produce lethal CO |
| Thermal Soak Phase | Dark gray ash; zero flame | 100% Closed tight | Pushed 100% Shut (Closed) | Locks 40 kWh of heat inside masonry mass |
Practical Constraints
Every successful decoration project must account for physical and environmental constraints:
Modern municipal chimney inspection codes (Sotare) requiring certified airtightness pressure tests
Mitigation: Perform professional smoke-bomb and digital manometer pressure tests verifying zero smoke leakage through tile seams.
Execution Blueprint & Craftsmanship Sequence
Execute this professional sequence to achieve flawless results without backtracking:
Photograph and Map Tile Elevation Grid
Establish coordinate tagging on all tiles, documenting hairline cracks, warped flanges, and original joint lines.
Dismantle Crown to Base Course by Course
Snip brass wire ties, remove cap crown, and extract tiles course by course, packing into padded wooden crates.
Demolish and Clear Burned Internal Masonry Core
Remove crumbled historic interior bricks and soot; vacuum chimney connection flue to clear air path.
Clean Tiles in Warm Water Submersion Baths
Soak tiles in warm water, brush off softened clay with natural bristle brush, and dry in shade.
Rebuild Internal Flue Channels with New Firebrick
Construct brand-new firebox and five internal serpentine channels using modern dense chamotte firebricks and refractory mortar.
Re-Clad Exterior with Restored Tiles and Calibrate Damper
Re-clamp tiles with new annealed brass wire, pack with clay-sand mortar, and test damper sliding gastight fit.
Common Mistakes & Countermeasures
Avoid these costly errors that compromise aesthetics, ergonomics, and budget:
Closing the damper too early to 'trap heat' while blue carbon monoxide flames are visible
Rebuilding internal flues with modern dense cement mortar instead of traditional clay mortar
Project Execution Checklist
Track your physical progress. Checkboxes persist automatically on this device:
Frequently Asked Questions
How can you tell if an antique Kakelugn needs rebuilding (omkakling)?
Clear indicators include smoke leaking through tile seams during ignition, tiles sounding hollow or wobbling when tapped, poor chimney draft, or soot falling into the firebox from collapsed internal channel dividers.
Can a kakelugn burn coal or briquettes instead of birch wood?
No. Kakelugnar are engineered exclusively for dry cordwood (preferably birch or alder). Coal and mineral briquettes burn far too hot and release corrosive sulfur that attacks the clay mortar and flue brickwork.


