
Sculptural adobe brick stacking is the technical masonry discipline of manipulating rigid rectangular mud bricks into flowing, ergonomically optimized seating benches. By curving brick courses around radial floor templates, stepping brick tiers to form continuous toe-kick recesses, and corbelling cantilevers for display ledges, adoberos transform earth into functional furniture. Finished with hand-radiused bullnose edges, these benches cradle the human body with natural comfort.
At a Glance: Key Takeaways
- Standard Seat Height: 420 to 450 mm from finished floor level to crown of bench
- Ergonomic Depth: 450 to 550 mm seat depth accommodating backrest coves and cushions
- Toe Kick Undercut: 75 to 100 mm recessed zócalo course preventing heel scuffing
- Edge Radius: 40 to 60 mm hand-planed bullnose rounding on all seating perimeters
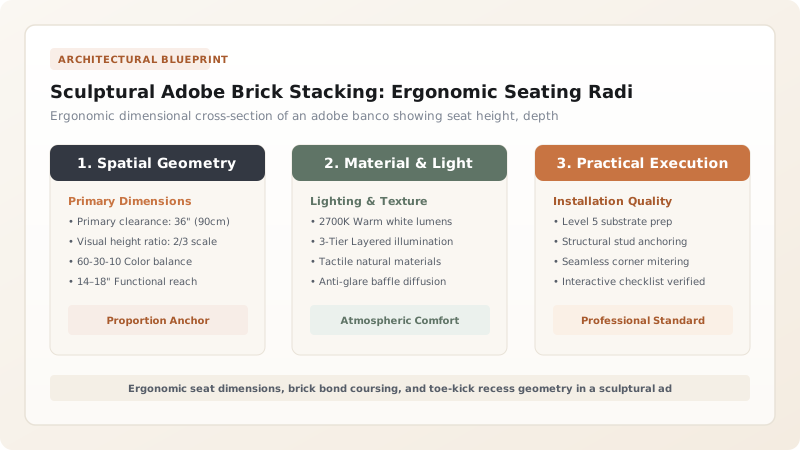
The Ergonomic Mandate: Overcoming Masonry Rigidity
A common error in amateur earthen furniture is building rigid, flat rectangular benches with sharp 90-degree corners. Hard edges cut into the back of human thighs, vertical backs force uncomfortable upright posture, and flat faces cause heel scuffing when sitting down or standing up.
Master adoberos solve these issues through ergonomic coursing. The human body is naturally curved; an earthen bench must mirror these contours. By incorporating a recessed toe kick, a slight 2-degree backward slope on the seating deck, and a generous bullnose on the leading edge, adobe furniture becomes as comfortable as upholstered armchairs.
Coursing Geometry: Radial Brick Stacking and Offset Bonds
To build a curved banco, masons scribe concentric arcs onto the floor slab using a center-pivot string compass. Rather than using broken brick fragments, whole rectangular adobe bricks (traditionally 350 × 250 × 100 mm) are laid radiating outward like spokes of a wheel.
The outer radial joints naturally widen from 15 mm at the inner throat to 35 mm at the outer rim. To ensure structural stability under concentrated live loads, masons fill these wide joints with dense mud mortar fortified with small stone spalls (rajuelas) and cross-tie successive courses in running bond, preventing vertical shear fractures.
The Recessed Zócalo: Preserving Plaster from Heel Strikes
The lowest course of the banco—where the bench meets the floor—is subject to continuous abrasive impact from the heels of seated occupants. If the bench face descends vertically to the floor, shoes will scuff, chip, and erode the plaster within weeks.
To prevent this, the bottom course of bricks is stepped inward by 75 to 100 mm, creating a recessed toe-kick channel known as a zócalo. This allows occupants to pull their feet backward naturally when standing up without striking the bench face. Additionally, the zócalo is frequently faced with fired terracotta tiles (azulejos or saltillo) that resist scuffs and water mopping.
Carving the Bullnose and Parabolic Lumbar Transitions
Once the brick core is stacked and the clay mortar has reached leather-hard consistency, the mason uses hand tools to sculpt the final organic contours. The sharp 90-degree front edge of the top brick course is planed away using curved drawknives and rasping irons to form a generous 50 mm radius bullnose.
At the back of the bench, where the seat meets the vertical wall, the mason applies thick coats of clay-straw cob to sculpt a parabolic cove. This transition eliminates dark dust-catching corners and provides gentle, conforming lumbar support that distributes seated spinal weight evenly.
Ergonomic Dimensional Standards for Adobe Built-In Seating
Use this reference table to calculate exact physical dimensions, ratios, and specifications before purchasing:
| Seating Zone | Standard Architectural Dimension | Ergonomic Function | Carpentry / Masonry Technique |
|---|---|---|---|
| Seat Height | 420 mm to 450 mm above floor | Matches average lower leg length; prevents foot dangling | Three courses of standard 100 mm adobe bricks + 30 mm plaster cap |
| Seat Depth | 450 mm to 550 mm | Supports full thigh length without pinching knee crease | One full 350 mm brick width + 150 mm rear lumbar plaster cove |
| Toe Kick (Zócalo) | 75 mm to 100 mm undercut recess | Provides heel clearance when standing up; prevents shoe scuffs | Bottom brick course set back 80 mm from front bench plane |
| Leading Bullnose | 40 mm to 60 mm smooth radius | Eliminates blood circulation cutoff beneath thigh muscles | Hand-planed and rasped leather-hard brick capped in fiber plaster |
Practical Constraints
Every successful decoration project must account for physical and environmental constraints:
Brittle nature of green adobe bricks when carving bullnose profiles
If carving is attempted when adobe bricks are bone-dry, large chunks can break away uncontrollably along internal straw lines. Mitigation: Mist dry bricks with water 2 hours before sculpting to soften the clay binder, or carve bricks when they are freshly made at the leather-hard stage.
Differential deflection along long curved bench spans without intermediate piers
A long curved banco spanning over 4 meters can experience diagonal shear cracking across radial joints if the subfloor foundation settles unevenly. Mitigation: Incorporate internal transverse cross-tie walls of adobe every 2 meters within the hollow core of the bench to provide internal triangulation.
Execution Blueprint & Craftsmanship Sequence
Execute this professional sequence to achieve flawless results without backtracking:
Scribing Floor Geometry with a Stringline Compass
Establish the radius centerpoint in the room. Scribe concentric arcs for the toe kick (R = 1500 mm), seat front (R = 1600 mm), and wall backrest (R = 2150 mm) onto the floor slab.
Laying the Recessed Foundation Zócalo Course
Lay the first course of adobe bricks along the inner toe-kick line, bedded in 20 mm clay mortar, leaving a 100 mm clear recess back from the future seat edge.
Laying the Cantilevered Main Seat Courses
Corbel the second and third brick courses outward by 80 mm over the zócalo, laying bricks in running bond with tight internal joints and mortared rajuela stone wedges at the outer rim.
Incorporating the 2-Degree Backward Slope
Pitch the third (top) course of bricks slightly backward by 5 mm (approx. 2 degrees) toward the wall, creating a subtle gravitational cradle that keeps occupants seated comfortably.
Shaping the Leading Edge Bullnose Radius
When mortar reaches firm leather-hard consistency, bevel the top front corner at 45 degrees, then round into a smooth 50 mm radius using rounded scrapers and damp sponges.
Sculpting the Parabolic Lumbar Wall Cove
Pack dense, straw-rich clay-cob mixture into the right-angle junction between the seat and wall, sculpting a parabolic sweep with a 150 mm radius.
Applying Fiber-Reinforced Scratch Plaster
Trowel a 12 mm coat of clay-sand plaster containing finely chopped wheat straw (10 mm fibers) across the entire banco, maintaining dead-smooth organic curves.
Curing and Surface Inspection
Cover bench with damp cotton cloths and cure slowly for 7 days, checking for hairline shrinkage cracks and re-tamping joints with damp wooden floats.
Common Mistakes & Countermeasures
Avoid these costly errors that compromise aesthetics, ergonomics, and budget:
Laying seat bricks with a forward downslope
Leaving the leading edge of the bench with a sharp, crisp square corner
Project Execution Checklist
Track your physical progress. Checkboxes persist automatically on this device:
Frequently Asked Questions
Can storage compartments be built inside an adobe banco?
Yes! Instead of solid brick packing throughout, masons frequently build hollow adobe box frames. Fitted with hinged cedar wood lid planks or discrete sliding drawers along the zócalo, the interior void provides deep, cool storage for blankets, firewood, and cushions.
How do you integrate low-voltage floor lighting into a curved banco?
During the initial brick stacking phase, masons embed flexible non-metallic electrical conduit (smurf tube) within the mortar joints beneath the cantilevered bullnose or within the recessed zócalo toe kick. Concealed 2700K warm LED tape lights cast a soft, magical wash of light down onto the floor, making the heavy earthen bench appear to float.
What is the minimum radius for a curved adobe banco?
To allow standard 350 mm long rectangular adobe bricks to turn smoothly without excessive wedge-shaped mortar joints, the minimum inside radius of curvature should be at least 1.2 to 1.5 meters. Tighter curves require cutting bricks into trapezoids.
Can an adobe banco be built outdoors in an open garden courtyard?
Yes, but outdoor bancos must be protected from driving rain. Outdoor installations require a foundation plinth of fired terracotta or stone elevated 150 mm above grade, waterproof hydraulic lime plaster (instead of pure clay), and a continuous coping of fired Saltillo tile or slate along the top seating surface.


