
Freehand high-relief pargeting transforms exterior lime plaster into bold sculptural narratives, projecting up to 100mm from the building plane. To resist gravity and wind forces, heavy sculptural elements (such as mythical dragons, floral garlands, and royal crests) are anchored to underlying timber studs via non-ferrous copper or stainless steel wire armatures. Master pargeters sculpt the figures directly in situ using aged fat lime putty fortified with fine marble dust and animal fibers, shaped with specialized brass and boxwood parging tools.
At a Glance: Key Takeaways
- Armature System: Annealed Copper Wire & Stainless Steel 316 Screw Pins
- Modeling Mortar: Fat Lime Putty + Marble Flour (1 : 1.5) with Long Hair
- Primary Tools: Leaf spatulas, boxwood rifflers, plasterer's small tools
- Relief Projection: 25mm to 100mm from plaster background
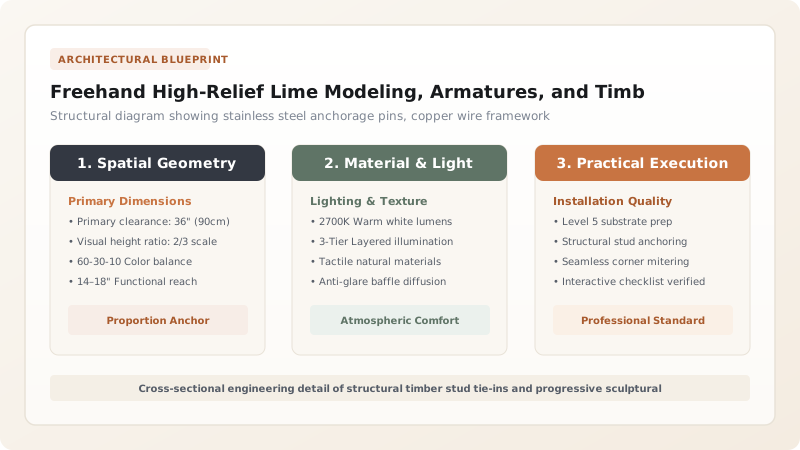
Structural Dynamics and Load Transfer in High-Relief Plasterwork
Unlike flat or incised pargeting which acts purely as a weather screen, high-relief sculpted plaster projects outward into the elements, creating substantial cantilevered dead loads. If applied merely as a thick mound of wet plaster, thermal cycling, moisture retention, and freeze-thaw forces will inevitably sheer the ornament away from the laths.
To achieve permanence, high-relief elements must transfer their structural weight directly back into the primary oak framing members (studs, corner posts, and bressummers) rather than relying on thin riven laths alone. This is accomplished through engineered non-ferrous mechanical anchorages.
Armature Engineering: Annealed Copper Skeins and Stainless Anchorage Pins
Historic pargeters utilized hand-forged iron spikes wrapped in oakum, which frequently rusted and split the lime over centuries. Modern conservation standardizes strictly on grade 316 stainless steel screw pins or heavy bronze dowels drilled directly into timber framing at 100mm to 150mm centers.
Around these projecting pins, pliable annealed copper wire (1.5mm to 2.5mm diameter) is woven into a three-dimensional skeletal armature mirroring the anatomical proportions of the animal, figure, or foliage. The wire armature is wrapped with fiber-soaked hair-lime cords, creating an unbreakable mechanical grip for subsequent sculptural coats.
Specialized Sculptural Lime Mortars: Marble Dust and Volcanic Pozzolans
Standard sandy lime mortars lack the structural cohesiveness and plasticity needed for crisp undercut carving. Modeling mortar is formulated using fat lime putty matured for a minimum of 12 months, blended with equal parts pulverized white Carrara marble dust (0.05mm–0.5mm) and fine silver quartz sand.
For deep projecting elements subject to heavy rain exposure, a tiny fraction (5% to 8% by weight of binder) of ultra-fine pozzolan, such as metakaolin or pumice, is introduced. This induces a gentle hydraulic set deep within the thick sculptural mass without diminishing vapor permeability or increasing brittleness.
Sculptural Tooling Techniques: Parging Spatulas, Rifflers, and Layering
Building a high-relief figure proceeds in successive layers: the armature core (roughing-in), the anatomical bulk layer, and the final fine-detail skin (10mm thick). Between each stage, the plaster must be allowed to stiffen and consolidate under damp burlap for 24 to 48 hours.
Artisans utilize traditional brass and forged steel 'small tools' (spoon trowels, beaver tails, leaf spatulas) alongside damp hog-bristle brushes to model organic curves, feather detailing, and crisp undercuts. Gentle undercutting is essential to cast dramatic natural shadows across the whitewashed facade under overhead sunlight.
High-Relief Anchorage & Armature Specifications
Use this reference table to calculate exact physical dimensions, ratios, and specifications before purchasing:
| Relief Projection Depth | Anchor Pin Spec | Wire Skein Gauge | Mortar Core Mix | Maximum Layer Lift |
|---|---|---|---|---|
| Low Relief (15mm – 25mm) | Stainless 316 screws (50mm) | Not required | 1 : 2 (Putty : Fine Sand) | 15mm per day |
| Medium Relief (25mm – 50mm) | Stainless 316 screws (75mm) | 1.5mm annealed copper wire | 1 : 1.5 (Putty : Marble/Sand) | 20mm per pass |
| High Relief (50mm – 100mm) | Heavy Bronze Dowels / Pins (100mm) | 2.5mm copper mesh skeletal frame | 1 : 1.5 + 5% Metakaolin pozzolan | 25mm per pass |
| Cantilevered Cornice Swags | Through-bolted stainless rods | Triangulated copper armature truss | Hair-rich marble lime mastic | 20mm incremental lifts |
Practical Constraints
Every successful decoration project must account for physical and environmental constraints:
Long Carbonation Times for Thick Plaster Masses
Core lime mortar over 50mm thick can take up to two years to achieve complete carbonation, requiring careful long-term weather protection.
Scaffolding Stability and Vibration Control
Vibrations from nearby road traffic or loose scaffolding boards can cause delicate green lime relief to detach from armatures during sculpting.
Execution Blueprint & Craftsmanship Sequence
Execute this professional sequence to achieve flawless results without backtracking:
Full-Scale Cartoon and Timber Stud Mapping
Draft a 1:1 scale cartoon of the sculptural relief on tracing paper, overlaying timber framing locations to position primary anchor pins.
Drilling and Setting Anchor Pins
Drill pilot holes into solid oak timber studs through the laths; drive grade 316 stainless steel screw pins leaving 30mm projecting.
Copper Wire Armature Construction
Form three-dimensional anatomical skeletons from annealed copper wire, securing loops firmly to the screw heads with locking pliers.
Core Grouting and Roughing-In
Pack hair-dense coarse lime-marble mortar around the copper cage, compressing firmly to ensure zero air voids inside the structural core.
Detail Modeling and Undercutting
Apply the fine marble-lime finish layer, sculpting musculature, foliage veins, and drapery folds using boxwood spatulas and rifflers.
Controlled Carbonation and Curing Regimen
Enclose the relief in a protective timber shelter lined with wet burlap for 28 days, ensuring slow carbonation without shrinkage cracks.
Common Mistakes & Countermeasures
Avoid these costly errors that compromise aesthetics, ergonomics, and budget:
Using Mild Steel Nails or Galvanized Wire Armatures
Applying Heavy Sculptural Masses in a Single Thick Pass
Project Execution Checklist
Track your physical progress. Checkboxes persist automatically on this device:
Frequently Asked Questions
Can pre-cast plaster molds be used instead of freehand modeling?
Yes, historic artisans sometimes pre-cast repetitive decorative elements (such as rosettes or fleurs-de-lis) in wooden or gelatin molds using lime-pozzolan mixtures, then bedded them onto facades with wet lime butter.
How do conservators re-attach loose or sagging historic pargeting figures?
Conservators drill micro-ports through discreet relief folds, inject low-viscosity hydraulic lime grout, and insert concealed threaded stainless steel tie-pins anchored into the structural frame.


