
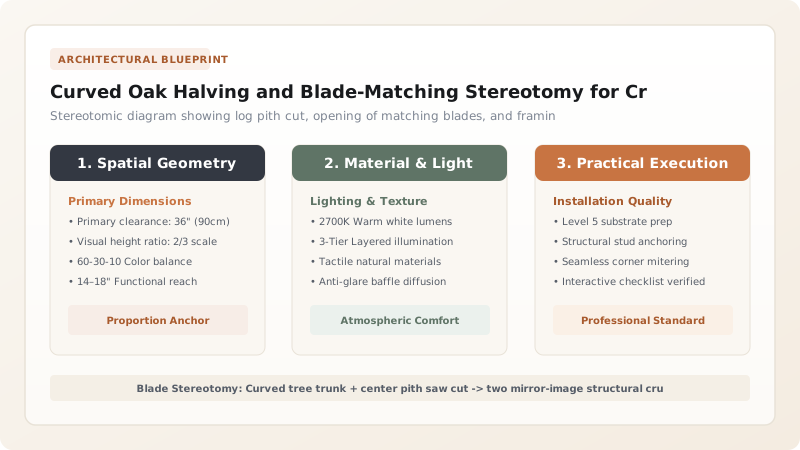
Curved Oak Halving and Blade-Matching Stereotomy is the foundational geometric art of English cruck framing. Rather than using straight commercial timber, medieval wrights selected mature hedgerow oaks whose trunks grew with natural sweeping curves (compass timber). By sawing the log down its center pith with a monumental two-man rip saw, the carpenter produced two identical, mirror-image structural blades. Laid out on the framing yard floor, the natural curvature determined the internal bay height, wall batter, and roof pitch of the barn.
At a Glance: Key Takeaways
- Compass Timber Sourcing: Selecting naturally curved hedgerow oaks shaped by wind, hedgerow cutting, or slope.
- Center-Pith Sawing: Slicing the log along its longitudinal pith to relieve radial drying stresses and create twin blades.
- Broadaxe Hewing (Side-Hewing): Smoothing sawn faces with single-bevel broadaxes to reveal continuous grain lines.
- Framing Ground Layout: Full-scale horizontal staging of timber bents using plumb bobs, chalk lines, and scribing knives.
- Grain Follow Strength: Preserving continuous wood fibers along the curve to maximize flexural bending strength.
1. Selecting Compass Timber in Medieval English Woodlands
In traditional English forestry, trees were categorized into straight timber (used for long floor girders) and compass timber—trees with pronounced natural bends, forks, and elbow sweeps. For cruck framing, wrights searched hedgerows and forest edges for pedunculate oak (Quercus robur) shaped by prevailing maritime gales.
The ideal cruck tree possessed a sweeping curve of 15° to 30° over a 7-meter to 9-meter trunk, with a base diameter of at least 600mm. By utilizing wood that grew naturally in a curve, the long cellulose grain fibers follow the architectural profile without interruption, preventing cross-grain shearing under snow loads.
2. The Art of Pit-Sawing Along the Log Pith
Splitting a 2-tonne curved oak trunk down its centerline was one of the most grueling tasks in historical carpentry. The log was rolled onto a raised wooden saw-trestle frame. The master sawyer (top-man) stood atop the log steering along a snapped charcoal center line, while the pit-man stood beneath in the saw pit.
Using a 2.5-meter long frame saw (whip-saw), the crew sawed steadily down the pith (heart center). Splitting through the pith was essential: it relieved internal growth stresses that would otherwise cause a massive log to crack uncontrollably, while producing two structural halves with identical density, curvature, and drying kinetics.
3. The Framing Yard: Plum-Bob Scribing and Pairing
Once hewn, the matched blades were laid out face-to-face on the level ground of the framing yard. Because no two ancient oak blades were geometrically identical, standard modern dimensional blueprints were useless.
Carpenters employed plumb-line scribing: placing the horizontal tie beam directly atop the curved blades, dropping plumb bobs across the overlapping timber faces, and scratching the exact intersecting contours with a sharp race knife. Each blade and its corresponding tie beam were branded with matching Roman numeral carpenter's marks (e.g., I, II, III, IIII) to ensure error-free assembly during the raising.
English Cruck Blade Compass Log Sizing & Yield Guide
Use this reference table to calculate exact physical dimensions, ratios, and specifications before purchasing:
| Building Bay Width (m) | Minimum Trunk Length (m) | Butt Log Girth (mm) | Blade Sweep Radius (m) | Hewn Cross-Section |
|---|---|---|---|---|
| 5.0m - 5.8m Bay | 6.5m - 7.2m Length | 500mm - 550mm Dia | 6.0m - 7.5m Radius | 220mm x 300mm Hewn |
| 5.8m - 6.8m Bay | 7.5m - 8.2m Length | 550mm - 620mm Dia | 7.0m - 8.5m Radius | 250mm x 350mm Hewn |
| 6.8m - 8.0m Bay | 8.5m - 9.5m Length | 620mm - 750mm Dia | 8.0m - 10.0m Radius | 280mm x 400mm Hewn |
| 8.0m - 10.5m Bay (Base Cruck) | 9.0m - 11.0m Length | 750mm - 900mm Dia | 9.5m - 12.0m Radius | 320mm x 450mm Hewn |
Physical & Carpentry Constraints
Every successful decoration project must account for physical and environmental constraints:
Tremendous Manual Sawing Time
Hand pit-sawing a 9-meter curved oak log through 600mm green heartwood requires up to three full working days.
Asymmetric Natural Torsion
Live trees twist under prevailing winds; wrights must correct natural grain twist during side-hewing.
Protocol for Scribing and Hewing a Matched Pair of Cruck Blades
Execute this professional sequence to achieve flawless results without backtracking:
Bark Peeling & Pith Chalk Scribing
Peel spring oak bark with barking irons; snap charcoal line along curved center pith on both sides of log.
Trestle Mounting & Dogging
Hoist curved trunk onto timber sawing trestles; secure log firmly with forged iron timber dogs.
Two-Man Pith Sawing
Rip log down center chalk line using two-man frame saw, wedging kerf open with wooden wedges as cut advances.
Side-Hewing with Broadaxe
Score sawn face with felling axe notches every 300mm; slice excess timber away with single-bevel side axe to produce flat face.
Framing Bed Mirrored Alignment
Position the twin blades on the framing yard, curving outward away from each other to form the classic Gothic arch profile.
Carpenter's Mark Inscription
Gouge matching Roman numeral assembly marks into blade faces using a curved gouge or race knife.
Common Mistakes & Countermeasures
Avoid these costly errors that compromise aesthetics, ergonomics, and budget:
Sawing cruck blades off-center away from the natural pith line
Squaring curved cruck timbers with modern industrial bandsaws across the grain
Project Execution Checklist
Track your physical progress. Checkboxes persist automatically on this device:
Frequently Asked Questions
Why did medieval carpenters mark timbers with Roman numerals instead of Arabic numerals?
Roman numerals (I, II, III, IIII, V, X) consist of straight strokes and simple angled cuts that can be rapidly and cleanly incised into rough green oak using a carpenter's chisel or gouge without splintering.
Can two different trees be used to make a cruck bent if one tree is unavailable?
Carpenters avoided this whenever possible. Two different trees have different shrinkage rates, densities, and curve angles, which would cause the arch to twist out of plumb as the building seasoned.


