
Installing and restoring antique Delft tiles on historic fireplace surrounds (schouw) demands non-destructive, breathable methods. Tiles must be bedded in non-hydraulic slaked lime putty mortar (1 part CL90 lime to 2 parts fine sand) with 0.5mm hairline joints. Restoring antique tiles requires gentle soot removal with vulcanized latex sponges, desalination poultices for salt blooms, and mending cracked biscuits with reversible Paraloid B-72.
At a Glance: Key Takeaways
- Bedding Mortar Specification: Pure non-hydraulic slaked lime putty (CL90) and silver quartz sand (0–0.5mm).
- Joint Width Standard: True historical hairline contact (0.5mm to 1.0mm); strictly zero wide sanded grout joints.
- Thermal Isolation: 25mm calcium silicate board isolating tile masonry bed from direct chimney flue heat (>80°C).
- Soot Decontamination: Dry vulcanized chemical sponge and localized triammonium citrate swabs.
- Desalination Protocol: Repeated deionized water and Arbocel cellulose paper pulp poultices.
- Adhesive Conservation: Reversible acrylic copolymer Paraloid B-72 dissolved in acetone (40% solution).
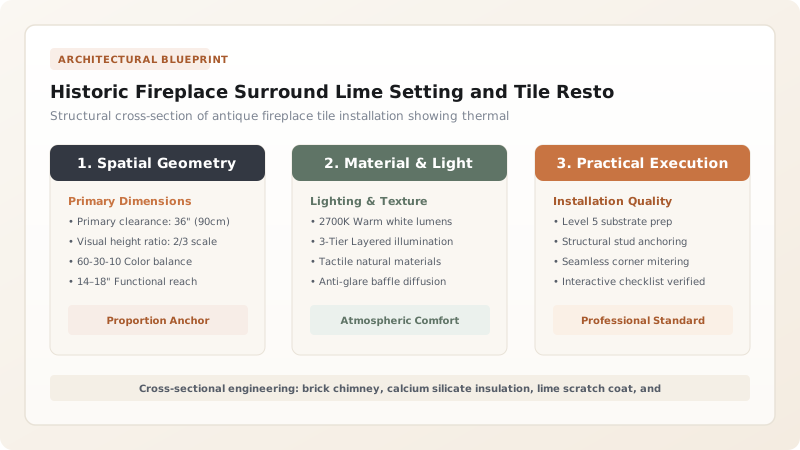
Lime Putty Bedding vs Modern Cement Catastrophes
Installing antique 17th- and 18th-century Delft tiles requires an understanding of historic masonry physics. Hand-pressed earthenware clay biscuits are soft, highly porous, and fragile. Modern Portland cement mortars are five times stronger and stiffer than the antique clay, and when heated by a nearby hearth, thermal expansion forces cause rigid cement to crush and spall the soft tile backs.
Furthermore, Portland cement releases soluble sodium and potassium sulfates that migrate into the earthenware, crystallizing beneath the glaze and causing devastating glaze delamination. Authentic installation uses non-hydraulic slaked lime putty (CL90) blended with fine silver sand (1:2 ratio). Lime putty cures slowly via atmospheric carbonation, remaining flexible and microporous forever, absorbing hearth micro-vibrations without stressing the fragile antique ceramics.
Soot Decontamination and Salt Desalination Protocols
Antique tiles reclaimed from centuries-old Dutch fireplaces are frequently coated in heavy bituminous coal tar and wood soot. Aggressive scouring pads or abrasive kitchen powders scratch the soft lead-tin glaze and scrub away delicate cobalt brushwork.
Conservators begin cleaning using dry vulcanized natural latex 'smoke sponges', which attract and absorb loose soot particles without water. Sticky oily residues are dissolved using 2% triammonium citrate (pH 7.5) applied with cotton swabs. If the porous biscuit is contaminated with coal salts (efflorescence), the tiles are wrapped in 15mm-thick deionized water cellulose pulp poultices (Arbocel BC200) for 48 hours to draw sub-surface nitrates and sulfates out through capillary suction.
Fracture Repair and In-Situ Reversible Mending
When historic tiles have fractured into fragments, repairs must adhere to modern museum conservation ethics: all treatments must be 100% reversible. Modern epoxies and superglues (cyanoacrylates) discolor to an ugly yellow-brown within 10 years and cannot be dissolved without damaging the antique earthenware.
Conservators degrease fractured edges with pure acetone and bond the fragments using Paraloid B-72—an archival ethyl methacrylate copolymer—diluted to 40% in acetone. Lost biscuit corners or glaze chips are infilled with a mixture of fine marble dust, dry pigment, and Paraloid B-72, polished flush with agate, and in-painted using reversible gouache or Regalrez resin watercolors.
Conservation Treatment Matrix for Antique Dutch Delft Tiles
Use this reference table to calculate exact physical dimensions, ratios, and specifications before purchasing:
| Pathology / Damage | Historic Root Cause | Approved Conservation Protocol | Prohibited Invasive Method |
|---|---|---|---|
| Black Fireplace Soot | Centuries of open peat/wood smoke | Dry latex smoke sponge & 2% citrate swab | Abrasive scouring powders / acid washes |
| Chalky Glaze Spalling | Soluble salt crystallization (subflorescence) | Cellulose paper pulp desalination poultice | Silicone water-repellent sealer sprays |
| Broken Biscuit Fragments | Mechanical impact or building settlement | Bond with 40% Paraloid B-72 in acetone | Five-minute hardware epoxy / superglue |
| Loose Hollow-Sounding Tiles | Failure of historic lime bedding mortar | Inject low-pressure micro-lime grout | Prying tiles off violently with steel crowbars |
Practical Constraints
Every successful decoration project must account for physical and environmental constraints:
Modern building codes requiring zero combustible materials within 300mm of active fireplace firebox
Mitigation: Delft tiles and non-hydraulic lime mortar are 100% non-combustible Class A1 minerals fully compliant with fire codes.
Execution Blueprint & Craftsmanship Sequence
Execute this professional sequence to achieve flawless results without backtracking:
Clean Surface Grime with Dry Latex Smoke Sponge
Wipe dry tile face with vulcanized natural rubber sponge to lift soot without smearing oily tars into biscuit.
Desalinate Contaminated Biscuits with Paper Poultices
Pack tiles in 15mm wet Arbocel cellulose pulp; let dry over 48 hours to extract soluble chimney salts.
Bond Fractured Fragments with Reversible Acrylics
Align broken shards; apply 40% Paraloid B-72 in acetone along fracture lines and tape until solvent evaporates.
Soak Antique Tiles in Water Before Setting
Submerge tiles in clean water for 20 minutes so dry earthenware does not prematurely suck gauging water from lime mortar.
Apply 1:2 Slaked Lime Putty Bedding Mortar
Trowel smooth 10mm bed of CL90 lime putty and fine silver sand onto keyed masonry hearth breast.
Press Tiles into Place with Hairline 0.5mm Joints
Seat tiles firmly with slight twisting motion, maintaining 0.5mm hairline joints; wipe clean with damp sponge.
Common Mistakes & Countermeasures
Avoid these costly errors that compromise aesthetics, ergonomics, and budget:
Setting dry, unsoaked antique tiles directly into fresh lime mortar
Using modern grey Portland cement or dark grout on antique white Delft tiles
Project Execution Checklist
Track your physical progress. Checkboxes persist automatically on this device:
Frequently Asked Questions
Can antique Delft tiles withstand the direct heat of a modern roaring fire?
Tiles set on the outer chimney breast or jambs easily withstand moderate radiant warmth (up to 90°C), but they must never be placed inside the active combustion chamber where direct flames (>500°C) cause thermal shock and shatter antique biscuits.
How do you remove antique Delft tiles from a wall without breaking them?
If originally bedded in historic lime mortar, conservators gently vibrate the surrounding mortar with thin wooden wedges and rubber mallets, softening the lime with steam or warm water poultices until the tile releases intact.


