
Delft Corner Rosette Spinnekop and Historical Tile Skirting represent the architectural installation grammar of Dutch ceramic interiors. Rather than treating tiles as standalone miniature paintings, Golden Age builders deployed Delft tiles as continuous geometric wall linings. Anchored by secondary corner motifs (hoekmotieven)—most notably the spinnekop (spider-head rosette)—four adjacent tiles unite to form an interlocking floral matrix across the wall, while molded ceramic baseboard plinths protect walls from dampness and scouring brooms.
At a Glance: Key Takeaways
- Hoekmotief Geometry: Corner quarters that unite at four-tile grout junctions into complete secondary rosettes.
- Spinnekop (Spider-Head): Iconic 8-point radial rosette motif dominating Dutch tile production from 1650 to 1800.
- Damp-Proof Skirting Plinths: Low tile skirts (plinten) running along timber floors to guard brick against mopping water.
- Hairline 1mm Lime Joints: Traditional pure slaked lime joints creating the visual illusion of a continuous ceramic tapestry.
- Diagonal Cross-Tessellation: Alternating figural medallions and plain white glazed fields for visual balance.
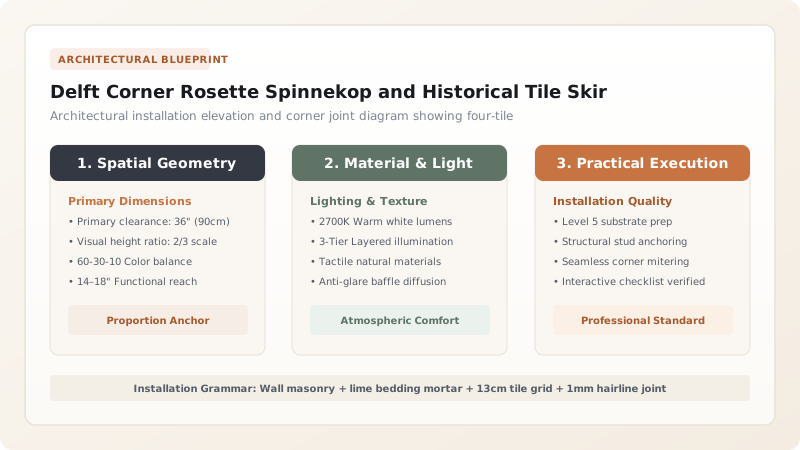
1. Evolution and Anatomy of the Spinnekop Rosette
During the early 17th century, Delft corner motifs were large and bold (such as the ossenkop or ox-head with curling horns). As interior tastes matured toward greater delicacy around 1650, workshops introduced the spinnekop (spider-head rosette).
Painted in each corner of the tile as an arched fan with eight radiating stippled legs, the motif is unintelligible on a single loose tile. But when four tiles are placed side by side, their corners meet to form an intricate, symmetrical 8-point floral star, seamlessly knitting the tiled surface into a coherent architectural fabric.
2. Historical Tile Skirtings (Plinten) in Canal Houses
In 17th-century Netherlands, Dutch domestic hygiene was world-renowned. Wooden floors were scrubbed daily with sand and water. To prevent wet brooms and splashing water from soaking into porous brick walls, builders installed tile skirtings (tegelplinten).
These skirtings consisted of two to four courses of Delft tiles running along the floor perimeter. A molded ceramic top profile or rounded border tile capped the installation, providing an elegant transition to plastered or wood-paneled upper walls.
3. Traditional Lime Mortar Setting and Hairline Joints
Historic Delft tiles must never be set like modern machine-pressed porcelain tiles. Traditional tiles feature hand-cut reverse beveled edges (beveling inward toward the back). This allows the glazed front faces to touch almost flush with hairline joints measuring only 1.0mm to 1.5mm.
Tiles are bedded in a rich paste of slaked fat lime putty and fine quartz sand (often fortified with brick dust or trass pozzolana). The porous clay biscuit absorbs water from the mortar, creating a durable mechanical and suction bond that endures for centuries without modern chemical adhesives.
Delft Wall Installation Configurations & Corner Motif Pairing
Use this reference table to calculate exact physical dimensions, ratios, and specifications before purchasing:
| Wall Installation Typology | Tile Arrangement | Recommended Corner Motif | Baseboard Transition |
|---|---|---|---|
| Solid Figural Wall Panel | Continuous grids of biblical or maritime scenes | Spinnekop / Spider-head rosette | Flush ceramic skirting course |
| Checkerboard (Damier) | Alternating figural and plain white glazed tiles | Ox-Head (Ossenkop) | Dark manganese glazed base tile |
| Kitchen Hearth Backsplash | Dense narrative medallions behind fireplace | French Lily (Franse Lelie) | Cast-iron fireback resting on stone curb |
| Hallway Wainscoting (Lambrisering) | 3 to 5 tile courses high capped with wooden rail | Carnation (Anjer) | Chamfered oak skirting timber |
Architectural & Dimensional Constraints
Every successful decoration project must account for physical and environmental constraints:
Handmade Dimensional Variance
Historic handmade tiles vary in thickness from 7mm to 10mm and width by ±2mm; alignment requires skilled mortar-bed adjusting.
Substrate Movement Sensitivity
Brittle lime-set tile arrays cannot tolerate deflection in timber stud walls; install over rigid masonry or cement-backer board.
Protocol for Laying a Delft Tile Wall with Spinnekop Corner Alignment
Execute this professional sequence to achieve flawless results without backtracking:
Substrate Flattening with Lime Render
Plaster masonry wall with flat, plumb scratch coat of natural hydraulic lime (NHL 2); cure for 7 days.
Tile Soaking & Moisture Equilibrating
Submerge porous Delft tiles in clean water for 20 minutes until air bubbling ceases; drain on timber racks.
Plumb & Level Ledger Scribing
Mount temporary wooden ledger board along floor line using laser level; verify 90° square at corner junctions.
Lime Mortar Buttering & Setting
Butter back of damp tile with 6mm pure lime-putty mortar; press onto wall with slight twisting motion to achieve 3mm bed.
Corner Spinnekop Rosette Registration
Align corner paint marks precisely against adjacent tiles using 1mm wooden matchsticks or card shims as temporary spacers.
Hairline Lime Slurry Grouting
Pack joints with pure white slaked lime and micronized marble dust slurry; wipe face clean immediately with damp cellulose sponge.
Common Mistakes & Countermeasures
Avoid these costly errors that compromise aesthetics, ergonomics, and budget:
Setting Delft tiles dry without pre-soaking in water
Using gray sand-cement grout to fill Delft tile joints
Project Execution Checklist
Track your physical progress. Checkboxes persist automatically on this device:
Frequently Asked Questions
How do you cut traditional Delft tiles around electrical outlets or plumbing pipes?
Because the earthenware biscuit is soft, historical craftsmen scored the glazed face with a diamond glass-cutter and snapped the tile over a steel rod, or cut gentle curves using a manual tungsten-wire coping saw, avoiding power angle grinders that shatter fragile glaze.
Why did Dutch homeowners tile entire walls instead of just small backsplashes?
In wealthy Golden Age merchant homes, tiling entire dining rooms, basements, and staircases was the ultimate display of prestige, cleanliness, and light amplification, transforming dark masonry rooms into luminous, washable domestic sanctuaries.


