
Hang a staircase gallery wall by establishing a diagonal reference line exactly 58 inches plumb above the nosing of each stair tread using a self-leveling laser. Align the geometric centers of all picture frames along this diagonal line, maintaining uniform 2 to 3-inch gaps between adjacent frames.
At a Glance: Key Takeaways
- 58-Inch Plumb Centerline: Standard human eye-level maintained continuously as you ascend the stairs.
- Tread Nosing Reference Point: Measure strictly from the outer bullnose edge of the stair tread, not the back corner.
- Uniform 2.5-Inch Spacing Gaps: Tight uniform gaps bind individual frames into a cohesive architectural collection.
- Dual-Point Corner Anchors: Heavy adhesive pads at bottom corners prevent frames from swinging when brushed by shoulders.
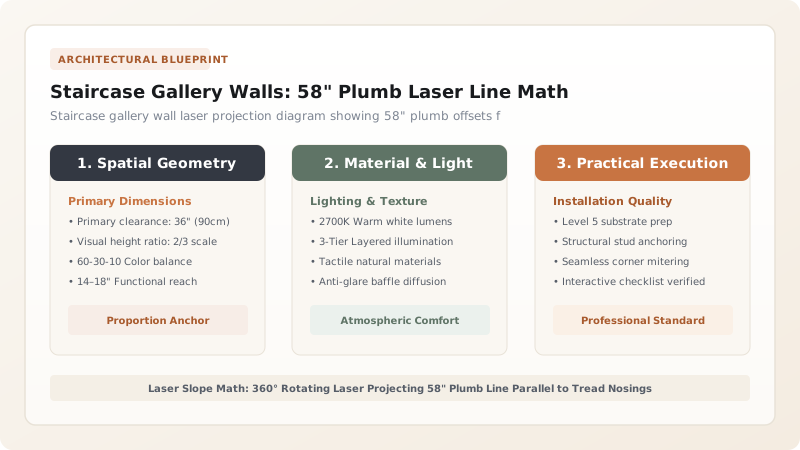
1. Human Ergonomics: Eye Level Along a Dynamic Slope
In standard flat rooms, museum curators hang art at a single 58-inch eye-level centerline. On a staircase, the viewer's eye height ascends by 7 inches with every step taken.
To preserve effortless visual balance, you must project a Continuous Dynamic Eye-Level Plane. Measuring 58 inches vertically plumb from the nosing of every third tread and connecting those points with a laser creates a perfect diagonal vector where art is positioned at natural eye level from every single step.

Staircase Gallery Wall Layout Strategies
Use this reference table to calculate exact physical dimensions, ratios, and specifications before purchasing:
| Gallery Layout Style | Centerline Alignment | Frame Size Variety | Visual Mood |
|---|---|---|---|
| Linear Symmetrical Grid (Optimal) | Strict 58" Plumb Diagonal Center | Uniform matching 11×14" or 16×20" frames | Clean, modern architectural order |
| Eclectic Salon Cluster | 58" Core axis with cloud dispersal | Mixed vintage frames and varying sizes | Curated, historic English country look |
| Triptych Oversized Trio | 58" Centers on bottom, mid, and landing | Three large 24×36" statement artworks | Dramatic minimalism for modern homes |
| Stepped Horizontal Stair-Step | Horizontal stepped blocks | Random sizes (No diagonal cohesion) | DISCOURAGED: Feels visually chaotic |
Plaster Wall Nail Shattering Constraints
Every successful decoration project must account for physical and environmental constraints:
Hammering Picture Nails Shattering Brittle Historic Plaster Walls
Hammering nails into historic lath-and-plaster staircase walls cracks surrounding plaster keys; drill a small 1/8-inch pilot hole with a masonry bit and use plastic conical screw anchors or self-drilling metal anchors.
How to Install a Staircase Gallery Wall with a Laser
Execute this professional sequence to achieve flawless results without backtracking:
Measure 58" Plumb from 3 Treads
Mark 58" vertically up from nosing of bottom tread, middle tread, and top landing tread.
Project Laser Slope Line
Align a laser level on a tripod tilted to lock directly across the 3 measured marks.
Map Frame Centers on Laser Line
Position center hanging brackets of paper templates directly on the projected laser line.
Maintain 2.5" Diagonal Gaps
Verify that side margins between all paper templates measure exactly 2.5 inches.
Install Anchors and Hang Frames
Drive screw anchors through marked template points, hang frames, and lock bottom corners with adhesive pads.
Common Mistakes & Countermeasures
Avoid these costly errors that compromise aesthetics, ergonomics, and budget:
Hanging Art Using Wire Slings on Single Center Nails
Project Execution Checklist
Track your physical progress. Checkboxes persist automatically on this device:
Frequently Asked Questions
Should frames on a staircase gallery match or be mixed?
For modern transitional homes, matching black, brass, or white oak frames with white matting create crisp architectural harmony. For traditional or eclectic homes, mixing antique gilt and dark wood frames adds historic character.


