
Install authentic Spanish Colonial Revival roofing using two-piece Mission barrel clay tiles (ASTM C1167 Grade 1). Fasten pan and cover tiles with heavy-gauge copper wire ties over a dual-layer high-temperature SBS underlayment, maintaining a 3-inch headlap. Seal eave openings with custom mortar birdstops, and finish exterior walls in hand-troweled Santa Barbara smooth lime-cement stucco.
At a Glance: Key Takeaways
- Two-Piece Mission Barrel Clay Tiles (ASTM C1167 Grade 1): Independent pan (trough) and cap (cover) tiles providing authentic historic shadow relief.
- Natural Clay Thermal Mass & Eave Airflow: Cool air enters eave birdstop vents, rising under curved tiles to exhaust solar heat before reaching ceilings.
- Solid Copper Wire & Stainless Ring-Shank Nails: Corrosion-proof fastening resisting high-wind uplift and salt air degradation.
- Mortar-Boosted Eave Birdstops: Hand-troweled colored mortar plugs closing bottom tile barrels against birds, bats, and wind-driven rain.
- Three-Coat Santa Barbara Smooth Stucco: Slaked lime and fine silica sand hand-troweled to replicate 18th-century sun-dried adobe walls.
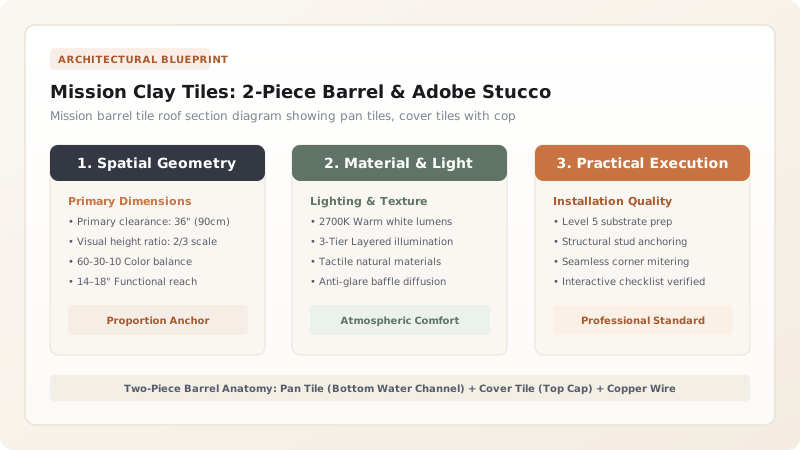
1. Roofing Physics: Two-Piece Barrel Tile Geometry & Sub-Tile Thermal Drafts
Modern interlocking concrete 'S' tiles lack the dramatic 4-inch deep cylindrical curvature and color variation of authentic Spanish roofing.
Two-Piece Mission Barrel Clay Tiles (Pan and Cover) create an undulating roofscape. The hollow barrel shape creates a continuous Thermal Chimney Draft beneath the tiles, venting solar heat gain away from the roof deck and reducing attic cooling loads by up to 30%. Master Talavera stair risers in Talavera ceramic risers.

2. Plaster Craft: Three-Coat Santa Barbara Stucco & Mortar Birdstops
Walls feature a Three-Coat Stucco System (3/8" Scratch, 3/8" Brown, and 1/8" Santa Barbara Finish Coat).
The finish coat is applied with a Rounded Swimming Pool Trowel to create soft, subtle planar waves. Review wrought iron rejas in wrought-iron rejas and corbel brackets and explore Spanish Revival hub.
Clay Barrel Tiles vs Concrete 'S' Tiles
Use this reference table to calculate exact physical dimensions, ratios, and specifications before purchasing:
| Roof Tile Type | Material Composition | Lifespan & Color Fastness | Historic Spanish Authenticity |
|---|---|---|---|
| Two-Piece Mission Barrel Clay (Optimal) | 100% Kiln-Fired Natural Terra Cotta | 100+ Years (Natural kiln color never fades) | 5 / 5 (True Spanish Colonial Heritage) |
| One-Piece 'S' Clay Tile | Kiln-Fired Terra Cotta | 75 to 100 Years | 3 / 5 (Flatter shadow lines) |
| Concrete Interlocking 'S' Tile | Colored Concrete Slurry | 30 to 40 Years (Color fades / Chalks) | 1 / 5 (Heavy, thick, machine-made look) |
| Synthetic Composite Polymer Tile | Recycled Plastic / Rubber | 20 to 30 Years | 1 / 5 (Artificial plastic sheen) |
Eave Tile Wind Blow-Off Constraints
Every successful decoration project must account for physical and environmental constraints:
Strong Wind Gusts Lifting Unsecured Eave Clay Tiles and Tearing Underlayment
Eave starter tiles experience the highest wind uplift pressures on a roof; double-fasten every eave pan and cover tile with two 10-gauge copper screws and embed the bottom barrels in a bed of structural fiber-reinforced roofing mortar.
How to Install Two-Piece Mission Clay Tiles and Santa Barbara Stucco
Execute this professional sequence to achieve flawless results without backtracking:
Install Self-Adhering High-Temp SBS Underlayment
Cover 3/4" plywood roof deck with 2 layers of SBS modified bitumen underlayment; seal all flashing laps.
Fasten 1x2 Vertical Batten Spacers for Pan Tile Alignment
Chalk layout lines every 10 inches; nail preservative-treated 1x2 battens to establish straight pan courses.
Install Eave Raised Fascia and Mortar Birdstops
Nail 2x anti-ponding strip at eave; lay mortar bed and insert clay birdstop closures to seal tile openings.
Lay Lower Pan Tiles with 3" Overlap Fastened with Screws
Place concave pan tiles in troughs; screw through pre-drilled holes with #10 stainless steel screws.
Install Convex Cover Tiles with Solid Copper Tie Wire
Place convex cap tiles over pan junctions; wire each tile to hurricane clips or nail into ridge battens.
Apply Scratch and Brown Stucco Coats Over Diamond Metal Lath
Fasten 3.4 lb self-furring metal lath to walls; apply 3/8" scratch and 3/8" brown coats; moist-cure 48 hours.
Hand-Float Santa Barbara Smooth Stucco Finish
Trowel creamy lime-cement finish coat using pool trowel with light circular strokes; sponge-float corners to bullnose radius.
Common Mistakes & Countermeasures
Avoid these costly errors that compromise aesthetics, ergonomics, and budget:
Omitting Mortar Birdstops on Eave Tile Openings
Project Execution Checklist
Track your physical progress. Checkboxes persist automatically on this device:
Frequently Asked Questions
How heavy is a two-piece Mission clay tile roof?
A genuine two-piece Mission clay tile roof weighs between 900 and 1,200 lbs per roofing square (9 to 12 lbs/sq ft). Roof rafters and structural framing must be engineered specifically to carry this permanent dead load.


