
Install cane webbing into cabinet doors by soaking the cane roll in warm water for 30-45 minutes. Pull it taut across the rear of the door frame, staple every 1/2 inch with pneumatic staples, and trim edges. As it dries, it contracts into a perfectly drum-tight panel.
At a Glance: Key Takeaways
- Soaking Rule: Soak in warm water for 30 to 45 minutes to maximize pliability and expansion.
- Shrinkage Tension: Cane naturally contracts 3-5% as it dries, eliminating all wrinkles.
- Infrared Transparency: Cane doors allow TV remote control signals to reach media boxes inside.
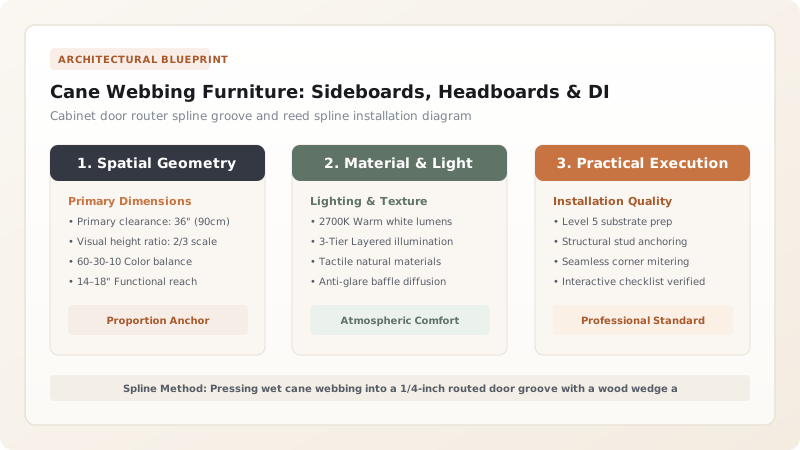
- Fastening: Use 1/4-inch narrow crown staples or traditional reed spline in a routed channel.
1. The Physics of Water Soaking & Shrinkage Tension
Working with cane webbing requires understanding natural fiber expansion. Dry cane is stiff and prone to cracking when folded over sharp door frame edges. When submerged in warm water, the fibers absorb moisture, becoming pliable like wet leather.
Stapling the wet cane under moderate tension ensures that as the water evaporates over 12 hours, the fibers shrink, pulling the webbing completely flat and drum-tight with zero sags.

Cane Webbing Weave Styles
Use this reference table to calculate exact physical dimensions, ratios, and specifications before purchasing:
| Weave Pattern | Mesh Openness | Visual Opacity | Best Application |
|---|---|---|---|
| Radio / Box Weave | 50% Open grid | Semi-transparent | Modern media consoles, modern cabinets |
| Viennese 6-Way Hexagonal | 40% Open weave | Classic patterned | Sideboards, dining chairs, headboards |
| Close Weave / Solid Webbing | 0% Open (Solid sheet) | 100% Opaque | Under-bed storage fronts, clothing wardrobes |
| Herringbone / Twill Cane | 10% Micro-gap | High opacity | Luxury accent dressers, room dividers |
Uneven Staple Tension Constraints
Every successful decoration project must account for physical and environmental constraints:
Wavy Cane Grid Lines
Pulling cane tighter on the left than the right creates distorted curved grid lines; align the horizontal cane strands with a T-square before driving the first staple.
How to Install Cane Webbing on Cabinet Doors
Execute this professional sequence to achieve flawless results without backtracking:
Soak Cane Roll
Submerge cane webbing in warm water in a bathtub for 35 minutes.
Blot Excess Water
Lay wet cane on dry towels and roll up to remove standing surface water.
Staple Opposite Centers
Staple top center, bottom center, left center, and right center under tension.
Staple to Corners & Trim
Work outward to corners every 1/2 inch, then trim excess with utility knife.
Common Mistakes & Countermeasures
Avoid these costly errors that compromise aesthetics, ergonomics, and budget:
Installing Cane Webbing Completely Dry
Project Execution Checklist
Track your physical progress. Checkboxes persist automatically on this device:
Frequently Asked Questions
Can you paint or stain cane webbing?
Yes! Once the cane has completely dried on the frame (after 24 hours), you can apply wood stain, spray paint, or clear lacquer. Spraying light coats ensures paint does not clog the open hexagonal holes.


