
Mosque mihrab niche revetment and lime-sand setting beds comprise the architectural installation methodology for historic Ottoman Iznik ceramic tiles. Cladding monumental stone walls, scalloped prayer niches (mihrabs), and spandrel arches, tiles are installed using vapor-permeable natural hydraulic lime (NHL 2) and pulverized marble dust setting beds. This flexible, low-alkali mortar absorbs seasonal masonry movement and dissipates groundwater moisture without generating destructive efflorescence salts.
At a Glance: Key Takeaways
- Mihrab Prayer Niche Geometry: Semicircular or polygonal apsidal niches crowned by multi-tiered muqarnas stalactite vaults clad with custom-cast tiles.
- Vapor-Permeable Lime Setting Beds: Natural hydraulic lime (NHL 2) and washed silica/marble sand accommodating building settlement without cracking brittle fritware.
- Zero Portland Cement Rule: Strict prohibition of Portland cement to prevent fatal alkali-silica reactions and expansive sodium sulfate efflorescence.
- Hairline 1mm Joint Spacing: Tiles installed with razor-thin 1mm joints filled with pure slaked lime putty, creating the illusion of continuous painted porcelain walls.
- Sub-Florescence Salt Control: Pre-treatment of historic stone walls with sacrificial cellulose pulp poultices to extract destructive sub-surface nitrates.
- Mechanical Bronze Anchor Clips: High-elevation friezes and overhanging muqarnas corbels secured with concealed 316 stainless or bronze wire anchor ties.
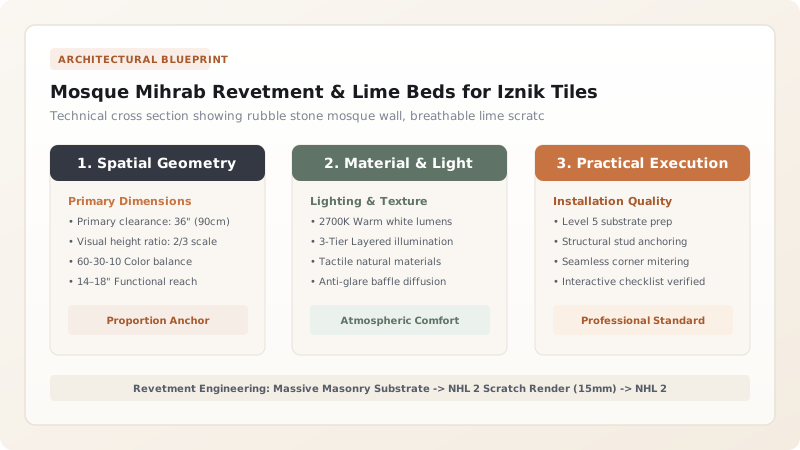
1. Sacred Geometry: The Mihrab Niche and Muqarnas Vaults
The mihrab is the semicircular or faceted prayer niche set into the qibla wall of a mosque, indicating the exact direction toward Mecca. In imperial Ottoman mosques designed by Mimar Sinan, the mihrab was the focal point of the entire interior, enveloped from floor to vault in dazzling polychrome Iznik tiles.
Cladding a three-dimensional concave niche and its corbeled stalactite hood (muqarnas) requires sophisticated ceramic engineering:
- Curved and Faceted Bisque Slabs: Tiles for the niche interior were cast in curved convex molds or trapezoidal wedge shapes to follow the curvature without stepping.
- Muqarnas Prism Revetment: Miniature faceted ceramic tiles shaped like triangular pyramids and fluted niches were individually molded, painted, and glazed to cover every facet of the vaulting.
2. Setting Bed Mechanics: Natural Hydraulic Lime vs. Rigid Cement
Historic stone and brick masonry walls are dynamic structures that shift microscopically with seasonal temperature fluctuations and ground humidity. If hard, brittle Portland cement mortar is used to set quartz tiles, the rigid bond shears the soft quartz fritware body off the wall during winter contraction.
Ottoman master masons utilized a low-modulus hydraulic lime setting matrix:
This formulation exhibits low elastic modulus (\(E \approx 4\text{ GPa}\)), high vapor permeability (\(15\text{ to }20\text{ Perms}\)), and zero free alkalis, allowing moisture in the thick stone walls to evaporate harmlessly through the 1mm lime joints without trapping moisture behind the impervious tiles.
3. Salt Extraction and High-Elevation Mechanical Anchoring
Before installing tiles on historic masonry, the wall must undergo salt remediation. Ground moisture carries dissolved calcium sulfate and sodium nitrate into the wall. If trapped behind tiles, salt crystals expand with pressures up to \(100\text{ MPa}\), shattering the ceramic bisque.
Masons apply a \(25\text{ mm}\) sacrificial poultice of pure cellulose pulp and deionized water. As the poultice dries, capillary action draws soluble salts out of the stone into the paper fibers, which are peeled off and discarded. For upper wall friezes and overhangs, tiles are reinforced with concealed Grade 316 stainless steel or phosphor-bronze wire ties looped through lugs cast into the tile backs. Review underglaze craftsmanship in underglaze Armenian bole coral-red and cobalt arabesque brushwork.
Architectural Tile Revetment Mortar Comparison
Use this reference table to calculate exact physical dimensions, ratios, and specifications before purchasing:
| Mortar System | Elastic Modulus (E) | Vapor Permeability | Efflorescence Risk | Tile Shear Risk | Lifespan on Historic Stone |
|---|---|---|---|---|---|
| Natural Hydraulic Lime (NHL 2) + Marble Flour | 3.5 to 4.5 GPa (Flexible) | High (18 Perms) | Zero (No Free Alkalis) | Zero (Accommodates Drift) | 100+ Years |
| Modern Portland Cement Thin-Set | 28 to 32 GPa (Brittle) | Very Low (< 2 Perms) | Severe (Sodium Salt Bloom) | Very High (Pops Off Tiles) | 5 to 15 Years (Failure) |
| Epoxy Resin Adhesive | 2.5 GPa (Tough) | Zero (Impermeable Vapor Dam) | Zero | Low (Indoor Only) | Traps Moisture in Stone Behind |
| Pure Slaked Non-Hydraulic Lime Putty | 2.0 GPa (Soft) | Very High (25 Perms) | Zero | Zero | Requires Air to Carbonate (Slow) |
Practical Constraints
Every successful decoration project must account for physical and environmental constraints:
Groundwater Rising Damp in Historic Mosques
Centuries-old stone foundations lacking modern damp-proof membranes continuously wick ground moisture upward. If Iznik tiles are applied directly over damp stone, hydraulic pressure pushes tiles off the wall. A continuous perimeter french drain and lime-grouted sub-wall ventilation plinth must be installed to lower the water table before revetment installation.
Thermal Expansion Variations in High-Dome Claddings
Tiles installed 15 meters high near mosque dome clerestories experience severe temperature swings from winter drafts to summer heat traps. Tiles in these high-thermal zones must incorporate continuous 3mm elastomeric silicone joints concealed beneath vertical border moldings every 4 meters.
Execution Blueprint & Craftsmanship Sequence
Execute this professional sequence to achieve flawless results without backtracking:
Substrate Desalination & Surface Scratch Coat
Apply cellulose pulp poultices to extract soluble wall salts until conductivity tests read under 200 µS/cm. Apply a 15mm scratch coat of NHL 2 hydraulic lime and washed coarse sand, scoring with a comb.
Niche Axial Layout & Story-Pole Profiling
Mark the vertical mihrab centerline using a laser plumb line. Use a wooden story pole to lay out full-tile courses, ensuring calligraphic friezes align with architectural cornices without awkward cut tiles.
Tile Pre-Wetting & Back-Buttering
Dampen the backs of the quartz fritware tiles with clean water to prevent moisture absorption from the mortar. Butter the tile back with a 10mm bed of NHL 2 mortar blended with fine marble dust.
Tile Setting & Hairline Joint Spacing
Press tiles firmly into the wall scratch coat, tapping gently with a rubber dead-blow mallet. Maintain precise 1mm joint gaps using temporary hardwood wedges.
Pure Slaked Lime Joint Grouting & Cleansing
After 48 hours, pack joints with pure aged slaked lime putty blended with micro-fine marble flour. Sponge the glazed surface clean with fresh water and buff with microfiber towels.
Common Mistakes & Countermeasures
Avoid these costly errors that compromise aesthetics, ergonomics, and budget:
Grouting Iznik Tile Joints with Sanded Portland Cement Grout
Setting Dry Tiles onto Hot Dry Plaster Without Pre-Moistening
Project Execution Checklist
Track your physical progress. Checkboxes persist automatically on this device:
Frequently Asked Questions
Can damaged or missing historic Iznik tiles in mosques be reproduced?
Yes. Master ceramic conservation institutes (such as those in Iznik and Kütahya) recreate exact replacements using historic 80% quartz fritware formulas, hand-pounced cartoon stencils, and genuine Armenian bole slip, aging the glaze to match adjoining originals.
How are Iznik tiles safely cleaned in historic mosques?
Historic Iznik tiles should be cleaned exclusively with deionized water, mild neutral-pH soap (such as Vulpex liquid soap), and soft natural sponges. Never use acidic, alkaline, or abrasive household bathroom cleaners, which chemically etch the soft lead glaze.


