
Achieving the ultra-slender 9mm sightlines of Georgian fanlights required composite metal engineering. A structural core of flat wrought iron or rolled steel provided stiffness against wind loads, capped with rolled lead or drawn copper profiles that received glass panes. Decorative neoclassical rosettes cast from low-melting-point lead alloys were soldered directly over intersections, disguising mechanical joints.
At a Glance: Key Takeaways
- Composite Astragal Architecture: 3mm solid iron core clad in malleable rolled lead for structural stiffness and easy glazing.
- Brass-Die Lead Casting: Pouring molten lead-antimony alloy into two-part bronze molds to produce crisp neoclassical relief.
- 60/40 Tin-Lead Solder Joints: Low-temperature soft soldering connecting radial astragal spokes into a continuous rigid web.
- Acanthus Husk Swags: Cast lead drapery festoons soldered along the outer semicircular rim of the transom.
- Electrochemical Galvanic Isolation: Tinning iron cores before soldering to prevent bimetallic electrolytic corrosion.
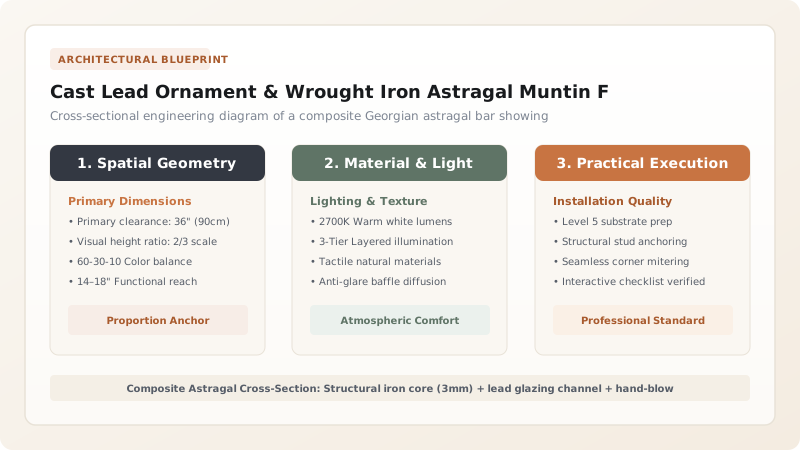
1. Composite Metal Engineering: The 10mm Sightline
Standard wooden glazing bars must be at least 20mm to 28mm wide to resist wind deflection across a 1.5-meter doorway. To achieve the airy, weightless aesthetic demanded by Robert Adam, 18th-century metalworkers developed the composite metal astragal.
The backbone of the bar is a strip of high-tensile wrought iron or drawn mild steel (typically 12mm deep by 3mm thick) oriented perpendicular to the glass. Because bending resistance depends on the cube of depth ($$I = \frac{b \cdot h^3}{12}$$), this narrow 3mm bar has exceptional flexural stiffness against horizontal wind gusts.
A rolled lead or copper capping is folded around the outer face of the iron blade, providing a soft, malleable rebate against which hand-blown glass panes can be bedded in putty without point-stress cracking.
2. Lead Casting Metallurgy & Mold Making
The decorative ornaments—rosettes, husks, urns, and patera—were cast from a specialized lead alloy containing 90% pure lead, 8% antimony (Sb), and 2% tin (Sn). The addition of antimony lowers the melting point to approximately 290°C while causing the molten metal to expand slightly upon cooling, forcing the alloy into the microscopic details of the mold.
Molds were precision-carved from fine-grained soapstone (steatite) or cast in two-part bronze dies. Molten lead poured into these preheated dies yielded crisp, clean architectural reliefs with feather-edge details that required minimal chasing or filing.
3. Soft-Soldering & Galvanic Protection
Assembling the intricate web of curved and straight astragals required masterly soft-soldering. The iron cores were first chemically cleaned with hydrochloric acid flux and tinned with pure tin.
Holding the components on a refractory soldering board with clamping jigs, the artisan soldered the lead ornaments and astragals using a 60% tin / 40% lead alloy solder with a melting range of 183°C–190°C. Because the solder melts at a lower temperature than the cast lead ornaments (290°C), a skilled craftsman could fuse the joints with a copper soldering iron without melting the delicate acanthus petals.
Composite Astragal Component Specifications
Use this reference table to calculate exact physical dimensions, ratios, and specifications before purchasing:
| Component Layer | Material Composition | Dimensions | Engineering Function |
|---|---|---|---|
| Structural Core Blade | Low-carbon wrought iron / steel | 12mm deep × 3mm thick | Carries wind loads; prevents transom deflection |
| Glazing Cap / Rebate | Malleable rolled lead or drawn copper | Total sightline 10mm to 12mm | Forms soft glazing pocket for cylinder glass |
| Neoclassical Ornaments | 90% Pb / 8% Sb / 2% Sn alloy | 25mm to 45mm diameter rosettes | Conceals structural solder joints; classical ornament |
| Solder Bond | 60/40 Tin-Lead eutectic solder | 0.2mm bond line | Chemically fuses iron core, lead cap, and rosettes |
Metallurgical Constraints
Every successful decoration project must account for physical and environmental constraints:
Thermal Creep
Pure lead creeps (sags) under sustained gravity loads; antimony (8%) must be alloyed to impart long-term stiffness to cast ornaments.
Galvanic Electrolysis
In coastal locations, moisture bridging copper and steel induces galvanic corrosion; full tinning of all steel cores is mandatory.
Protocol for Soldering Composite Astragals and Cast Rosettes
Execute this professional sequence to achieve flawless results without backtracking:
Iron Core Bending & Trimming
Cold-bend 3mm iron blade bars over hardwood layout formers to match drafted radial arcs; miter ends cleanly.
Chemical Degreasing & Tinning
Degrease iron cores in solvent; brush with killed spirits flux (zinc chloride) and tin contact points with hot solder.
Die-Casting Lead Rosettes
Preheat bronze soapstone molds to 180°C; ladle molten antimony-lead alloy into mold gate; cool and de-burr.
Jig Clamping & Alignment
Clamp the tinned iron radial spokes and curved outer frames securely onto an asbestos-free fireproof soldering board.
Soldering Astragal Intersections
Apply rosin flux; solder joints using a heavy 500g copper soldering iron heated in a gas furnace to 260°C.
Rosette Sweating & Flux Neutralization
Sweat lead rosettes over the soldered joint hubs; wash the entire assembly with baking soda solution to neutralize acid flux.
Common Mistakes & Countermeasures
Avoid these costly errors that compromise aesthetics, ergonomics, and budget:
Overheating lead ornaments with an open oxy-acetylene torch flame
Failing to neutralize acid flux after soldering
Project Execution Checklist
Track your physical progress. Checkboxes persist automatically on this device:
Frequently Asked Questions
Why did Georgian builders use lead instead of carved wood for fanlight ornaments?
Wood was too thick and brittle to carve into tiny 25mm classical rosettes that could survive exterior weather. Cast lead was impervious to rot, could be cast by the thousands in bronze dies with razor-sharp classical detail, and soldered directly to metal glazing bars.
How do you repair a cracked or buckled historic iron-lead fanlight?
Conservators carefully remove the old glass by softening linseed putty with steam blankets, un-solder broken joint intersections, straighten bent iron core blades in wooden jacks, re-solder joints with 60/40 solder, and apply anti-corrosive zinc-rich primers.


