
Recess a wood-framed subfloor for a curbless shower by sistering full-length 2x10 joists alongside existing joists. Fasten 2x4 ledger cleats along the bottom edges of the sistered joists, then drop 3/4-inch exterior-grade plywood into the pockets to create a 2-inch recessed cavity.
At a Glance: Key Takeaways
- Never Notch Joists: Notching joists destroys structural load capacity and violates IRC residential building codes.
- Sistering Engineering: Fasten matching 2x10s with structural construction adhesive and pairs of 3" nails every 12 inches.
- 2x4 Ledger Cleats: Glued and screwed to sister joists to support the dropped 3/4" subfloor plywood.
- Deflection Rating: Floor must meet L/720 deflection standards for crack-free stone and porcelain installations.
1. Building Code Mechanics: Joist Sistering vs Dangerous Notching
International Residential Code (IRC Section R502.8) strictly forbids cutting notches greater than 1/6th of joist depth, and forbids ANY notching in the middle third of a joist span. Cutting 2 inches off the top of a 2x10 joist reduces its structural load-bearing capacity by more than 50%, causing floor bounce and cracked tiles.
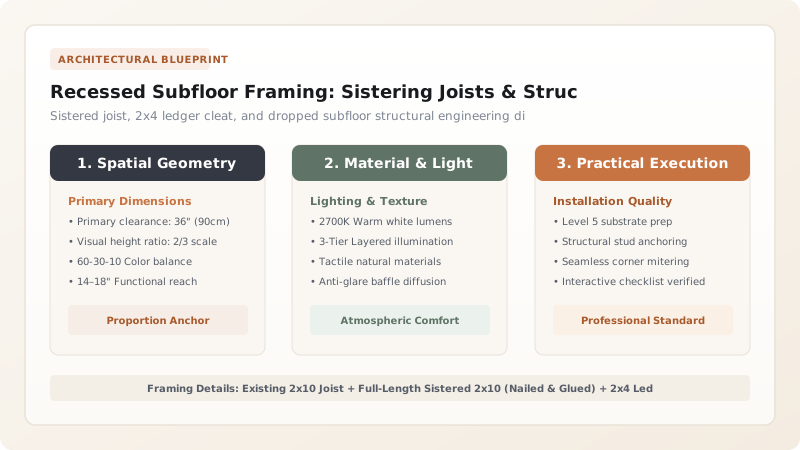
To safely drop the subfloor 2 inches, carpenters sister a new full-length 2x10 joist to each existing joist, attaching 2x4 ledger boards 2.75 inches below the top edge to carry the dropped 3/4-inch plywood subfloor.

Subfloor Recessing Methods & Structural Performance
Use this reference table to calculate exact physical dimensions, ratios, and specifications before purchasing:
| Framing Method | Code Compliance | Deflection Rating | Max Supported Weight |
|---|---|---|---|
| Sistered 2x10 + 2x4 Ledgers (Optimal) | 100% IRC Code Compliant | L/720 (Ultra-Stiff) | 1,200 lbs (Heavy stone & glass) |
| Engineered ARC True-Pitch Pan | 100% Code Compliant | L/480 (Spans joists) | 800 lbs |
| I-Joist Web Stiffeners + Drop | Requires Engineer Stamp | L/720 | 1,000 lbs |
| Top Notching Existing Joists | ILLEGAL / CODE VIOLATION | Fails Code (Bouncy floor) | Danger of structural sag |
Engineered I-Joist Flange Cutting Constraints
Every successful decoration project must account for physical and environmental constraints:
Cutting the Top Flange of Engineered Wood I-Joists (TJI)
Cutting even 1/4 inch off the top wood flange of an engineered I-joist destroys its tension/compression integrity, causing immediate floor failure; in engineered I-joist homes, strictly install between-joist pre-formed pans (like ARC Inc. TruePitch).
How to Frame a Recessed Subfloor Cavity
Execute this professional sequence to achieve flawless results without backtracking:
Cut Out Existing 3/4" Subfloor
Cut subfloor flush along shower perimeter with a toe-kick saw.
Sister Full-Length 2x10 Joists
Glue and nail new 2x10 joists to existing framing across full span with 16D nails.
Screw 2x4 Ledgers 2.75" Down
Drive structural 3" GRK screws to mount 2x4 ledgers 2.75" below top joist edge.
Install 3/4" Marine Plywood
Glue and screw 3/4" CDX or marine plywood onto ledgers between joists.
Seal All Plywood Seams
Tape and seal seams with waterproof band before setting shower pan.
Common Mistakes & Countermeasures
Avoid these costly errors that compromise aesthetics, ergonomics, and budget:
Using 1/2-Inch Plywood for the Dropped Shower Subfloor
Project Execution Checklist
Track your physical progress. Checkboxes persist automatically on this device:
Frequently Asked Questions
Can you install a curbless shower on an existing concrete slab?
Yes! On concrete slabs, you can either: 1) Jackhammer and chip out a 2-inch deep pocket in the concrete slab, or 2) Build up the dry bathroom floor with 1.5-inch self-leveling underlayment to meet the shower slope elevation.


