
Roman vertical radiant wall heating was achieved through two ingenious ceramic systems: tubuli (hollow rectangular terracotta box tiles) and tegulae mammatae (flat tiles with protruding conical corner nipples that created a continuous wall air cavity). Hot flue gases rising from the subfloor hypocaust passed through these wall conduits before exhausting at roof level, heating walls to 40°C.
At a Glance: Key Takeaways
- Tubuli Box Tiles: Extruded hollow terracotta boxes (approx. 120mm × 180mm × 400mm) stacked in interlocking vertical flues.
- Lateral Ventilation Vents: Perforated side cutouts in tubuli allowing horizontal air equalization across wall cavities.
- Tegulae Mammatae Spacers: Wall tiles featuring 40mm conical ceramic nipples that held tiles away from the masonry to form a plenum.
- Iron T-Staple Fasteners: Forged iron spikes (clavi T-formes) driven into stone masonry mortar to tie tile stacks to walls.
- Condensation Elimination: Elevated wall temperatures preventing steam condensation and cold radiant downdrafts in caldaria.
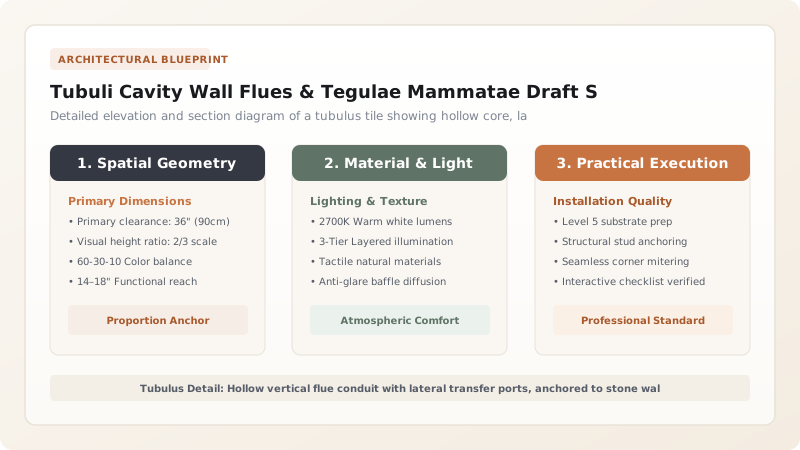
1. Evolution from Tegulae Mammatae to Hollow Tubuli
Early Roman attempts at wall heating utilized tegulae mammatae (literally 'breasted tiles'). These were large flat terracotta wall tiles measuring approximately 450mm × 450mm × 35mm, molded with four raised conical ceramic nipples or bosses (mammae, 40mm to 50mm high) projecting from the four corners of their reverse faces.
When pressed against a vertical masonry wall, the ceramic nipples held the tile body away from the wall, creating a continuous 50mm cavity through which hot gases could circulate. While effective, the wide, uncompartmentalized cavity suffered from chaotic air turbulence and localized cold dead zones.
By the 1st century CE, Roman ceramicists developed the superior tubulus (plural tubuli)—hollow, rectangular extruded terracotta flue boxes measuring approximately 120mm deep, 180mm wide, and 350mm to 450mm tall. Stacked vertically end-to-end, tubuli formed discrete, highly efficient vertical chimney flues lining the entire interior perimeter of the room.
2. Mechanical Anchoring & Lateral Equalization Ports
Because tubuli were thin-walled ceramic hollows (wall thickness 15mm to 20mm), an entire vertical stack could reach 4 to 6 meters in height. If unsupported, the ceramic stacks would buckle outward under their own weight and thermal expansion.
Roman masons anchored the stacks to the stone wall using forged wrought-iron T-staples (clavi T-formes) or bronze cramp pins. The flat horizontal arms of the T-staple were clamped across the top rim of adjacent tubuli, while the long shank (150mm to 200mm) was driven firmly into the mortar joints of the stone masonry wall behind.
Crucially, master tile-makers cut oval or rectangular lateral equalization ports into the side walls of each tubulus. If an individual chimney flue became partially blocked by soot or bird nesting, flue gas could freely migrate laterally into adjacent vertical flues, guaranteeing uniform heat distribution across the entire wall.
3. Thermal Comfort & Condensation Prevention Dynamics
In high-humidity Roman bath environments (the caldarium, where relative humidity exceeded 90%), unheated stone walls would operate at temperatures below the dew point of the humid air (dew point \(T_{\text{dew}} \approx 35°\text{C}\)). Water vapor would condense violently against cold walls, creating freezing rivulets of water and miserable cold radiant downdrafts.
By heating the tubuli cavity walls to 38°C to 45°C, Roman engineers ensured that the interior surface temperature \(T_{\text{wall}}\) remained permanently higher than the room's dew point:
Bathers felt comfortably warm even when room air was cooled by fresh air ventilation, representing antiquity's most refined mastery of human psychrometrics.
Roman Cavity Wall Heating Systems Comparison
Use this reference table to calculate exact physical dimensions, ratios, and specifications before purchasing:
| System Element | Tegulae Mammatae System | Tubuli Box Tile System | Performance & Installation Trade-off |
|---|---|---|---|
| Ceramic Geometry | Flat tile with 4 conical nipples (mammae) | Extruded hollow rectangular box | Tubuli provide isolated, high-velocity vertical chimney draft |
| Cavity Depth | 40mm to 50mm open continuous cavity | 120mm to 150mm hollow conduit interior | Tubuli move 3x more convective gas volume with less friction |
| Anchorage Method | Iron spikes driven through tile corners | Forged T-staples clamped across top rims | T-staples eliminate tile perforation; zero smoke leakage |
| Lateral Flow Capability | Full 360° unconstrained lateral flow | Engineered lateral cutout ports (vents) | Tubuli combine controlled vertical draft with lateral balancing |
| Plaster Substrate | Requires heavy pozzolana leveling coat | Scratched face keys hold fine lime-marble plaster | Tubuli feature hatched comb marks for superior plaster bonding |
Thermal & Material Constraints
Every successful decoration project must account for physical and environmental constraints:
Thermal Expansion Cracking
A 5-meter tubuli stack expands by 4mm to 6mm when heated; upper ceiling junctions must incorporate slip joints.
Soot Leakage
Gaps between tubuli courses must be meticulously buttered with refractory pozzolanic mortar to prevent smoke leaking behind interior plaster.
Protocol for Installing Roman Tubuli Cavity Walls
Execute this professional sequence to achieve flawless results without backtracking:
Subfloor Plenum Opening Alignment
Leave continuous 150mm perimeter slots along the perimeter of the suspensura floor to connect the subfloor plenum directly into the wall flues.
First Course Setting & Leveling
Bed the first course of tubuli in refractory pozzolanic lime mortar directly over the perimeter floor openings.
Vertical Stacking & T-Clamp Driving
Stack successive courses of tubuli, driving forged iron T-staples into stone masonry mortar joints every 2 courses to tie the stack to the wall.
Lateral Port Alignment
Ensure lateral side ports align between neighboring columns to permit horizontal pressure equalization.
Upper Chimney Throat Connection
Gather the top of the tubuli flues into a continuous horizontal header duct connected to terracotta roof chimney pots.
Interior Finish Plastering
Apply a two-coat hydraulic lime and crushed marble plaster over the hatched faces of the tubuli, finishing with fresco or marble veneer.
Common Mistakes & Countermeasures
Avoid these costly errors that compromise aesthetics, ergonomics, and budget:
Plastering over tubuli with gypsum plaster rather than hydraulic lime
Failing to drive iron T-clamps into stone joints during stacking
Project Execution Checklist
Track your physical progress. Checkboxes persist automatically on this device:
Frequently Asked Questions
Did tubuli walls ever cause structural fires in Roman buildings?
Rarely in stone and brick structures. The tubuli tiles, stone walls, and lime plaster were 100% non-combustible ceramic and mineral materials. However, if timber roof rafters directly touched the upper exhaust flue exits without ceramic or stone clearance, rafter ignition could occur if fires were over-stoked.
How were tubuli tiles manufactured in Roman antiquity?
They were formed by folding wet clay slabs around rectangular wooden form blocks (mandrels) or extruded through square dies, with comb marks scratched into the exterior faces while green to create mechanical keys for interior plaster.


