
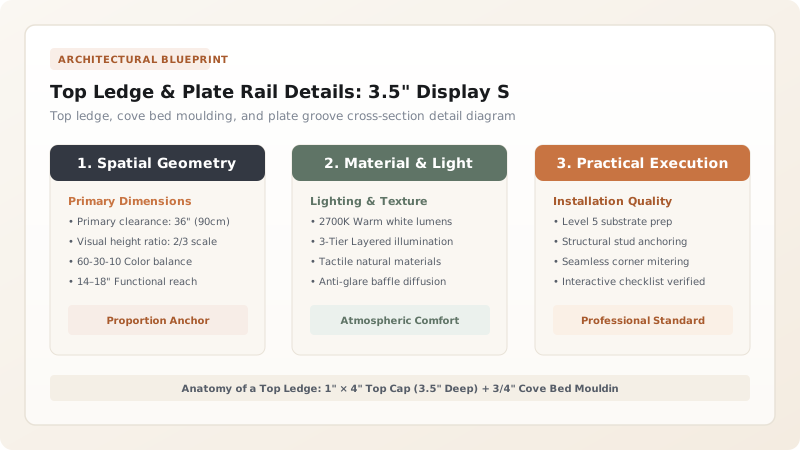
Top off board and batten wainscoting by installing a 3.5-inch deep wooden top cap (using a 1x4 board) supported underneath by a 3/4-inch cove or bed moulding. Rout a 1/4-inch wide plate groove 1 inch from the back to display framed art and ceramics securely without falling.
At a Glance: Key Takeaways
- 3.5-Inch Shelf Depth: Provides ample depth to lean framed art, small plants, and ceramic vases without tipping.
- Cove Moulding Support: A 3/4-inch cove moulding beneath the ledge provides structural cantilever support and shadow detail.
- Plate Groove Detail: Rout a 1/4-inch wide × 1/8-inch deep groove along the shelf to stop framed prints from sliding forward.
- Stud Fastening: Nail top cap down into horizontal wall rail and back into wall studs with 2.5-inch finish nails.
1. Architectural Joinery & Cantilever Support Mechanics
In historic Craftsman and Arts & Crafts architecture, the top of wainscoting was never a flat, flush board. It featured a functional Plate Rail (Picture Ledge) designed to display fine china, ceramic vessels, and framed family portraits without driving nails into plaster.
Constructing a sturdy top ledge requires a 3-piece assembly: the horizontal top rail (1x4), the horizontal top cap shelf (1x4 extending 3.5 inches), and a supporting cove bed moulding underneath to lock the cantilever in place.

Top Rail Cap Profiles & Depths Comparison
Use this reference table to calculate exact physical dimensions, ratios, and specifications before purchasing:
| Top Ledge Style | Ledge Depth (Projection) | Supporting Trim | Primary Function |
|---|---|---|---|
| Craftsman Picture Ledge | 3.5" Projection (1x4 board) | 3/4" Cove / Bed Moulding | Staging framed art, leaning canvas prints, ceramics |
| Minimalist Shaker Cap | 1.5" Projection (1x2 board) | Square eased edge | Clean finish; prevents dust accumulation |
| Historic Plate Rail with Groove | 4.0" - 5.0" Projection | Decorative crown moulding | Displaying antique plates, large framed paintings |
| Modern Flush Cap | 0.75" Projection (Flush with battens) | No support trim | Ultra-modern seamless linear look |
Hallway Shoulder Snagging Constraints
Every successful decoration project must account for physical and environmental constraints:
Deep 3.5" Ledge Snagging Shoulders in Narrow 36" Hallways
A 3.5" shelf projecting into a narrow 3-foot hallway creates shoulder collision hazards; in narrow corridors, reduce the top cap to a slim 1.5" (1x2 board) or use a 3/4" flush cap.
How to Build a Routed Top Picture Ledge
Execute this professional sequence to achieve flawless results without backtracking:
Rout 1/4" Plate Groove in 1x4
Use a router with a 1/4" core-box bit to cut a 1/8" deep groove 1 inch from rear edge of 1x4 board.
Nail 1x4 Horizontal Rail to Studs
Secure horizontal rail to wall studs with 2.5" 16-gauge nails.
Nail Top Cap Down onto Rail
Apply wood glue and nail top cap downward into the top edge of the rail every 12 inches.
Install Underneath Cove Trim
Pin-nail 3/4" cove moulding under the shelf overhang to lock the joint.
Fill & Caulk Seams
Wood-putty nail holes, sand flush, caulk the wall joint, and paint with durable enamel.
Common Mistakes & Countermeasures
Avoid these costly errors that compromise aesthetics, ergonomics, and budget:
Skipping the Underneath Cove Moulding on Deep Ledges
Project Execution Checklist
Track your physical progress. Checkboxes persist automatically on this device:
Frequently Asked Questions
How much weight can a top picture ledge hold?
When glued and nailed securely into a horizontal rail fastened to wall studs, a 3.5-inch top ledge easily supports 25 to 30 lbs of framed artwork, books, and ceramic decor.


