
Flash skylight roof curbs by constructing a 2x6 wood curb elevated 4 to 6 inches above the roof deck. Wrap the curb with self-adhered EPDM membrane (lapping 12" onto roof sheathing). Install a bottom apron flashing, weave aluminum step flashing with each shingle course, install a top saddle head flashing, and verify skylight condensation weep channels are unobstructed.
At a Glance: Key Takeaways
- 4"–6" Minimum Raised Curb Height: Elevates glass frame above pooling water, heavy ice dams, and standing snowpack.
- Self-Adhered EPDM Ice & Water Membrane: Forms an elastomeric waterproof boot around the curb-to-roof transition.
- Woven Aluminum Step Flashing (3"×3"×7"): Interleaves with every shingle course so gravity directs runoff around the curb.
- Top Saddle Head Flashing with 4" Flange: Directs rushing rainwater from upper roof slopes safely around the side step flashings.
- Internal Condensation Weep Channels: Dual EPDM gasket channels collect indoor glass condensation and weep it outside.
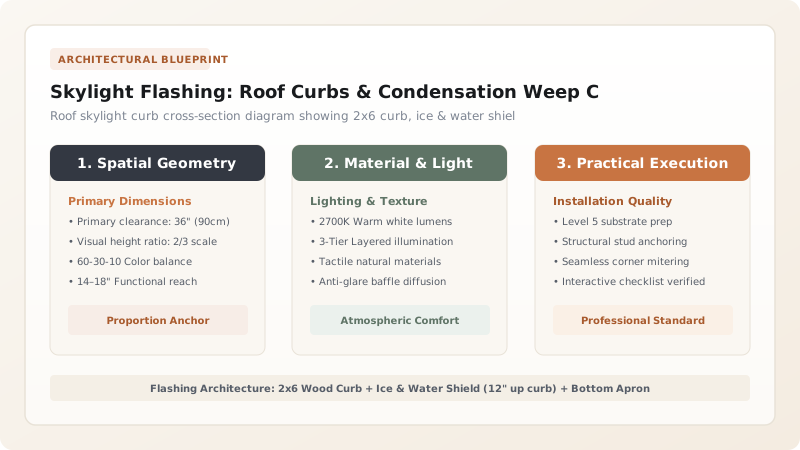
1. Waterproofing Science: 2x6 Raised Curbs & EPDM Underlayment
Over 90% of skylight leaks are not caused by glass failure, but by improper curb construction. Deck-mounted skylights sitting directly on plywood sheathing are easily overwhelmed by ice dams.
Professional roofers build a 2x6 Raised Wood Curb (minimum 4 to 6 inches above roof sheathing). The curb is wrapped in Self-Adhered SBS Modified Bitumen / EPDM Membrane extending 12 inches up the curb and 12 inches out onto the roof deck. Explore splayed geometry in splayed light well angles.

2. The Four-Part Flashing System & Internal Condensation Weeps
A leak-free roof installation requires a four-part metal system: Bottom Apron, Side Step Flashing, Top Head Saddle, and Counter-Flashing.
Inside the skylight aluminum frame, engineered Condensation Weep Channels collect moisture droplets that condense on the interior glass face, draining them harmlessly to the outside roof. Review overall layouts in skylight wells hub.
Skylight Mounting Systems Comparison
Use this reference table to calculate exact physical dimensions, ratios, and specifications before purchasing:
| Mounting System | Curb Elevation Above Roof | Leak Resistance on Low Slopes | Long-Term Serviceability |
|---|---|---|---|
| Curb-Mounted Skylight (Optimal) | 4" to 6" Raised 2x6 Curb | 100% Waterproof (Up to 2:12 slopes) | Excellent (Replace skylight without re-roofing) |
| Deck-Mounted Modular Flashing | Flush with roof deck | Moderate (Requires 4:12+ slope) | Requires stripping shingles to service |
| Custom Fabricated Copper Pan Flashing | 6" to 8" Soldered copper curb | Extreme (Commercial 100-year life) | High Cost / Master tinsmith required |
| Direct Mastic-Glued Window (Avoid) | 0.0" Flat | FAILS: Leaks within 12 months | Catastrophic failure |
Top Head Saddle Flashing Ponding Constraints
Every successful decoration project must account for physical and environmental constraints:
Debris and Water Ponding Behind Flat Top Head Saddle of Wide Skylights
Skylights wider than 30 inches trap pine needles and water behind the top curb; build a small pitched wood cricket (saddle) behind the top head curb covered in EPDM membrane to split water runoff to both sides of the skylight.
How to Construct, Flash, and Waterproof a Skylight Roof Curb
Execute this professional sequence to achieve flawless results without backtracking:
Build and Fasten 2x6 Wood Curb Box
Construct square 2x6 curb matching manufacturer rough opening; fasten to roof rafters with 3" structural screws.
Wrap Self-Adhered EPDM Ice & Water Membrane
Apply membrane 12" onto surrounding roof deck and wrap all the way over top lip of 2x6 curb.
Install Bottom Apron Flashing Over Lower Shingles
Nail bottom apron flashing over lower shingle row; fold bottom corners around curb edges.
Weave Aluminum Step Flashing with Shingle Rows
Install one 3"×3"×7" step flashing piece with each row of shingles running up both sides of the curb.
Install Top Head Saddle Flashing Under Upper Shingles
Slide top saddle flashing under upper roof shingles, overlapping side step flashings by 4 inches.
Seat Skylight Frame and Fasten Counter-Flashing
Lower curb-mounted skylight onto curb; drive perimeter gasketed screws into side counter-flashing.
Common Mistakes & Countermeasures
Avoid these costly errors that compromise aesthetics, ergonomics, and budget:
Nailing Step Flashing Directly into the Vertical Wood Curb
Project Execution Checklist
Track your physical progress. Checkboxes persist automatically on this device:
Frequently Asked Questions
What should you do if an existing skylight sweats and drips water in winter?
Verify that the internal condensation weep channels at the bottom corners of the aluminum frame are not blocked by dirt or paint. Clean weeps with a pipe cleaner, and increase room ventilation to lower indoor relative humidity below 45%.


