
Choose vertical slat orientation for rooms with standard 8 to 9-foot ceilings to create an optical illusion of greater height and hide vertical panel seams. Choose horizontal slat orientation for narrow hallways or tight entryways to visually stretch the wall width, requiring vertical furring strips behind.
At a Glance: Key Takeaways
- Vertical Slat Orientation (90% of Installs): Elongates wall height and creates seamless floor-to-ceiling lines.
- Horizontal Slat Orientation: Visually widens narrow corridors, media niches, and headboard accent walls.
- End-to-End Staggering: When stacking 8-foot panels on 10-foot ceilings, stagger horizontal butt seams like hardwood flooring.
- Vertical Furring Requirement: Horizontal slats require vertical 1x2 furring strips fastened directly into wall studs.
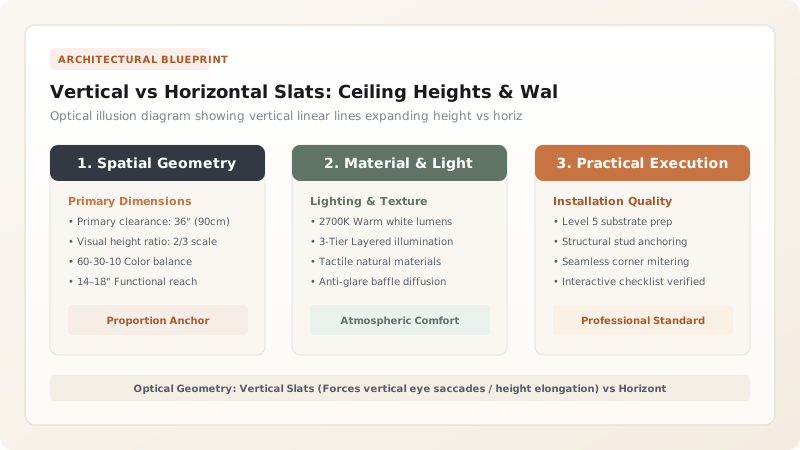
1. Spatial Perception: Saccadic Eye Movement & Linear Vectors
Human visual processing relies on saccadic eye movements that naturally track strong parallel vectors. In interior architecture, linear patterns dictate how the brain perceives the volume of an enclosed space.
Vertical Wood Slats draw the human gaze upward in an unbroken vertical sweep, transforming standard 8-foot (96-inch) ceilings into expansive, cathedral-like planes. Conversely, Horizontal Wood Slats break tunnel-like narrow hallways by emphasizing continuous horizontal width.

Slat Orientation Decision Matrix
Use this reference table to calculate exact physical dimensions, ratios, and specifications before purchasing:
| Spatial Condition | Optimal Slat Orientation | Furring Direction Required | Aesthetic Outcome |
|---|---|---|---|
| Standard 8ft / 9ft Ceiling Living Room | Vertical Orientation | Direct into studs / horizontal furring | Maximizes perceived ceiling height |
| Narrow Hallway / Entry Foyer | Horizontal Orientation | Vertical 1x2 furring into studs | Expands narrow walls outward |
| Dedicated Home Cinema TV Niche | Vertical Orientation | Horizontal 2x2 furring + batts | Clean TV framing with zero glare |
| Low-Ceiling Basement Lounge | Vertical Orientation | Direct screw into studs | Counters low basement claustrophobia |
Horizontal Slat Dust Accumulation Constraints
Every successful decoration project must account for physical and environmental constraints:
Horizontal Wood Slats Acting as Dust Shelves in Arid Climates
Horizontal slats create hundreds of flat 1-inch horizontal ledges that collect airborne dust; in dusty regions, vertical slats shed dust naturally via gravity and require 90% less maintenance.
How to Install Horizontal Acoustic Slat Panels
Execute this professional sequence to achieve flawless results without backtracking:
Fasten Vertical 1x2 Furring to Studs
Screw 1x2 wood furring strips vertically directly over wall studs spaced 16" on-center.
Snap Horizontal Laser Level Line
Project a 360° laser line at the base of the wall to ensure the bottom panel starts dead-level.
Stagger Vertical Butt Joints
If the wall is wider than the 8-foot panel length, stagger butt joints across vertical furring.
Drive Black Finish Screws
Fasten panels by driving 1-1/4" black screws through the felt into each vertical furring batten.
Trim Top Panel with Track Saw
Rip the final top panel to width, maintaining a 1/8" shadow reveal below the ceiling drywall.
Common Mistakes & Countermeasures
Avoid these costly errors that compromise aesthetics, ergonomics, and budget:
Installing Horizontal Slats Directly onto Drywall Without Finding Studs
Project Execution Checklist
Track your physical progress. Checkboxes persist automatically on this device:
Frequently Asked Questions
How do you handle outside 90-degree corners with acoustic slats?
For outside corners, miter both panels at a 45-degree angle through a wood slat on a table saw, or install a matching solid hardwood L-angle corner trim piece to protect the felt edge.


