
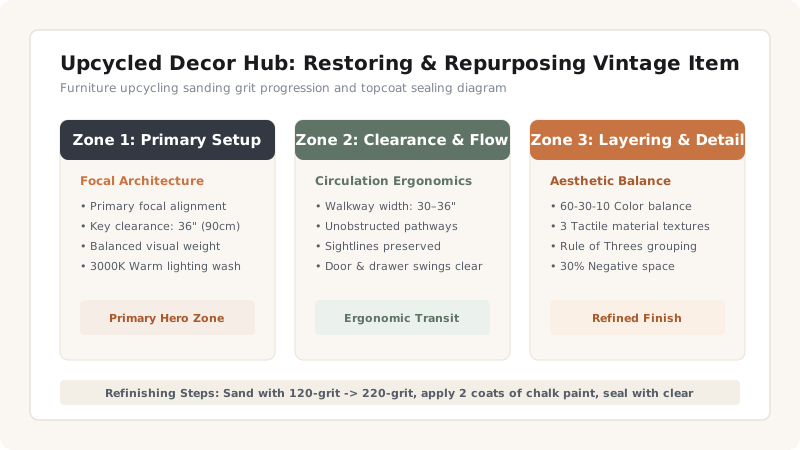
Upcycle old furniture and home items by sanding solid wood surfaces (progressing from 120 to 220-grit), applying 2 coats of matte chalk paint, sealing with clear wax or polycrylic topcoat, swapping outdated handles for brushed brass hardware, and repurposing vintage glass and textiles.
At a Glance: Key Takeaways
- Upcycling saves 70-80% compared to purchasing new solid wood furniture.
- Chalk paint adheres to wood, metal, and glass with minimal priming required.
- Swapping outdated cabinet hardware for modern brass or matte black pulls elevates old pieces instantly.
- Seal chalk painted furniture with clear wax or water-based polycrylic to prevent scratches.
In-Depth Guides in this Directory
Explore specialized subtopic blueprints, technical dimensions, and execution checklists:
Old Furniture Upcycling: Sanding, Chalk Paint, Hardware & Sealing
Upcycle old furniture: refinishing wooden dressers, chalk paint application, hardware replacement, orbital sanding, and wax sealing.
Glass Bottle & Jar Upcycling: Vases, Fairy Lights & Clay Coatings
Upcycle glass bottles & jars: matte ceramic baking soda paint, fairy light bottles, air-dry clay coatings, jute wrapping, and flower vases.
Fabric Upcycling: Reimagining Vintage Sarees, Denim & Scraps
Upcycle vintage fabrics: saree silk cushion covers, denim throw pillows, fabric scrap patchwork, textile wall hangings, and no-sew glue projects.
1. The Refinishing & Repurposing Strategy
Upcycling takes vintage, thrifted, or outdated household items and elevates them into functional, stylish interior decor. Unlike cheap particle-board flat-pack furniture, vintage solid wood pieces possess superior joinery and durability.
Furniture Upcycling Technique Guide
Use this reference table to calculate exact physical dimensions, ratios, and specifications before purchasing:
| Item Type | Prep Technique | Paint / Finish Choice | Sealer Topcoat |
|---|---|---|---|
| Solid Wood Dresser | Clean with TSP + Sand 220-grit | Matte Chalk Paint (Sage / Navy) | Clear Paste Wax (Buffed) |
| Veneer Side Table | Light scuff sand 220-grit + Bonding Primer | Water-based Enamel Satin Paint | Water-based Polycrylic Matte |
| Metal Plant Stand / Lamp | Wire brush rust + Scuff sand | Rust-Oleum Matte Black Spray | Self-sealing spray |
| Vintage Glass Bottles | Wash in soapy water + Rubbing alcohol | Baking Soda + Acrylic Paint Blend | Matte Clear Spray Sealer |
Upcycling Constraints
Every successful decoration project must account for physical and environmental constraints:
Wax Topcoat Heat Damage
Paste wax sealers melt under hot coffee mugs; use water-based polycrylic topcoats on table surfaces exposed to hot drinks.
How to Flip a Vintage Dresser
Execute this professional sequence to achieve flawless results without backtracking:
Remove Hardware & Clean
Unscrew old handles and wipe wood with TSP cleaner to remove grease.
Scuff Sand 220-Grit
Lightly sand all wood surfaces with 220-grit sandpaper to create paint grip.
Apply 2 Coats Chalk Paint
Brush on 2 coats of sage green chalk paint, drying 2 hours between coats.
Apply Wax & New Hardware
Rub clear paste wax over paint with rag, buffing dry, then screw on brushed brass handles.
Common Mistakes & Countermeasures
Avoid these costly errors that compromise aesthetics, ergonomics, and budget:
Skipping Scuff Sanding on Glossy Wood
Project Execution Checklist
Track your physical progress. Checkboxes persist automatically on this device:
Frequently Asked Questions
What is the difference between chalk paint and latex paint for furniture?
Chalk paint dries to an ultra-matte, velvety finish with superior adhesion to unprimed surfaces, whereas latex paint requires thorough priming and sanding to prevent peeling.


