
Girih geometric strapwork and turquoise mosaic faience (kashi-kari) represent the highest mathematical and artisanal achievement of Islamic ceramic architecture. Using a set of five geometric 'girih tiles' (decagon, pentagon, hexagon, bow-tie, and rhombus), medieval Timurid mathematicians generated sophisticated quasicrystalline self-similar patterns centuries before Western mathematics, cut by artisans with hammer chisels into seamless glazed murals.
At a Glance: Key Takeaways
- Mathematical System: Five girih decagonal tiles generating 5-fold and 10-fold quasicrystalline symmetry
- Cutting Hammer: Sharp double-pointed tisheh steel hammer
- Primary Mosaic Palette: Lapis cobalt, turquoise (firuza), emerald green, amber, opaque white
- Backing Binder: Ganch gypsum slurry reinforced with horsehair and hemp fibers
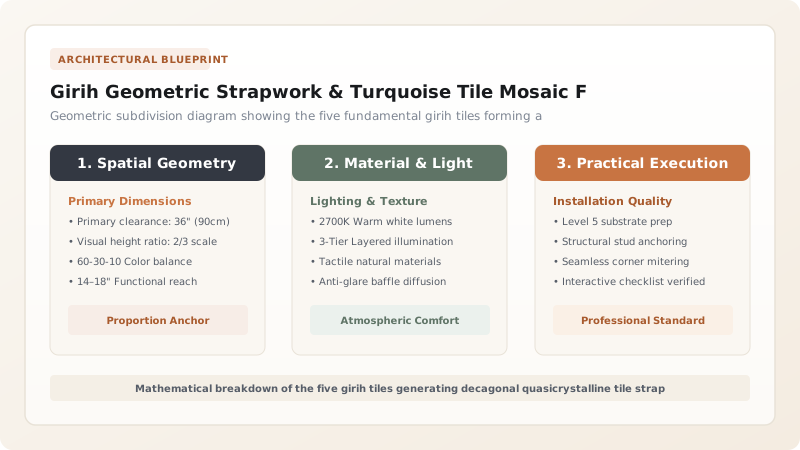
The Mathematical Wonder of Girih Tiles
In 2007, physicists Peter Lu and Paul Steinhardt published groundbreaking research demonstrating that Timurid architectural decorators in Samarkand were utilizing complex decagonal quasicrystalline geometry by the year 1453—more than five centuries before mathematician Roger Penrose formulated Penrose tiling in the 1970s.
Rather than drafting individual strapwork lines with straightedge and compass on gigantic walls, Timurid masters worked with a set of five standardized polygonal shapes known as girih tiles: a regular decagon, an elongated hexagon, a bow-tie (non-convex hexagon), a rhombus, and a regular pentagon. Each tile had internal strapwork lines that automatically connected across shared edges into infinitely extendable, non-repeating geometric patterns.
Tisheh Cutting and Reverse-Bevel Mechanics
Translating these geometric diagrams into physical ceramic murals required unimaginable artisanal precision. Master tile-cutters (kashipaz) began with flat glazed ceramic slabs fired in monochrome colors. Using paper patterns, they scribed polygons, triangles, and curving floral petals onto the glazed face.
Using a balanced, double-pointed steel hammer called a tisheh, the artisan chipped away excess clay along the scribed lines. Crucially, the cuts were made with a reverse bevel of 45 to 60 degrees. This undercut ensured that when thousands of pieces were assembled face-down, the glazed front edges touched with zero gap, while the recessed back cavities formed dovetail grooves for locking mortar.
Reverse Assembly and Ganch Mortar Backing
Mosaic faience was never constructed piece-by-piece directly on the building facade. Instead, the entire panel was constructed in reverse on a clean, flat workshop floor. Artisans laid each tiny glazed ceramic fragment face-down on a 1:1 scale charcoal drawing.
Once several thousand interlocking pieces were positioned, the back of the mosaic was washed with dilute glue water. A thick slurry of local gypsum plaster (ganch) reinforced with chopped horsehair or hemp fibers was poured over the assembly to a depth of 30 to 40 mm. When hardened, this transformed thousands of loose ceramic chips into a single, rigid structural slab.
Installation on Monumental Pishtaqs and Portals
The finished mosaic slabs—often measuring over two meters across—were hoisted up scaffolding onto soaring portal pishtaqs and drum squinches. Iron or bronze anchors embedded in the structural brickwork engaged loops cast into the back of the panels.
Ganch mortar was packed behind the panels to bed them permanently against the brick walls. When the front paper templates were washed away with warm water, the glorious seamless turquoise and cobalt starbursts were revealed to the world, shimmering in the desert sun without a single visible mortar joint.
Ceramic Techniques: Cut Mosaic Faience vs Standard Square Glazed Tiles
Use this reference table to calculate exact physical dimensions, ratios, and specifications before purchasing:
| Parameter | Cut Mosaic Faience (Kashi) | Modular Square Glazed Tiles |
|---|---|---|
| Joint Visibility | Completely seamless front joints (zero visible grout) | Visible rectangular grid of mortar or grout seams |
| Curvilinear Freedom | Unlimited; cut into intricate stars, spirals, and thuluth script | Constrained by rectangular pixel grid of tile bodies |
| Fabrication Method | Hand-chipped with tisheh hammers from fired slabs | Pressed in standard molds and batch-glazed |
| Installation Speed | Slow prefabrication; fast panel hoisting on-site | Direct bed-by-bed installation on site |
| Longevity | Extraordinary; mortar protected behind glazed ceramic faces | Vulnerable to grout erosion and frost spalling over time |
Practical Constraints
Every successful decoration project must account for physical and environmental constraints:
Extreme eye and hand fatigue during tisheh stone chipping.
A single major portal arch requires over 50,000 individually chipped tile pieces, taking a workshop months to complete. Mitigation: Divide tasks among apprentice cutters (straight-edge polygons) and master cutters (delicate script and floral finials).
Fragility of large mosaic panels during hoisting up 30-meter portals.
Flexure during lifting can snap brittle gypsum backing and shatter irreplaceable ceramic mosaics. Mitigation: Bolt rigid timber cradle splints across the face of panels before hoisting, removing bracing only after full masonry bedding.
Execution Blueprint & Craftsmanship Sequence
Execute this professional sequence to achieve flawless results without backtracking:
Girih Geometric Calculation
Calculate decagonal quasicrystalline grid coordinates using the five girih tiles on geometric parchment (Tusi scrolls).
Full-Scale Reverse Cartoon Drawing
Draw the 1:1 scale reverse pattern in charcoal on heavy parchment or smooth plaster floor beds in the workshop.
Monochrome Glaze Firing
Fire uniform 10 mm thick earthenware tile slabs in cobalt, turquoise, saffron, and white glazes in wood-burning kilns.
Tisheh Hand-Chipping
Score tile slabs and hand-hew each polygonal fragment with a tisheh hammer, applying a 50-degree reverse undercut bevel.
Face-Down Reverse Mosaic Layout
Place each chipped tile fragment face-down on the full-scale floor drawing, checking that glazed edges touch tightly.
Reinforced Ganch Backing Pour
Pour a 35 mm backing of fibrous ganch gypsum mortar over the reverse-beveled tile cavities, embedding bronze hoisting loops.
Panel Hoisting and Façade Pinning
Lift rigid cured mosaic panels onto portal arches, hooking bronze loops onto masonry anchors and bedding in lime-ganch mortar.
Face Washing and Final Joint Polish
Wash away protective paper and charcoal dust with warm water sponges, buffing the glazed starburst surface with dry cotton.
Common Mistakes & Countermeasures
Avoid these costly errors that compromise aesthetics, ergonomics, and budget:
Cutting mosaic pieces with straight 90-degree square edges instead of reverse bevels.
Using modern rapid-setting epoxy adhesives instead of ganch mortar backing.
Project Execution Checklist
Track your physical progress. Checkboxes persist automatically on this device:
Frequently Asked Questions
What is the secret behind the five girih tiles?
The five girih tiles (decagon, pentagon, hexagon, bow-tie, rhombus) have internal decorative lines intersecting their edge midpoints at specific angles. When the tiles are placed edge-to-edge, the internal lines automatically form continuous, mathematically perfect Islamic strapwork patterns without requiring manual drafting.
Why did craftsmen cut tiles with a hammer instead of using saws?
The sharp chisel blade of a tisheh hammer cleaves the earthenware body cleanly beneath the glaze without heating or chipping the delicate vitrified enamel. Diamond saws did not exist, and hand-chipping allowed skilled artisans to cut compound curves rapidly.
How do these tile mosaics survive Central Asian winters without falling off?
The reverse undercut bevel creates a mechanical dovetail lock between the tiles and the fibrous ganch backing. Furthermore, the porous earthenware body and ganch mortar allow water vapor to breathe freely, preventing trapped frost that causes spalling.
Can girih mosaic techniques be used in modern architectural projects?
Yes. Contemporary Islamic architects and luxury interior designers frequently commission custom pre-cast girih mosaic panels for mosque minarets, luxury hotel lobbies, courtyards, and fountain backdrops worldwide.


