
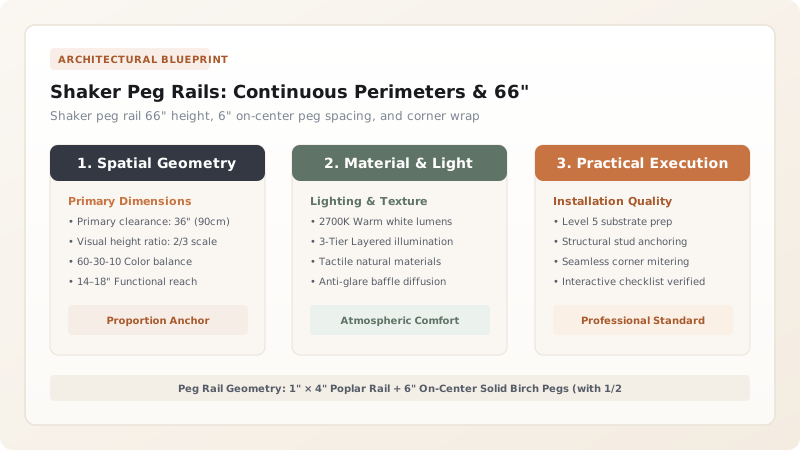
Install a continuous Shaker peg rail by mounting a 1x4 hardwood rail at 66 inches from finished floor (average human eye height), running unbroken around all 4 walls. Space turned solid birch Shaker pegs 6 inches apart on-center, gluing their 1/2-inch tenons into bored holes.
At a Glance: Key Takeaways
- 66-Inch Height Standard: Positions hanging pegs at comfortable standing reach while creating a classic 2/3 wall datum.
- 6-Inch On-Center Spacing: Uniform 6-inch spacing prevents bulky winter coats from crowding each other.
- Continuous Perimeter Wrap: Running the rail around entire rooms (even across doors and window trims) creates historic flow.
- 1/2" Glued Tenons: Turned birch pegs with 1/2" tenons glued into 1x4 backboards easily hold 30+ lbs per peg.
1. Shaker Philosophy: 'A Place for Everything, and Everything in Its Place'
Developed in the late 18th century by American Shaker communities and adapted into English country cottages, continuous peg rails were installed along every wall of the home. At the end of the day, dining chairs, candle sconces, kitchen tools, and coats were hung on the pegs to clear the floor for sweeping.
Rather than hanging a tiny, isolated 24-inch coat rack, authentic cottage architecture runs the 1x4 peg rail as an unbroken horizontal architectural band around the entire room perimeter, mitering inside corners and terminating cleanly into door casings.

Shaker Peg Rail Sizing & Spacing Matrix
Use this reference table to calculate exact physical dimensions, ratios, and specifications before purchasing:
| Room Application | Mounting Height (From Floor) | Peg Spacing (On-Center) | Items Typically Hung |
|---|---|---|---|
| Entryway / Mudroom (Standard) | 66" from floor (Eye level) | 6.0" On-Center | Heavy winter coats, dog leashes, umbrella totes |
| Country Kitchen / Pantry | 60" - 64" from floor | 4.5" - 6.0" On-Center | Copper pans, dried herb bundles, aprons, dustpans |
| Cottage Bathroom / Powder | 62" - 66" from floor | 6.0" On-Center | Plush bath towels, robes, linen washcloths |
| Bedroom Shaker Peg Rail | 66" from floor | 8.0" Spaced wider | Hanging morning robes, nightgowns, straw sunhats |
Door Swing Peg Collision Constraints
Every successful decoration project must account for physical and environmental constraints:
Entry Door Smashing into Projecting Wooden Pegs Behind Door
Wooden pegs project 3 inches from the wall; an opening door will smash into pegs; omit pegs in the 36-inch swing arc behind doors (leaving the flat 1x4 rail empty), or install a heavy floor-mounted rubber doorstop.
How to Build and Install a Continuous Peg Rail
Execute this professional sequence to achieve flawless results without backtracking:
Snap 66" Laser Line Around Room
Project 360-degree laser level line at 66 inches from finished floor.
Bore 1/2" Holes Every 6 Inches
Use a drill press with 1/2" brad-point bit to drill holes every 6 inches along 1x4 poplar rail.
Glue Turned Birch Pegs
Apply wood glue to 1/2" tenons and tap Shaker pegs into bored holes until shoulders seat flush.
Miter Corners and Fasten to Studs
Miter 45-degree inside corners and drive 2.5" finish screws through rail into wall studs.
Paint Monochrome Satin
Paint the peg rail and pegs in the same satin color as the lower wainscot or room trim.
Common Mistakes & Countermeasures
Avoid these costly errors that compromise aesthetics, ergonomics, and budget:
Using Cheap Screw-In Metal Hooks Instead of Traditional Wooden Shaker Pegs
Project Execution Checklist
Track your physical progress. Checkboxes persist automatically on this device:
Frequently Asked Questions
Can you install wallpaper above and below a Shaker peg rail?
Yes! A classic English cottage treatment is painting the peg rail and wall below in a rich dark color (like olive green or French navy) and hanging a delicate botanical wallpaper above the 66-inch rail up to the ceiling.


