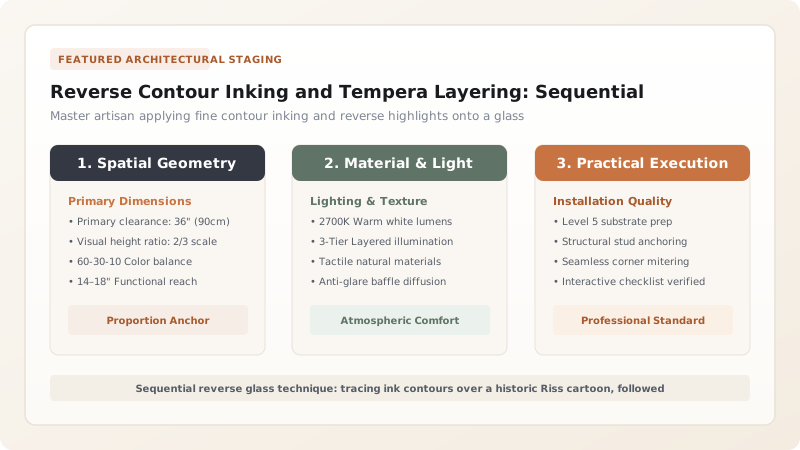
The reverse contour inking and tempera layering sequence in Hinterglasmalerei requires executing a painting in exact chronological reverse. Guided by an ink cartoon (Riss) placed underneath the glass, the artisan first draws crisp line contours using ox-gall-fortified ink or dammar varnish. Next, specular highlights and sharp jewelry accents are placed directly against the glass. Flesh modeling, drapery shadows, and mid-tones are applied over the highlights, and the entire composition is completed with an opaque background wash that seals and unifies the image.
At a Glance: Key Takeaways
- Guide Cartoon: Riss (Master Ink Outline on Rag Paper)
- Inking Formula: Bone Black Ground in Dammar Varnish or Gum Arabic with Ox Gall
- Brushwork Tool: Fine Kolinsky Sable Hair & Tapered Goose Feather Quills
- Tempera Emulsion: Egg Yolk, Distilled Water & Spike Lavender Oil
- Layering Order: 1. Outlines → 2. Highlights → 3. Mid-Tones → 4. Background
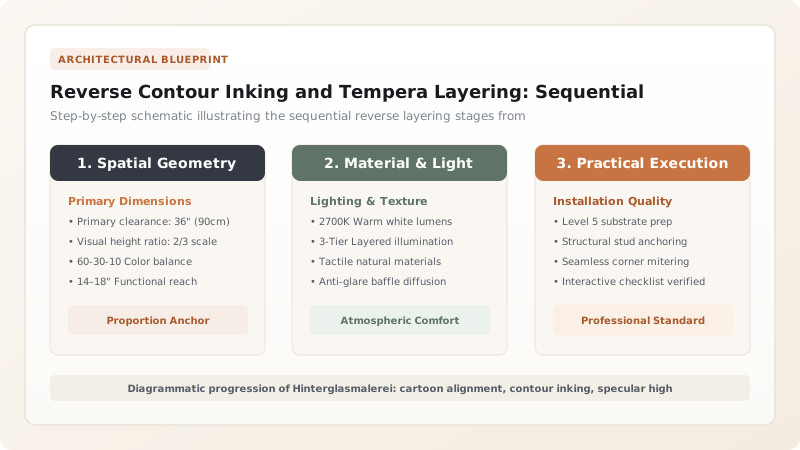
The Master Cartoon (Riss) as Structural Blueprints
In the traditional Bavarian Hinterglasmalerei workshop, the Riss (ink cartoon) was the foundational intellectual property of the master craftsman. Drawn on durable handmade rag paper using indelible iron-gall ink, these cartoons established the precise composition, proportional anatomy, and decorative borders of each motif. Because painting on glass requires immediate confidence without preliminary sketching directly on the slippery surface, the Riss was pinned securely beneath the glass pane to serve as an exact optical blueprint.
Master workshops in Murnau and the Bohemian border compiled extensive collections of Risse, cataloging dozens of religious and secular subjects. These cartoons enabled efficient workshop division of labor: apprentices and family members could trace the master outlines with absolute fidelity, ensuring that every panel produced met the workshop's recognized artistic standards while allowing master painters to focus on expressive facial detailing and complex gilding.
Contour Inking Formulations and Glass Wetting Dynamics
Executing an unbroken, razor-sharp contour line on a microscopic layer of smooth silica presents severe rheological challenges. Standard water-soluble pigments will naturally retract and bead up due to the high surface tension of untreated glass. To overcome this, traditional Bavarian painters formulated specialized contour inks combining finely ground bone black (Beinschwarz) or vine black with natural wetting agents.
The most crucial additive was purified ox gall (Rindergalle), an organic surfactant rich in bile salts (sodium taurocholate and glycocholate). When mixed into a water-gum arabic vehicle, ox gall drastically reduces liquid surface tension, allowing the ink to wet the smooth glass immediately upon contact with the brush tip. Alternatively, master artisans employed oil-resin inks made by mulling lampblack into heavy dammar varnish thinned with spike lavender oil. This oil-resin formulation dries to an elastic, water-resistant line that bonds tenaciously to the glass, providing an impermeable ridge that prevents subsequent water tempera washes from bleeding across graphic boundaries.
Inverted Chronology: Highlights, Halftones, and Flesh Modeling
Once the contour lines have cured to glass-hard resilience, the painter confronts the core mental challenge of reverse glass art: applying specular highlights (Lichtpunkte) before establishing any of the underlying body colors. On human figures, tiny pinpoints of pure white lead are dabbed onto the pupils of the eyes, the tip of the nose, the lower lip, and the knuckles. In architectural settings or floral borders, the glistening highlights of dew drops, marble cornices, and embroidered vestment threads are laid down directly against the glass.
Following highlight placement, the painter introduces delicate flesh tones (Inkarnat). Using finely dispersed egg tempera—prepared with fresh egg yolk, distilled water, and a few drops of clove oil as an antibacterial preservative—the artist feathers soft rose and ochre washes over the cheeks, forehead, and hands. Because the highlights are already locked in place against the glass, these subsequent washes sit directly behind them. When viewed from the front, the highlights shine through with unimpeded optical brilliance, perfectly framed by the softer flesh tones beneath.
Opaque Field Laydown and Sealing Chemistry
The final phase of the painting sequence is the application of the Hintergrund (background wash), which transforms a semi-transparent, ghost-like arrangement of lines and colors into a fully opaque, visually cohesive masterpiece. Using broad, flat brushes made of soft hog bristle or ox hair, the craftsman applies dense, opaque coats of background paint. Historical workshops relied on lead white tinted with Prussian blue for luminous celestial skies, or deep lampblack and red lead for dramatic domestic interiors.
This background layer serves two critical functions: optical and physical. Optically, it prevents light from transmitting through the glass, forcing all illumination to reflect forward through the glass medium and maximizing the color saturation of the intermediate tempera glazes. Physically, it forms an impermeable barrier that shields the delicate underlying tempera and contour lines from atmospheric moisture, dust, and airborne sulfur compounds. Once thoroughly dry, this field is sealed with a breathable varnish of bleached beeswax dissolved in turpentine, preparing the panel for permanent architectural framing.
Layering Progression & Material Properties in Hinterglasmalerei
Use this reference table to calculate exact physical dimensions, ratios, and specifications before purchasing:
| Stage | Application Target | Binder / Medium | Drying Time | Optical Function |
|---|---|---|---|---|
| Stage 1: Risszeichnung | Contour outlines, facial features, folds | Dammar varnish or gum arabic with ox gall | 12–24 hours | Provides sharp graphic framework visible through the front |
| Stage 2: Lichtpunkte | Pupils, eye shines, pearls, metallics | Lead white / zinc white in fast-drying oil | 6–12 hours | Creates crisp foreground specular reflections without bleed |
| Stage 3: Schattierung | Flesh modeling, cheek rouge, shadows | Egg yolk tempera or copal varnish | 24–48 hours | Establishes three-dimensional volume behind highlights |
| Stage 4: Gewandfarben | Drapery fields, robes, garments | Semi-opaque mineral tempera | 24 hours | Fills major chromatic fields over the shaded areas |
| Stage 5: Hintergrund | Sky, architecture, gold ground backing | Opaque oil-based earth pigments / lead white | 3–7 days | Seals all layers, blocking light from transmitting through |
Practical Constraints
Every successful decoration project must account for physical and environmental constraints:
Visual Occlusion During Execution
As layers are applied, the artist can no longer see the master cartoon underneath the opaque paint layers. Mitigation: Artisans repeatedly lift the glass or position an angled mirror beneath the glass easel to monitor progress from the viewing side.
Paint Film Shrinkage and Delamination Under Humidity Shifts
Egg tempera dries with high internal tension, risking complete detachment from smooth glass in dry environments. Mitigation: Plasticize tempera emulsions by adding a few drops of Venice turpentine or cold-pressed stand oil to maintain long-term elasticity.
Execution Blueprint & Craftsmanship Sequence
Execute this professional sequence to achieve flawless results without backtracking:
Surface Degreasing and Surface Energy Conditioning
Prepare the reverse glass surface by washing with denatured alcohol and whiting. Wipe with a dry microfiber cloth to ensure a grease-free surface with high surface energy.
Cartoon Registration and Clamping
Place the historical Riss cartoon flat on the worktable. Lay the glass panel over it, aligning registration crosshairs at the corners, and secure with corner registration pins.
Contour Line Inking
Dip a fine sable rigger brush into ox-gall-fortified bone black ink. With a steady hand, trace all master lines, maintaining uniform 0.5 mm line weight along drapery edges and structural contours.
Highlight Placement (Lichtersetzen)
Using pure flake white or titanium white ground in quick-drying oil, deposit micro-dots on the tips of noses, the centers of pupils, and the crests of fabric folds directly against the glass.
Flesh Tone and Half-Tone Modeling
Mix delicate glazes of vermilion, yellow ochre, and white in egg tempera. Feather the flesh tones over the facial features, blending softly toward the contour lines.
Drapery and Garment Body Color
Paint deep mineral colors—such as lapis lazuli, verdigris, or cinnabar—across the garment areas, completely covering the previously laid shadow lines and highlights.
Final Background Sealing
Apply a dense, opaque coat of background paint across the entire panel surface using a wide badger-hair brush, ensuring no pinholes or thin spots remain.
Common Mistakes & Countermeasures
Avoid these costly errors that compromise aesthetics, ergonomics, and budget:
Relying on standard water-based calligraphy inks that lack wetting agents
Applying subsequent tempera layers over wet, incompletely cured contour ink lines
Applying opaque background coats too thickly in a single heavy pass
Project Execution Checklist
Track your physical progress. Checkboxes persist automatically on this device:
Frequently Asked Questions
How do you correct an error in the contour inking stage?
Before the ink fully cures, an artisan can scrape away misplaced lines using a sharpened boxwood stylus, a bone folder, or a polished steel scraper. The scraped glass must be wiped clean with a dry cotton swab to remove ink dust before reapplying the correct line.
Why is ox gall essential when inking on bare glass?
Glass has a naturally non-porous, hydrophobic surface that causes water-based paints to bead up into irregular droplets. Ox gall acts as a natural surfactant, dramatically lowering the surface tension of the liquid medium so that the ink flows smoothly and wets the glass in continuous, unbroken strokes.
Can acrylic paints be used for authentic reverse glass painting?
While modern hobbyists sometimes use acrylics, historical conservators advise against them. Acrylics form a rubbery, impermeable plastic film that can peel off glass in large sheets when subjected to thermal cycling, whereas traditional tempera and resin-oil systems achieve superior micro-mechanical adhesion.