
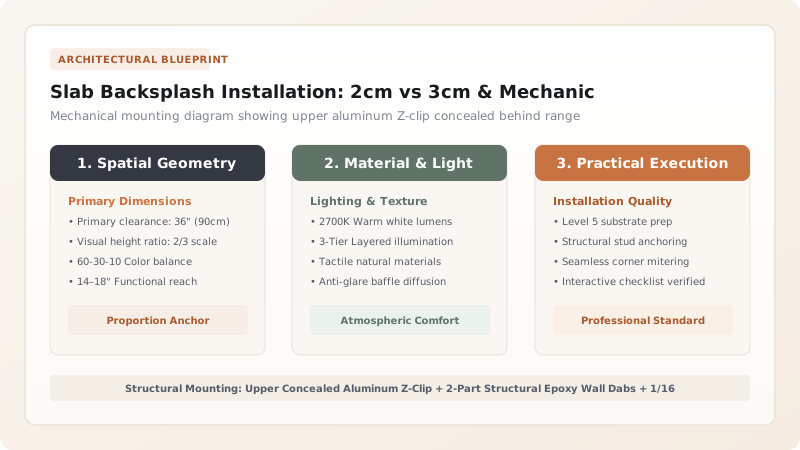
Install full-height stone slab backsplashes using 2cm thick material. Support the weight directly on the countertop over 1/16-inch neoprene setting blocks, apply 2-part structural epoxy adhesive dabs every 12 inches to wall studs, and secure large ceiling-height slabs behind range hoods with concealed aluminum Z-clips.
At a Glance: Key Takeaways
- 2cm Weight Reduction: 2cm stone weighs ~13 lbs/sq ft (a 10-ft × 3-ft slab weighs 390 lbs vs 585 lbs for 3cm).
- Neoprene Setting Blocks: 1/16-inch rubber blocks prevent direct stone-on-stone pressure points that cause cracking.
- 2-Part Structural Epoxy: High-strength epoxy dabs bond permanently to drywall paper and wood studs.
- Upper Range Hood Z-Clips: Mechanical safety clips hold vertical slabs securely to wall studs while epoxy cures.
1. Structural Physics: Dead Load Distribution & Expansion Joints
A full-height stone slab measuring 10 feet wide by 3 feet high weighs nearly 400 lbs. If the slab is set directly stone-on-stone against the countertop with no expansion cushion, building settlement and thermal expansion will concentrate immense point pressure along the seam, causing the slab to crack vertically right down the center.
Professional installers place 1/16-inch neoprene setting blocks beneath the slab, transferring 100% of the dead weight downward into the structural base cabinets while maintaining a 1/16-inch cushion joint filled with flexible 100% neutral-cure silicone.

2cm vs 3cm Slab Backsplash Comparison
Use this reference table to calculate exact physical dimensions, ratios, and specifications before purchasing:
| Slab Thickness | Weight per Square Foot | Countertop Overhang Loss | Wall Cleat Requirement |
|---|---|---|---|
| 2cm (3/4" Optimal Backsplash) | 12 - 14 lbs / sq ft | 3/4" Projection (Minimal loss) | Recommended on ceiling-height spans |
| 3cm (1-1/4" Standard Countertop) | 19 - 22 lbs / sq ft (TOO HEAVY) | 1-1/4" Projection (Crowds faucets) | MANDATORY: Heavy steel angle brackets |
| 12mm Sintered Porcelain | 6 - 7 lbs / sq ft (Ultra-Light) | 1/2" Projection (Slim modern) | Standard construction adhesive ONLY |
| 6mm Ultra-Thin Stone Veneer | 3 - 4 lbs / sq ft | 1/4" Minimal profile | Direct glue (Requires backing panel) |
Drywall Bowing Wall Waviness Constraints
Every successful decoration project must account for physical and environmental constraints:
Bowed Drywall Studs Preventing Flat Stone Slab from Touching Wall
Stone slabs are 100% rigid and will not bend to bowed drywall; check wall flatness with a 6-foot level; shim low studs or skim wall flat with setting compound before setting the slab to ensure 100% epoxy contact.
How to Mount a Full-Height Stone Slab Backsplash
Execute this professional sequence to achieve flawless results without backtracking:
Check Wall Flatness with 6-Ft Level
Ensure wall has less than 1/8" variation across 10 feet; shim framing if necessary.
Place 1/16" Neoprene Spacers on Counter
Space rubber setting blocks every 24 inches along the countertop rear line.
Apply Structural Epoxy Dabs
Apply 2-inch diameter dabs of 2-part structural stone epoxy directly over wall stud locations.
Lift and Position Slab
Use suction cups to lower slab onto neoprene blocks and push firmly against the wall epoxy.
Inject Color-Matched 100% Silicone
Remove spacers after epoxy cures (4 hours) and inject 100% neutral-cure silicone into the bottom seam.
Common Mistakes & Countermeasures
Avoid these costly errors that compromise aesthetics, ergonomics, and budget:
Using Standard Acid-Cure (Acetoxy) Silicone on Natural Marble Slabs
Project Execution Checklist
Track your physical progress. Checkboxes persist automatically on this device:
Frequently Asked Questions
How do you hide the top edge of a slab backsplash under upper cabinets?
Design the upper cabinet light rail (under-cabinet valance) with a 1/2-inch downward lip. The top edge of the 2cm stone slab slides 1/4 inch up behind this lip, completely concealing the cut edge without trim.


