
Cut flawless 45-degree moulding miters by using an 80-tooth fine-finish carbide blade on a calibrated miter saw. Assemble frames on a flat bench before mounting to the wall, bonding each corner with 2P-10 cyanoacrylate (CA) glue gel and aerosol activator for an instant, permanent zero-gap bond.
At a Glance: Key Takeaways
- 80-Tooth Saw Blade: Ultra-fine crosscut carbide blade prevents splintering on delicate painted profiles.
- 2P-10 CA Glue System: Cyanoacrylate gel + aerosol spray activator bonds corners in 10 seconds flat.
- Pre-Assembly Method: Building 4-sided frames on a flat table eliminates crooked corners caused by wavy drywall.
- 23-Gauge Headless Pins: Micro-pins fasten frames to drywall with near-invisible holes that require zero putty.
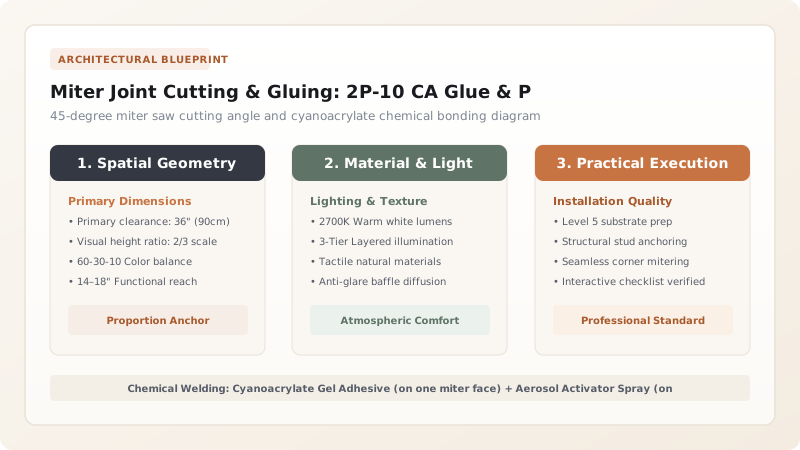
1. The Chemistry of Fast-Set Cyanoacrylate & Miter Saw Calibration
Traditional wood glue (PVA) requires 30 minutes of clamping pressure to cure. Because picture frame moulding miters are cut at 45 degrees, clamping a 4-sided rectangular frame on the wall is nearly impossible, causing joints to shift and open up under finish nail gun impact.
Professional finish carpenters use 2P-10 Cyanoacrylate (CA) Glue with Aerosol Activator. Applying gel to one miter face and misting the activator on the mating face creates an instant molecular bond in 8 to 10 seconds, locking the 90-degree corner dead-square permanently.

Miter Joint Adhesives & Fastening Methods
Use this reference table to calculate exact physical dimensions, ratios, and specifications before purchasing:
| Adhesive / Fastening Method | Set Time | Joint Strength | Miter Gap Risk |
|---|---|---|---|
| 2P-10 CA Glue + Activator (Optimal) | 10 Seconds | Extremely High (Fused solid) | 0% (Zero gap permanently) |
| PVA Wood Glue + 18G Brad Nails | 30 Minutes | High (After cure) | High (Nail gun shock pops miter open) |
| Liquid Nails Only (No Corner Glue) | 24 Hours | Low at corners | Very High (Miters separate as glue dries) |
| Pocket Hole Screws (Large Trim Only) | Instant | Maximum (Mechanical) | Zero (For casing wider than 3 inches) |
Miter Saw Blade Angle Calibration Constraints
Every successful decoration project must account for physical and environmental constraints:
Miter Saw Cutting 44.5 Degrees Instead of True 45.0 Degrees
A 0.5-degree saw misalignment multiplies across 4 corners into a massive 1/4" open gap; calibrate your miter saw using a digital angle gauge or precision engineer's square before making final cuts.
How to Cut and Glue Flawless 45-Degree Frames
Execute this professional sequence to achieve flawless results without backtracking:
Calibrate Miter Saw to 45.0°
Verify 45.0-degree stop with digital angle gauge on both left and right swings.
Cut Matching Pairs Identically
Clamp a stop block on saw fence to ensure left/right and top/bottom pairs are 100% identical length.
Apply CA Gel to One Face
Apply 3 drops of 2P-10 CA gel to the miter cut face of Piece A.
Spray Activator on Piece B
Mist aerosol activator onto the mating cut face of Piece B.
Press Firmly for 10 Seconds
Join corners on a flat table, aligning profiles flush; hold firmly for 10 seconds until set.
Mount to Wall with 23G Pins
Apply construction adhesive to frame back, align on laser line, and shoot 23G micro-pins.
Common Mistakes & Countermeasures
Avoid these costly errors that compromise aesthetics, ergonomics, and budget:
Using Heavy 16-Gauge Framing Nails on Small 1-Inch Moulding
Project Execution Checklist
Track your physical progress. Checkboxes persist automatically on this device:
Frequently Asked Questions
What should I do if a miter joint has a tiny microscopic hairline gap?
Rub the side of a round metal screwdriver shank firmly along the corner point (called 'burnishing the miter'). This rolls the wood grain fibers together, closing the gap invisibly before painting.


