
Determine kitchen island pendant count by island length: use 2 pendants for islands under 7 feet (spaced 24-30 inches apart), and 3 pendants for islands 8 feet or longer. Always hang pendants 30-36 inches above the counter with 6 inches of buffer from island edges.
At a Glance: Key Takeaways
- Two Lights: Best for islands under 7 feet (60-80 inches length).
- Three Lights: Best for islands 8 feet or longer (96-120 inches length).
- End Setback: Outer pendants must sit at least 6 inches inside island edges.
- Task Lumens: Aim for 450 to 800 lumens per pendant on dimmable circuits.
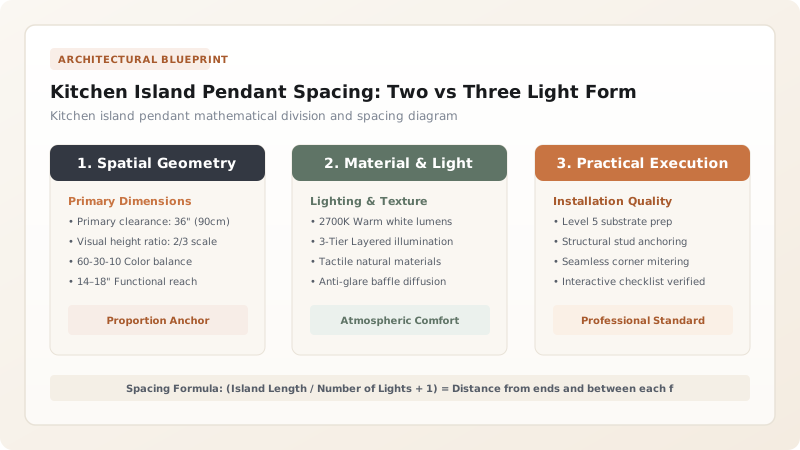
1. Mathematical Formula for Island Lighting Layout
The debate between two larger pendants versus three smaller pendants is solved mathematically by calculating island proportions and visual mass.
- The 3-Light Formula: Island Length ÷ 4 = Distance from edge to 1st light, and distance between each subsequent light.
- The 2-Light Formula: Island Length ÷ 3 = Spacing between fixtures and outer boundaries.

Kitchen Island Pendant Sizing Calculator
Use this reference table to calculate exact physical dimensions, ratios, and specifications before purchasing:
| Island Length | Fixture Configuration | Recommended Shade Diameter | Center-to-Center Spacing |
|---|---|---|---|
| 5 Feet (60 inches) | 2 Pendants | 10" - 12" diameter | 20" from ends, 20" between |
| 6 Feet (72 inches) | 2 Pendants | 12" - 14" diameter | 24" from ends, 24" between |
| 8 Feet (96 inches) | 3 Pendants | 11" - 13" diameter | 24" from ends, 24" between |
| 10 Feet (120 inches) | 3 - 4 Pendants | 14" - 16" diameter | 30" from ends, 30" between |
Range Hood Steam & Grease Constraints
Every successful decoration project must account for physical and environmental constraints:
Grease Accumulation on Fabric Shades
Fabric and open woven rattan pendants absorb kitchen cooking oils and become discolored; select wipe-clean glazed ceramic, powder-coated metal, or smooth glass shades.
How to Hang Island Pendants Evenly
Execute this professional sequence to achieve flawless results without backtracking:
Calculate Centerlines
Calculate exact mounting points using the Island Length ÷ (N+1) formula.
Plumb-Bob Alignment
Drop a plumb bob from the ceiling to ensure centerlines hit countertop center.
Measure 34 Inches from Counter
Set bottom of each shade exactly 34 inches above counter.
Install Dimmers
Connect to a trailing-edge LED dimmer switch for ambiance control.
Common Mistakes & Countermeasures
Avoid these costly errors that compromise aesthetics, ergonomics, and budget:
Hanging Pendants Too Close to Counter Ends
Project Execution Checklist
Track your physical progress. Checkboxes persist automatically on this device:
Frequently Asked Questions
Should kitchen island pendants be on a separate dimmer switch?
Yes. Island pendants should always be wired to an independent dimmer switch separate from recessed ceiling pots so you can transition from high-lumen cooking prep to low-lumen evening entertaining.


