
Incorporate open boot drying by installing slotted aluminum or stainless steel grates elevated 2 inches above a removable rubber drainage tray beneath the seating bench. Route a toe-kick HVAC heat register under the bench to circulate warm airflow directly through footwear soles.
At a Glance: Key Takeaways
- Slotted Metal Grates: Powder-coated aluminum or stainless steel allows 360-degree air circulation around wet soles.
- Removable Drip Trays: Heavy vulcanized rubber or stainless steel pans catch melted snow, mud, and road salt.
- Toe-Kick HVAC Heat Venting: Reroutes household warm winter air under the bench to dry wet footwear 3x faster.
- Eliminates Shoe Odors: Continuous air circulation prevents stagnant moisture and anaerobic bacteria growth.
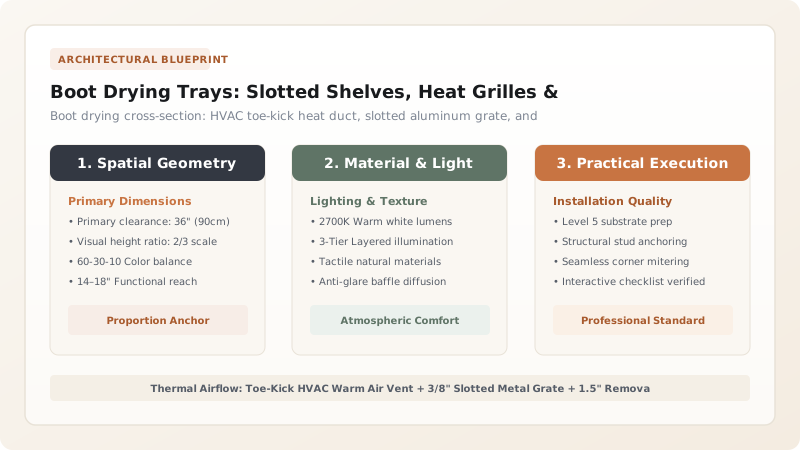
1. Thermodynamic Drying: Active Airflow vs Trapped Puddles
When wet winter boots or rain footwear are placed flat on a solid wood or tile floor, moisture is trapped beneath the rubber tread. Without air circulation, boots remain damp for 24+ hours, breeding odor-causing bacteria and warping wood floors.
By elevating footwear onto slotted aluminum grates (with 35% open surface area) and ducting household warm air through a toe-kick HVAC register beneath the bench, convective warm air currents rise naturally through the slots, drying saturated footwear in under 3 hours.

Boot Shelf Materials & Drainage Performance
Use this reference table to calculate exact physical dimensions, ratios, and specifications before purchasing:
| Shoe Shelf System | Material Specification | Airflow Efficiency | Salt / Rust Resistance |
|---|---|---|---|
| Slotted Metal Grate (Optimal) | Heavy-gauge anodized aluminum | Maximum (360° Convective flow) | 100% Rust-proof & salt immune |
| Molded Vulcanized Rubber Tray | Heavy 1" rim rubber tray | Moderate (Raised rubber nubs) | Indestructible to road salt |
| Solid Wood Shelf (Polyurethane) | Solid stained white oak slats | Low (Restricts airflow under tread) | Prone to water ring staining |
| Painted MDF Shelf (Budget) | Painted MDF board | 0% Airflow (Traps water) | FAILS: Swells and rots in 1 winter |
Boot Height Clearance Constraints
Every successful decoration project must account for physical and environmental constraints:
Tall 16-Inch Hunter Rain Boots Not Fitting Under Seating Bench
Standard under-bench shoe cubbies are only 8 to 10 inches high; allocate at least one side section with 18 inches of vertical height specifically for tall winter snow boots and equestrian rain boots.
How to Build a Ventilated Boot Drying Shelf
Execute this professional sequence to achieve flawless results without backtracking:
Reroute HVAC Duct to Toe-Kick
Install sheet metal extension duct from floor supply register to the front 2x4 base opening.
Mount Aluminum Grate Brackets
Fasten side cleats 4 inches above the floor inside the under-bench cavity.
Drop in Slotted Aluminum Grate
Install removable slotted aluminum bar grating cut to fit the bench bay.
Place Rubber Catch Pan Beneath
Slide a 1-inch raised-lip molded rubber boot tray onto the floor under the grate.
Install Decorative Toe-Kick Grille
Cap the front duct opening with a louvered metal return grille.
Common Mistakes & Countermeasures
Avoid these costly errors that compromise aesthetics, ergonomics, and budget:
Enclosing Wet Boot Storage in Closed Cabinet Doors Without Vents
Project Execution Checklist
Track your physical progress. Checkboxes persist automatically on this device:
Frequently Asked Questions
Can you install an electric radiant heating mat under a mudroom boot bench?
Yes! Laying an electric floor-warming cable (like Schluter DITRA-HEAT) beneath the mudroom floor tile under the bench provides luxurious radiant bottom heat that rapidly evaporates snow and ice from boots.


