
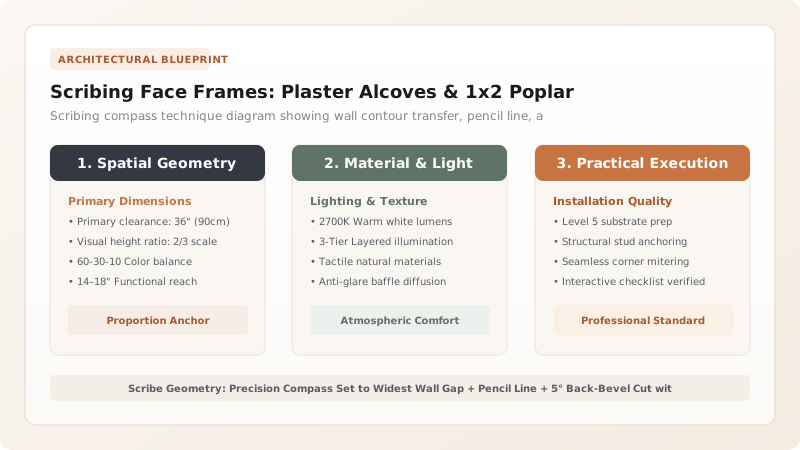
Scribe bookcase face frames to crooked plaster walls by leaving outer stiles 1 inch extra wide. Position the cabinet plumb, set a scribing compass to the widest gap between stile and wall, draw the wall contour line down the wood face, and cut along the line with a jigsaw back-beveled at 5 degrees.
At a Glance: Key Takeaways
- Extra-Wide 1x3 Scribe Stiles: Outer stiles ordered 1 inch wider than normal to provide excess wood for shaping.
- Compass Transfer Method: Transfers every plaster hump and valley onto the face frame with 1/64" accuracy.
- 5-Degree Back-Bevel Cut: Angling the cut inward ensures only the front razor edge touches the wall, guaranteeing tight fit.
- Eliminates Giant Caulk Gaps: Replaces sloppy 1/2-inch caulk beads with a seamless, museum-grade wood-to-wall joint.
1. Architectural Joinery: Scribing vs Sloppy Quarter-Round Moulding
No room wall is ever dead-flat or plumb—especially in historic plaster or drywalled alcoves. When a square, prefabricated bookcase is slid into an alcove, gaps ranging from 1/8 inch to 3/4 inch open up along the sides.
Amateur installers try to hide these gaps with ugly nailed-on quarter-round mouldings or huge beads of silicone caulk. Master cabinetmakers Scribe the Outer Stiles: planing the solid hardwood edge to match the microscopic waves of the drywall for an integrated architectural fit.

Scribing Tools & Wall Fit Tolerances
Use this reference table to calculate exact physical dimensions, ratios, and specifications before purchasing:
| Scribing Technique | Tool Used | Back-Bevel Angle | Finished Seam Quality |
|---|---|---|---|
| AccuScribe / Precision Compass (Optimal) | Dual-point brass compass | 5° - 7° Back-Bevel | 100% Airtight wood-to-wall contact |
| Belt Sander Scribe Shaving | 80-grit handheld belt sander | 10° Aggressive bevel | Fast, clean on medium drywall humps |
| Low-Angle Block Plane Fine Tuning | Hand plane with 25° blade | Hand-tuned bevel | Master-level furniture perfection |
| Nailed-On Quarter Round (Lazy) | Trim nails + standard caulk | No bevel (Butt joint) | FAILS: Looks cheap and amateurish |
Out-of-Plumb Alcove Binding Constraints
Every successful decoration project must account for physical and environmental constraints:
Alcove Wall Narrower at the Back Than Front (Trapezoid Alcove)
If walls taper inward toward the rear, a full-depth cabinet will wedge and get stuck halfway in; build the cabinet carcass 1.5 inches narrower than the minimum alcove width and span the gap exclusively with the scribed front face frame.
How to Scribe a Bookcase Face Frame to a Wall
Execute this professional sequence to achieve flawless results without backtracking:
Level and Plumb the Bookcase Carcass
Set the cabinet box in position, shimming the base until the unit is dead-plumb in both axes.
Tack Extra-Wide Stile to Carcass
Clamp an extra-wide 1x3 solid wood stile to the outer cabinet edge.
Set Scribe Compass to Max Gap
Find the widest gap between stile and wall (e.g. 5/8") and lock compass points to that exact dimension.
Draw Scribe Line Along Wall
Keep compass level and trace pencil down the stile face while following wall contours.
Cut 5° Back-Bevel and Plane Smooth
Cut with a jigsaw tilted 5° inward, then hand-plane smooth directly to the pencil line.
Common Mistakes & Countermeasures
Avoid these costly errors that compromise aesthetics, ergonomics, and budget:
Holding the Scribe Compass at Changing Angles While Tracing
Project Execution Checklist
Track your physical progress. Checkboxes persist automatically on this device:
Frequently Asked Questions
Should you scribe the face frame before or after painting?
Always scribe and test-fit all face frames in raw wood during the rough carpentry phase. Once all scribed seams are 100% gap-free, remove the face frames for primer, finish painting, and final installation.


