
Layout and install authentic Hollywood Regency cabochon marble floors by snapping 45-degree diagonal centerline grid lines. Set 12" × 12" Thassos white marble tiles with factory-clipped corners (chamfered at 45° with a 2.12" leg length). Insert 3" × 3" Nero Marquina black marble diamond cabochons at every intersection.
At a Glance: Key Takeaways
- 45-Degree Diagonal Grid Alignment: Snapping diagonal layout lines elongates entry foyers and grand hallways.
- Corner Clipping Trigonometry: Clipping tile corners at 45° creates precise square pockets for 3-inch black diamond cabochons.
- Pure White Thassos Marble (*Greece*): 100% crystalline sugar-white marble with zero gray veins for ultra-high contrast.
- Nero Marquina Black Marble (*Spain*): Dense obsidian black marble providing striking graphic contrast.
- White Medium-Bed Polymer Thinset: Prevents gray mortar from bleeding through translucent crystalline white marble.
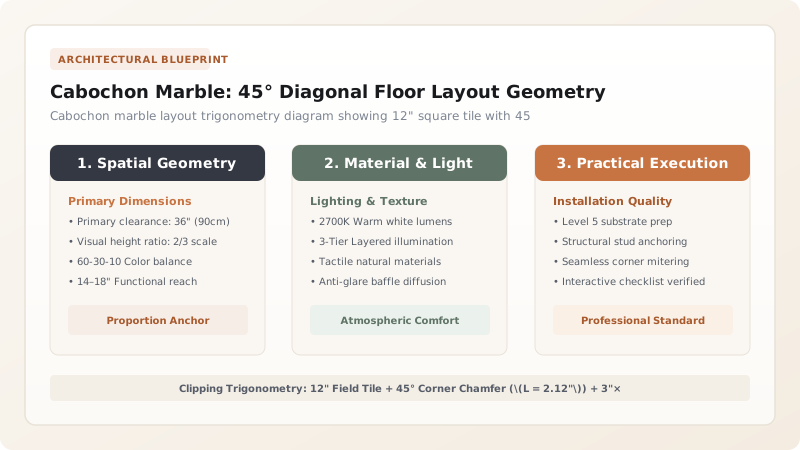
1. Layout Trigonometry: 45° Corner Chamfer & Cabochon Sizing
In classical French and Hollywood Regency architecture, the Octagon and Dot (*Cabochon*) Pattern is governed by precise geometry.
To fit a 3.0-inch Square Diamond Cabochon (\(S_{\text{cabo}} = 3.0"\)) at the intersection of four tiles, each corner of the 12-inch white marble tile must be chamfered at \(45^{\circ}\) with a corner leg length (\(L\)) calculated by:
$$L = \frac{S_{\text{cabo}}}{\sqrt{2}} = \frac{3.0}{1.414} = 2.12\text{ inches} \quad (54\text{mm})$$
Clipping all four corners transforms the square tile into a symmetrical octagon ready to receive the black diamond insert. Learn silk wall pairings in Chinoiserie silk wall panels.

2. White Medium-Bed Mortar & 1/16" Lippage-Free Leveling
Crystalline white marble (like Thassos) is naturally translucent. Setting white marble in standard gray mortar causes the floor to look dirty and dark gray.
Installers strictly use White Polymer-Modified Medium-Bed Mortar (such as Laticrete 254 Platinum White). Use Mechanical Tile Leveling Clips (Tuscan or Raimondi) to ensure 100% flat, lippage-free 1/16-inch joints. Review boiserie trims in gloss moldings and velvet banquettes.
Cabochon Marble Tile Combinations
Use this reference table to calculate exact physical dimensions, ratios, and specifications before purchasing:
| Marble Combination | Field Tile Spec | Cabochon Insert Spec | Aesthetic Impact |
|---|---|---|---|
| Hollywood Regency Contrast (Optimal) | 12" Thassos White (Greece) | 3" Nero Marquina Black (Spain) | Maximum graphic Hollywood glamour |
| French Chateau Classic | 16" French Bourgogne Limestone | 4" Antique Belgian Black Slate | Subtle, aged historical warmth |
| Art Deco Luxe | 12" Statuario Calacatta White | 3" Belgian Black / Brass Inset | Opulent gilded elegance |
| Generic Ceramic Checkerboard | 12" Glazed ceramic tile | Printed black dots | FAILS: Looks like cheap commercial diner |
Gray Mortar Staining Translucence Constraints
Every successful decoration project must account for physical and environmental constraints:
Gray Thinset Bleeding Through Translucent Thassos White Marble Tiles
Thassos marble is crystalline and translucent; gray mortar bleeds through the stone, permanently turning tiles cloudy gray; strictly specify 100% White Medium-Bed Polymer Mortar, and back-butter every tile with a flat coat of white thinset before bedding.
How to Layout, Cut, and Install a Cabochon Marble Floor
Execute this professional sequence to achieve flawless results without backtracking:
Snap 45° Diagonal Centerlines Across Room
Establish primary centerlines; snap 45° diagonal layout lines intersecting at room center.
Dry-Lay Center Medallion Field
Dry-lay 4 white tiles and 1 black cabochon at intersection; verify symmetrical cuts at perimeter walls.
Trowel White Polymer Medium-Bed Mortar
Spread Laticrete Platinum White mortar with a 1/2" square-notched trowel over concrete slab.
Set 12" Clipped Thassos Tiles with Leveling Clips
Bed white tiles along diagonal lines; insert mechanical leveling clips on all four edges.
Drop 3" Nero Marquina Cabochons in Pockets
Back-butter black marble diamond cabochons and press flush into square corner pockets.
Apply Bright White Non-Sanded Grout
After 24-hour mortar cure, pack bright white non-sanded grout into 1/16" seams; buff clean with microfiber.
Common Mistakes & Countermeasures
Avoid these costly errors that compromise aesthetics, ergonomics, and budget:
Using Black Grout on a Black-and-White Cabochon Marble Floor
Project Execution Checklist
Track your physical progress. Checkboxes persist automatically on this device:
Frequently Asked Questions
Can you buy pre-clipped cabochon marble tiles?
Yes! High-end stone suppliers sell 12" Thassos tiles with factory-waterjet-clipped corners paired with pre-cut 3" Nero Marquina diamond inserts for rapid, zero-error installation.


