
Choose Vertical Beadboard for traditional, cottage, and historic homes or rooms with standard 8-foot ceilings to draw the eye upward and make ceilings feel taller. Choose Horizontal Beadboard for modern coastal and transitional homes to make narrow hallways and powder rooms feel wider.
At a Glance: Key Takeaways
- Vertical (Traditional Classic): Draws the eye upward; makes 8-foot ceilings feel lofty and expansive.
- Horizontal (Modern Coastal): Stretches narrow spaces laterally; creates a clean contemporary shiplap-like rhythm.
- Vertical Framing: Nails directly into horizontal wall plates or existing drywall with construction adhesive.
- Horizontal Framing: Nails directly into vertical 16" wall studs (fast and ultra-sturdy installation).
- Outside Corners: Horizontal runs require precision 45-degree corner mitering or vertical corner trim boards.
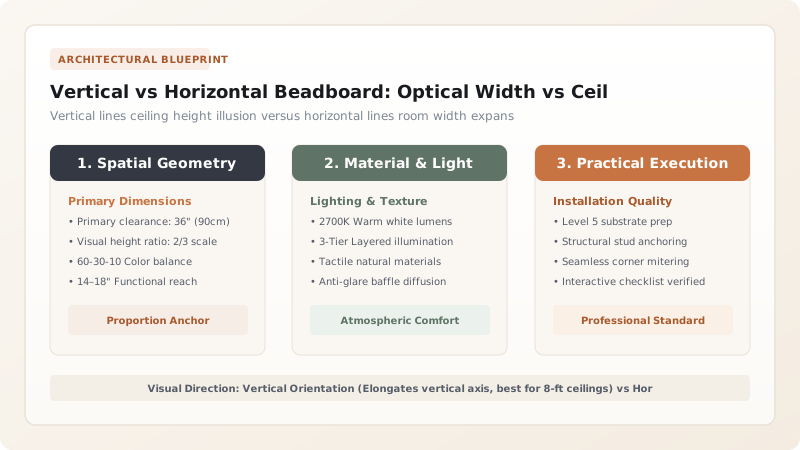
1. Optical Physics: The Helmholtz Illusion in Architecture
The choice between vertical and horizontal beadboard is rooted in the Helmholtz Optical Illusion: the human brain perceives an area filled with parallel lines as longer in the direction perpendicular to the lines. Vertical lines lead the gaze upward toward the ceiling crown, while horizontal lines guide the gaze across the room's perimeter.
In narrow 36-inch powder rooms or tight entry vestibules, horizontal beadboard wainscoting acts like an architectural wide-angle lens, visually stretching the side walls outward.

Vertical vs Horizontal Beadboard Comparison
Use this reference table to calculate exact physical dimensions, ratios, and specifications before purchasing:
| Design & Installation Factor | Traditional Vertical Beadboard | Modern Horizontal Beadboard | Optimal Use Case |
|---|---|---|---|
| Optical Illusion | Elevates ceiling height | Expands room width | Vertical: Low ceilings / Horizontal: Narrow rooms |
| Framing Attachment | Nails to top/bottom plates + glue | Nails directly to 16" studs | Horizontal installs slightly faster |
| Corner Detailing | Square butt joints in corners | Requires 45° miters or corner boards | Vertical has simpler corner cuts |
| Interior Style Match | Victorian, Cape Cod, English Cottage | Modern Coastal, Scandinavian, Shiplap Alternative | Choose based on architectural style |
Horizontal Bowed Wall Stud Constraints
Every successful decoration project must account for physical and environmental constraints:
Crooked Studs Creating Wavy Horizontal Beadboard Lines
Wall studs are rarely in a perfectly flat plane; wavy studs cause long horizontal beadboard planks to bow in and out; check wall with a 6-foot level and shim low studs flat before nailing horizontal planks.
How to Install Horizontal Beadboard
Execute this professional sequence to achieve flawless results without backtracking:
Locate and Mark All Studs
Use a magnetic stud finder to snap vertical chalk lines over all 16" on-center studs.
Start at the Baseboard Level
Install the bottom plank with tongue facing UP, checking dead-level with a 4-foot level.
Blind-Nail into Every Stud
Shoot 2" 16-gauge finish nails at 45 degrees through the top tongue into every wall stud.
Interlock Planks Upward
Slide groove of next board over tongue, tapping snug with a wood tapping block.
Cap Top with Flat Trim
Finish top row at desired wainscot height with a 1x4 cap rail.
Common Mistakes & Countermeasures
Avoid these costly errors that compromise aesthetics, ergonomics, and budget:
Installing Horizontal Beadboard with the Tongue Facing Downward
Project Execution Checklist
Track your physical progress. Checkboxes persist automatically on this device:
Frequently Asked Questions
Do you need furring strips for vertical beadboard?
If you are installing individual vertical planks onto existing drywall, you do not need furring strips if you apply a bead of heavy-duty construction adhesive (Liquid Nails) to the back of each plank and blind-nail into top/bottom plates.


